
Your roots can look white again while the rest of your hair is still dark. Adding stronger dye or coloring the entire length every time can leave you with a sharper root line, darker ends, and more maintenance than you wanted. The useful starting point is deciding whether you want to hide the white completely or soften its contrast.
For opaque coverage, choose a permanent hair color specifically labeled for gray coverage and suitable for your starting shade. For a softer blend, a suitable demi permanent formula may leave white strands lighter than the surrounding hair. In either case, follow that product’s allergy test, strand test, mixing, application, and timing instructions rather than a generic dye recipe.
Decide how much white you want to cover
White strands contain little or no natural pigment, but that does not mean every dye will cover them equally. Some resist color, while porous or previously treated sections may absorb pigment quickly. Look at your temples, part, crown, and lengths in daylight, because the amount of white often differs across those areas.
Full coverage aims for a more uniform color and usually creates a clearer contrast as new white roots grow. Gray blending deliberately allows variation, so lighter strands can remain visible without looking untouched. If frequent root appointments already feel exhausting, choose your tolerance for regrowth before choosing the darkest shade on the box.
Match the color formula to that goal
Permanent color formulated for gray coverage is generally the more dependable starting point when you want an opaque result on resistant white hair. It still needs the right shade, correct mixing, complete saturation, and the stated processing time. The word permanent describes the type of color, not a promise that the shade will never fade or that new roots will stay colored.
Demi permanent color often suits someone who prefers a gentler looking blend and accepts some translucency. Coverage varies by product and percentage of white, so read the manufacturer’s coverage guidance rather than assuming all demi formulas behave alike. A direct semi permanent dye or tinted conditioner can add tone, but resistant white roots may take little pigment while porous ends become much brighter.
Temporary root powder or spray is another option when the immediate goal is disguising a visible part until the next wash. It does not replace a lasting color service. Purple shampoo serves a different purpose again: it can reduce a yellow appearance in white or silver hair, but it does not turn white roots brown.
Choose a shade with the next root line in mind
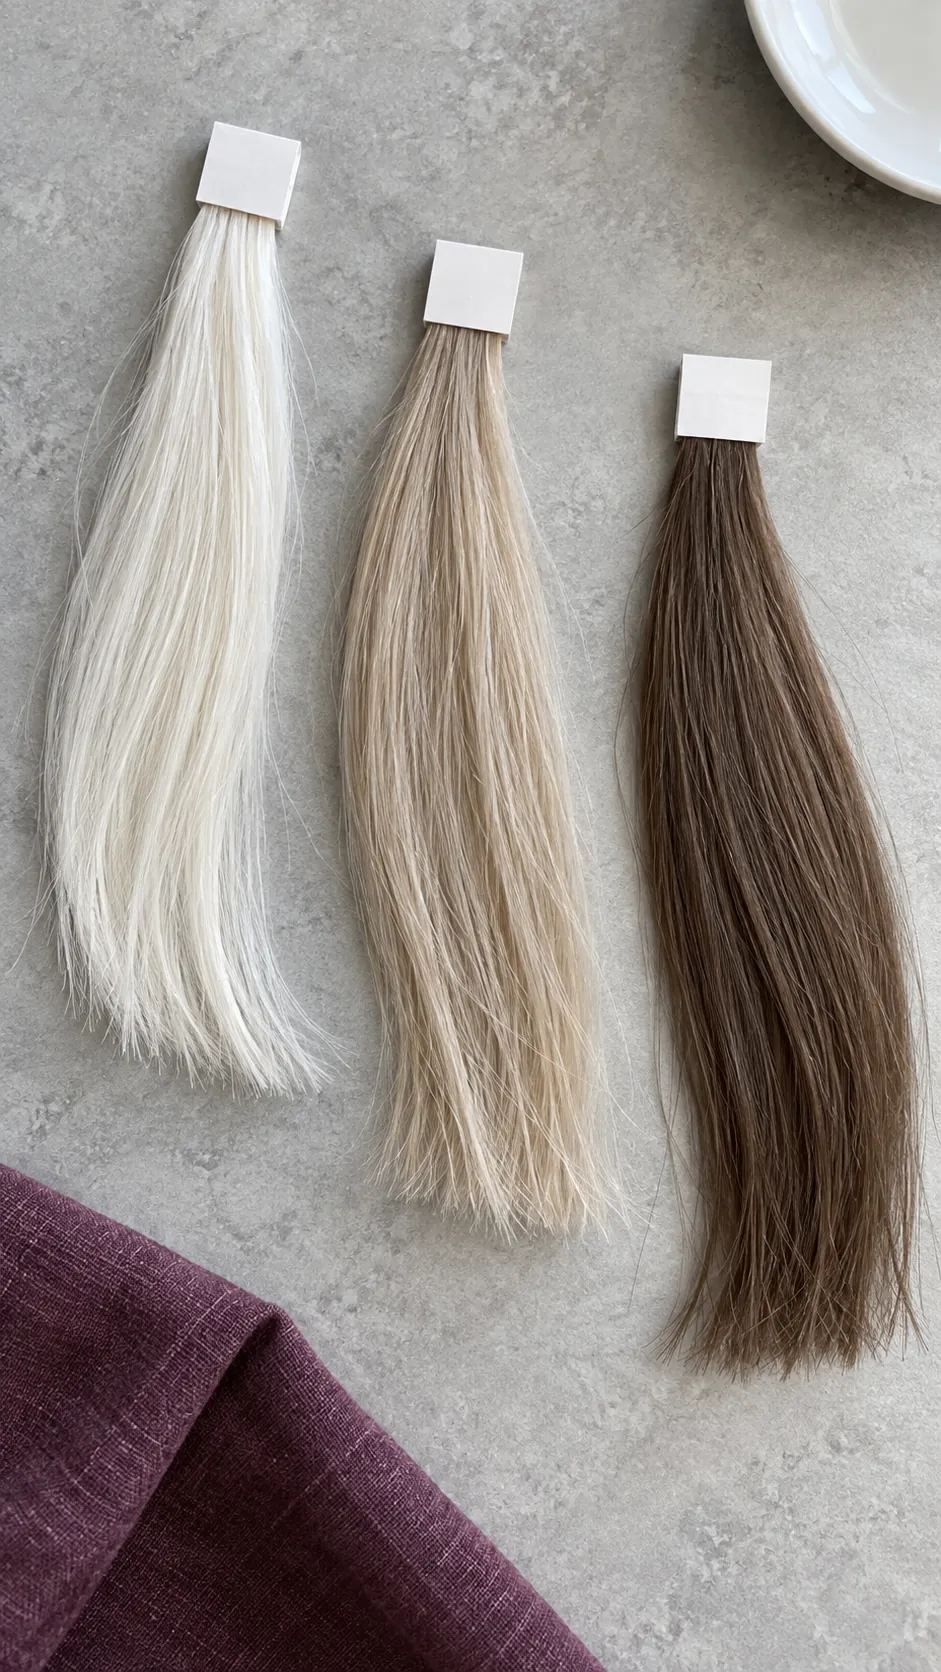
The best hair color for gray hair depends on your existing lengths, the coverage you want, and how much contrast you can maintain. Soft brown, dark blonde, and beige blonde can create less contrast against white regrowth than a very dark shade, although your starting color may limit what one application can achieve. Use the starting shade chart and white hair guidance supplied with the product, not just the model’s photograph.
When considering gray hair color ideas, distinguish depth from tone: brown versus blonde is a depth decision, while golden, neutral, and cool describe tone. Many gray coverage ranges use a natural or neutral base, sometimes in combination with another tone according to their specific chart. Do not improvise ratios across brands or add extra ash to counter every trace of warmth, since very white or porous sections can grab cool pigment unevenly.
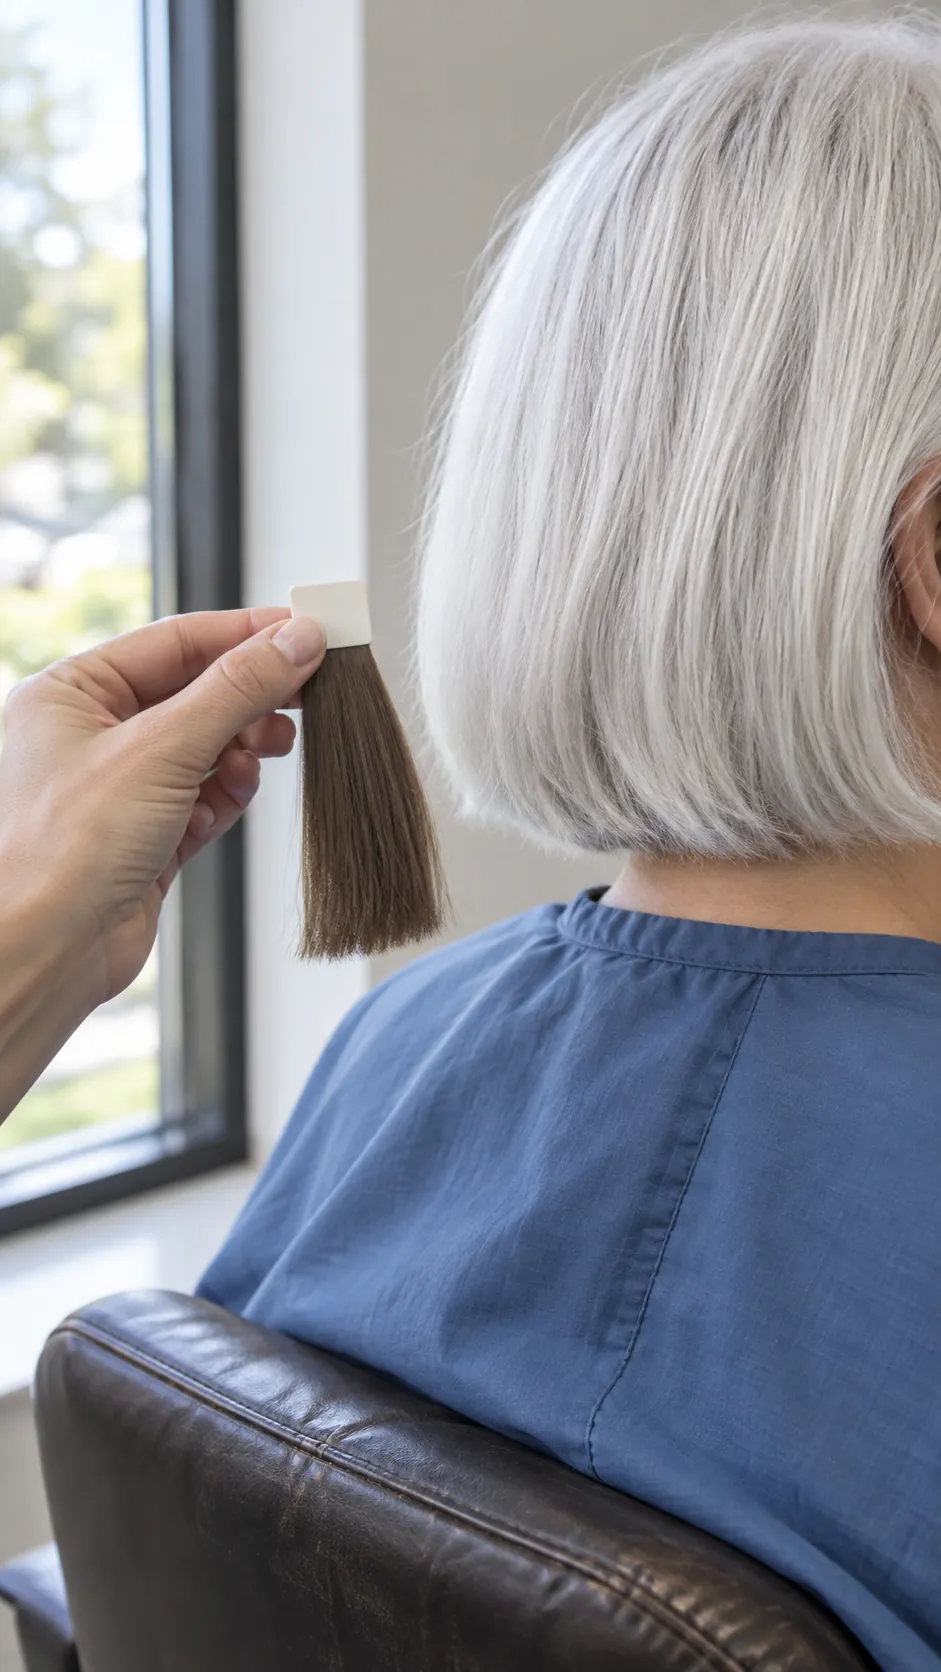
A large change deserves a colorist’s assessment. Going from white to a much darker shade may need added underlying warmth for a balanced result, while lightening previously dyed dark lengths is a separate correction problem. Naturally white strands do not need bleach simply because they are white.
Complete the allergy and strand tests first
An allergy alert test checks for a skin reaction; a strand test checks the hair result. They are separate steps, and neither replaces the other. Follow the dye’s allergy test instructions before every application, including the stated interval, often 48 hours, even if you have used that color before.
Do not color an irritated or damaged scalp or proceed after a reaction. If you have previously reacted to hair dye, seek medical advice before using it again rather than relying on a home test to clear you. A negative test cannot guarantee that a reaction will not happen during coloring.
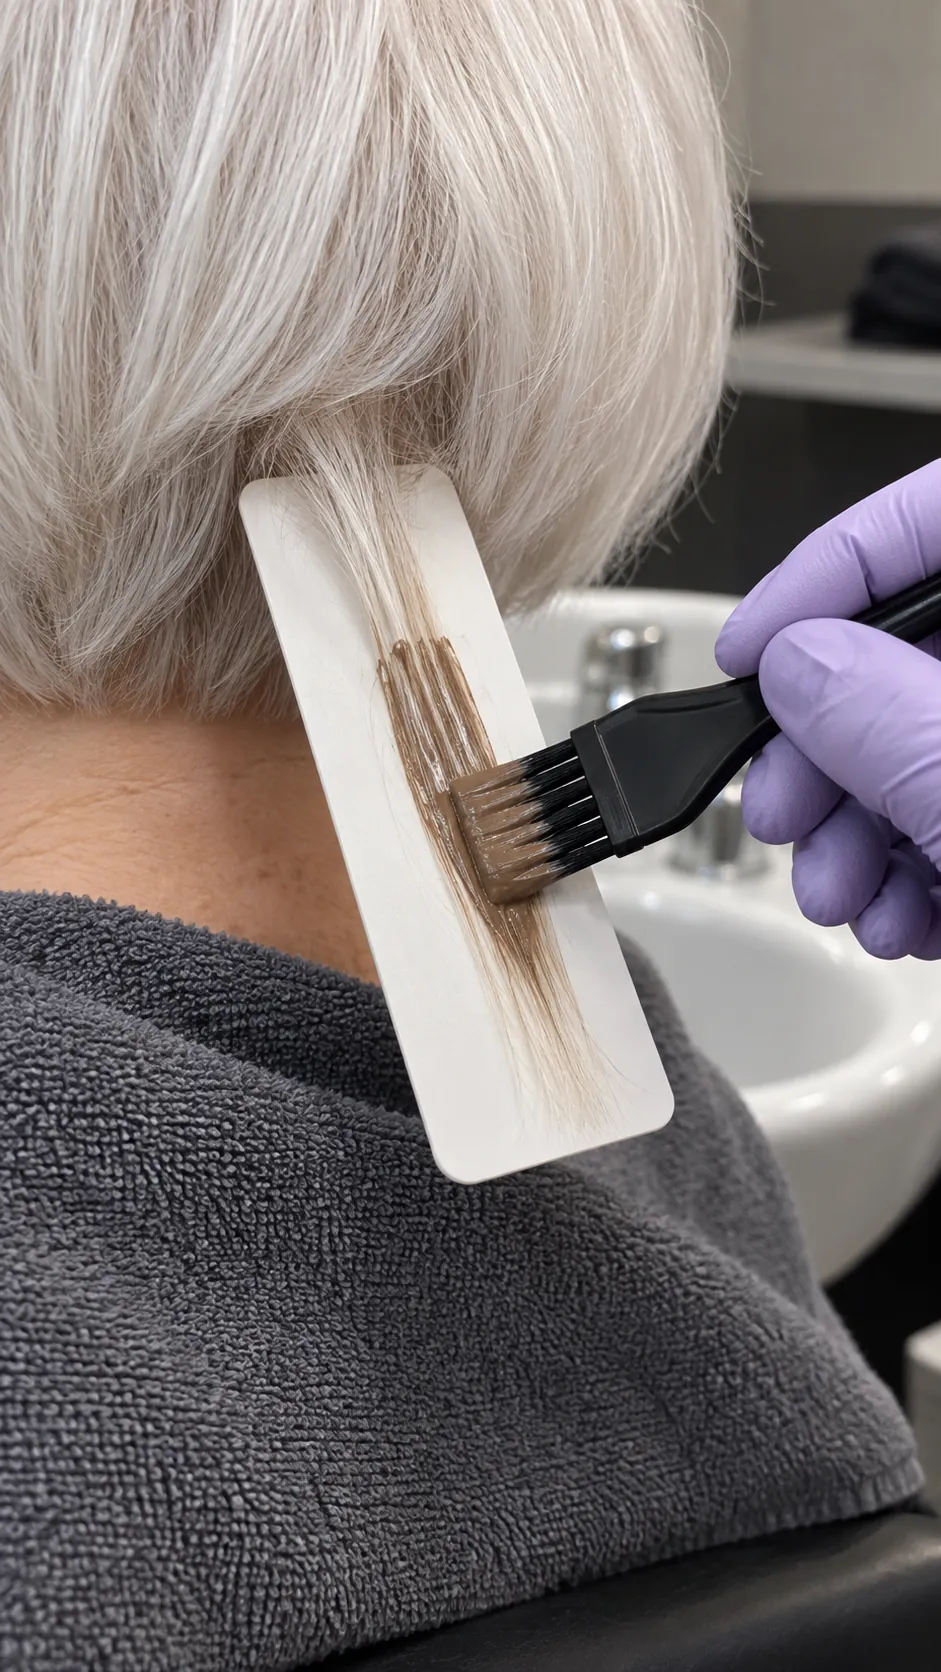
For the strand test, use a discreet section representative of the white hair you want to cover and follow the product’s test method. Rinse and dry it before judging the shade, opacity, feel, and any difference between the root and previously colored length. If the test looks too dark, overly warm, patchy, or brittle, change the plan before treating your whole head.
Prepare enough product and a clear application plan
Gather the kit, gloves, a timer, suitable sectioning clips, an old towel, and whatever applicator the instructions specify. Protect nearby surfaces and work where you can see your part and the back of your head. Buy enough product for your hair’s length and density; stretching a small amount over thick roots invites missed sections.
Follow the product’s directions about washing and whether hair should be dry or damp. Check its warnings about recent bleach, relaxers, perms, henna, or other coloring history, and ask a colorist when compatibility is unclear. Mix only the specified components in the stated proportions, and never substitute a stronger developer to force coverage.
Apply precisely to the area that needs color
A first application to uncolored hair and a root retouch can require different sequences. Read the relevant section of the leaflet before mixing anything. Divide the hair as directed, then work through small, visible partings so you can coat the intended strands instead of brushing over a dense surface layer.
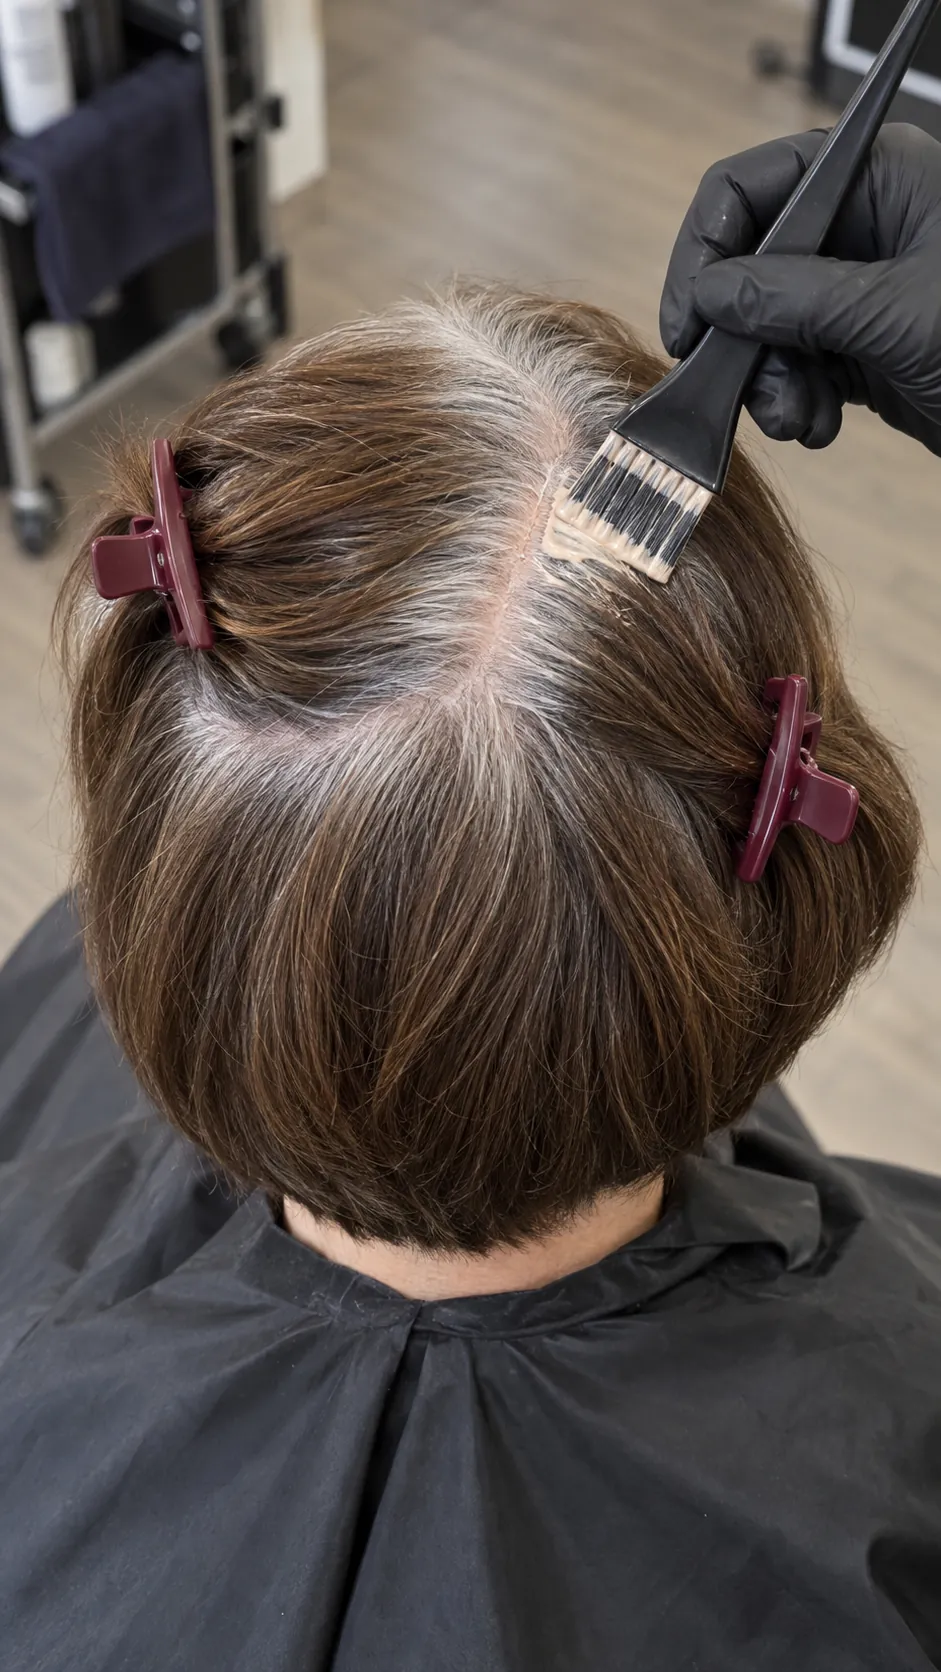
For a retouch, focus on the new growth and avoid repeatedly coating already colored lengths unless the product specifically instructs a separate refresh. Pay attention to the temples and hairline, where fine sections are easy to miss. Start with resistant areas only if the directions support that sequence, and keep color away from eyes, eyebrows, and eyelashes.
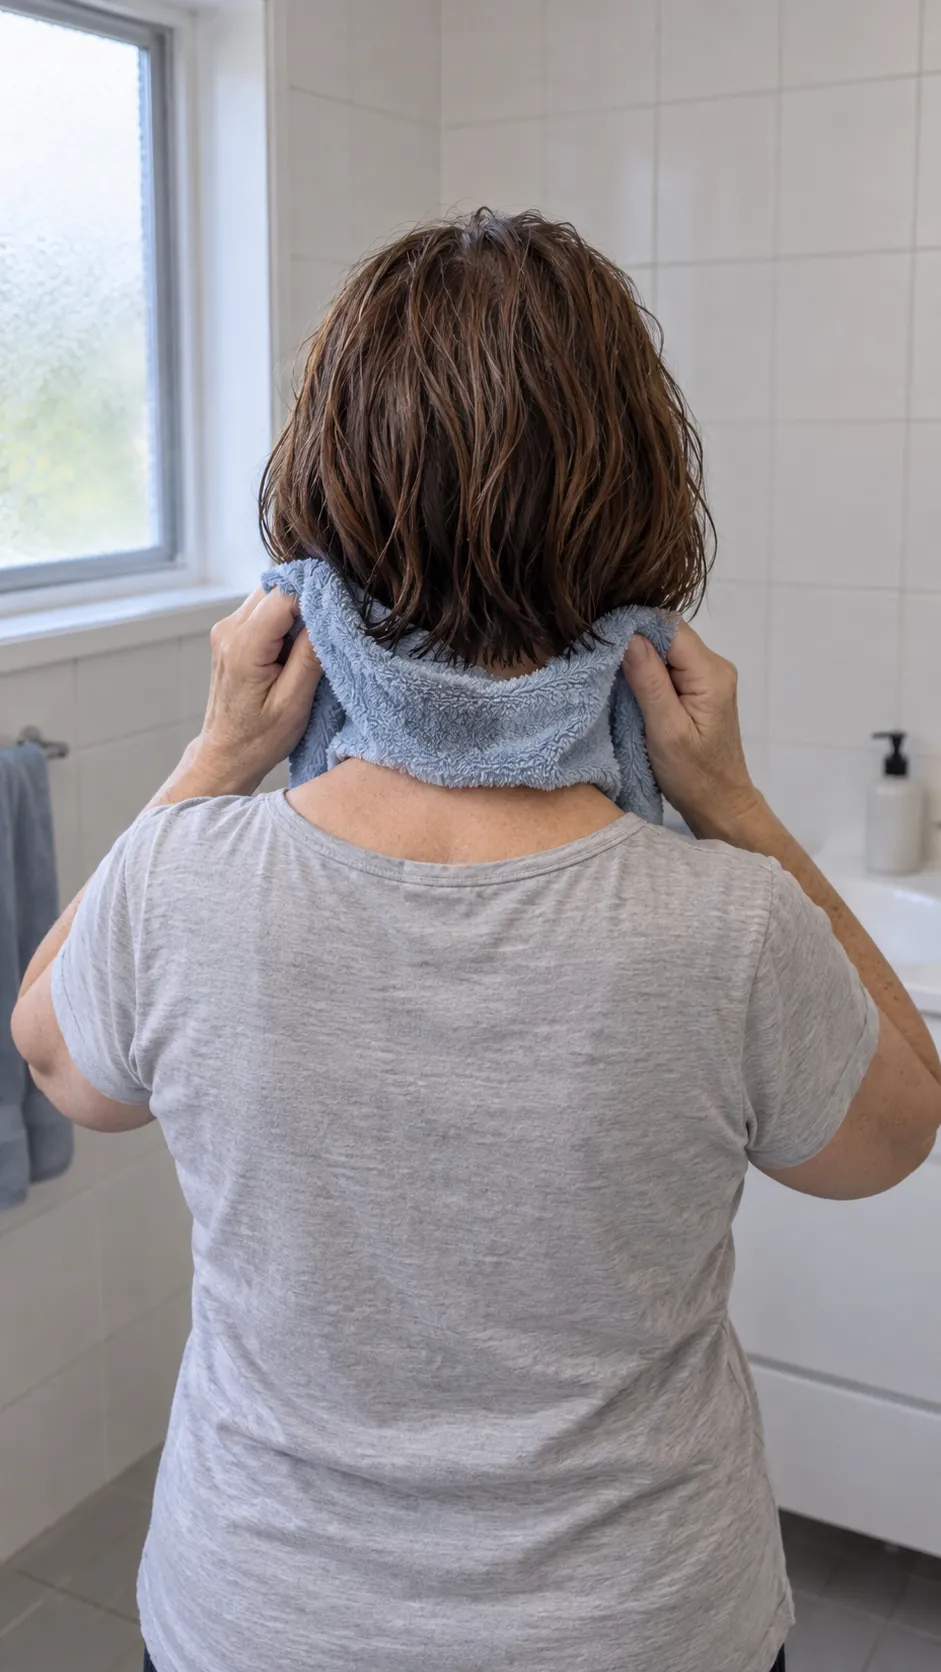
Start timing at the point specified by the manufacturer and respect its maximum processing time. Do not add heat, extend the time, or keep leftover mixed oxidative dye for later. Rinse and use the supplied aftercare as directed; if irritation develops during application, rinse immediately and follow the product’s reaction advice.
Troubleshoot the result without immediately dyeing again
If white strands remain visible, first ask whether the chosen product promised full coverage or only blending. Then review saturation, missed partings, the prescribed timing, and whether the shade was appropriate for the amount of white. A translucent warm result can reflect the formula or starting hair, so it is not proof that more developer is needed.
Dark ends with lighter roots suggest that different parts of the hair are taking color differently, especially after repeated overlap. Do not immediately layer another full application over the result. Keep the product details and strand test notes for a colorist, who can assess whether the next step is a formula adjustment, a root service, or a correction.
Maintain the color without chasing every white strand
Use the recommended aftercare, a gentle shampoo suitable for colored hair, and conditioner focused where the hair needs it. Keep hot tools at an appropriate setting for your hair and use heat protection according to the product directions. A shade change that leaves the hair comfortable and manageable is more useful than a perfect first day photograph followed by dry, overloaded ends.
Plan future retouches around visible regrowth and the product’s minimum interval instead of automatically recoloring everything. Temporary root coverage can bridge a gap, while a softer blend may suit you better if the maintenance keeps feeling relentless. Choose a result you can live with as it grows, not only one you like immediately after rinsing.