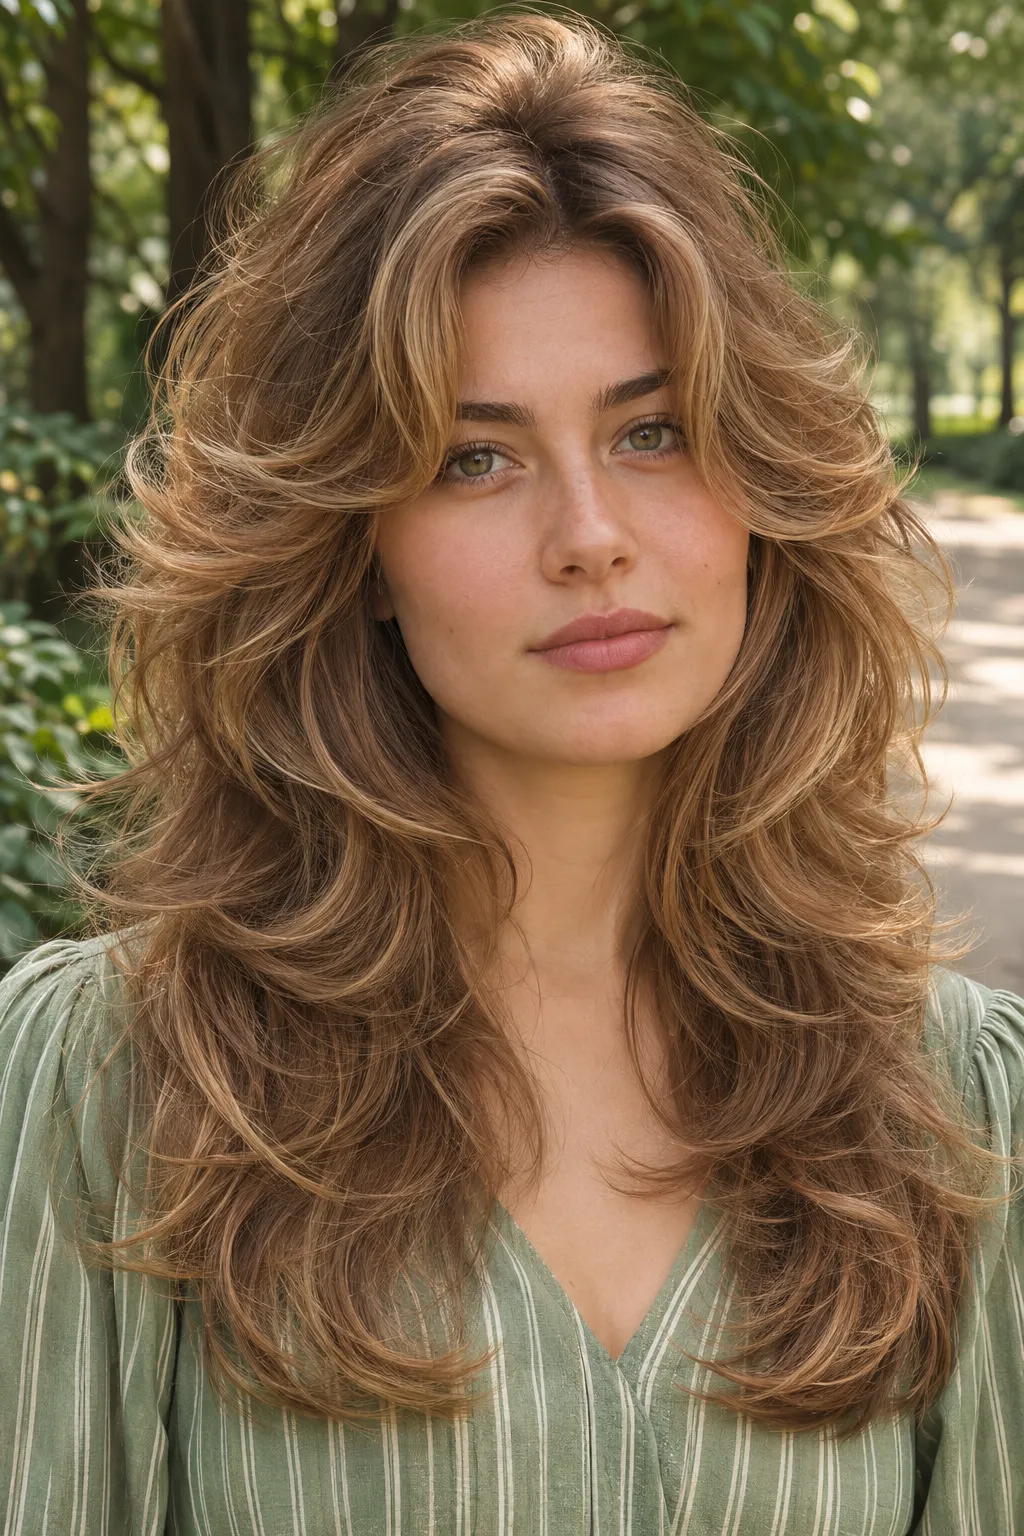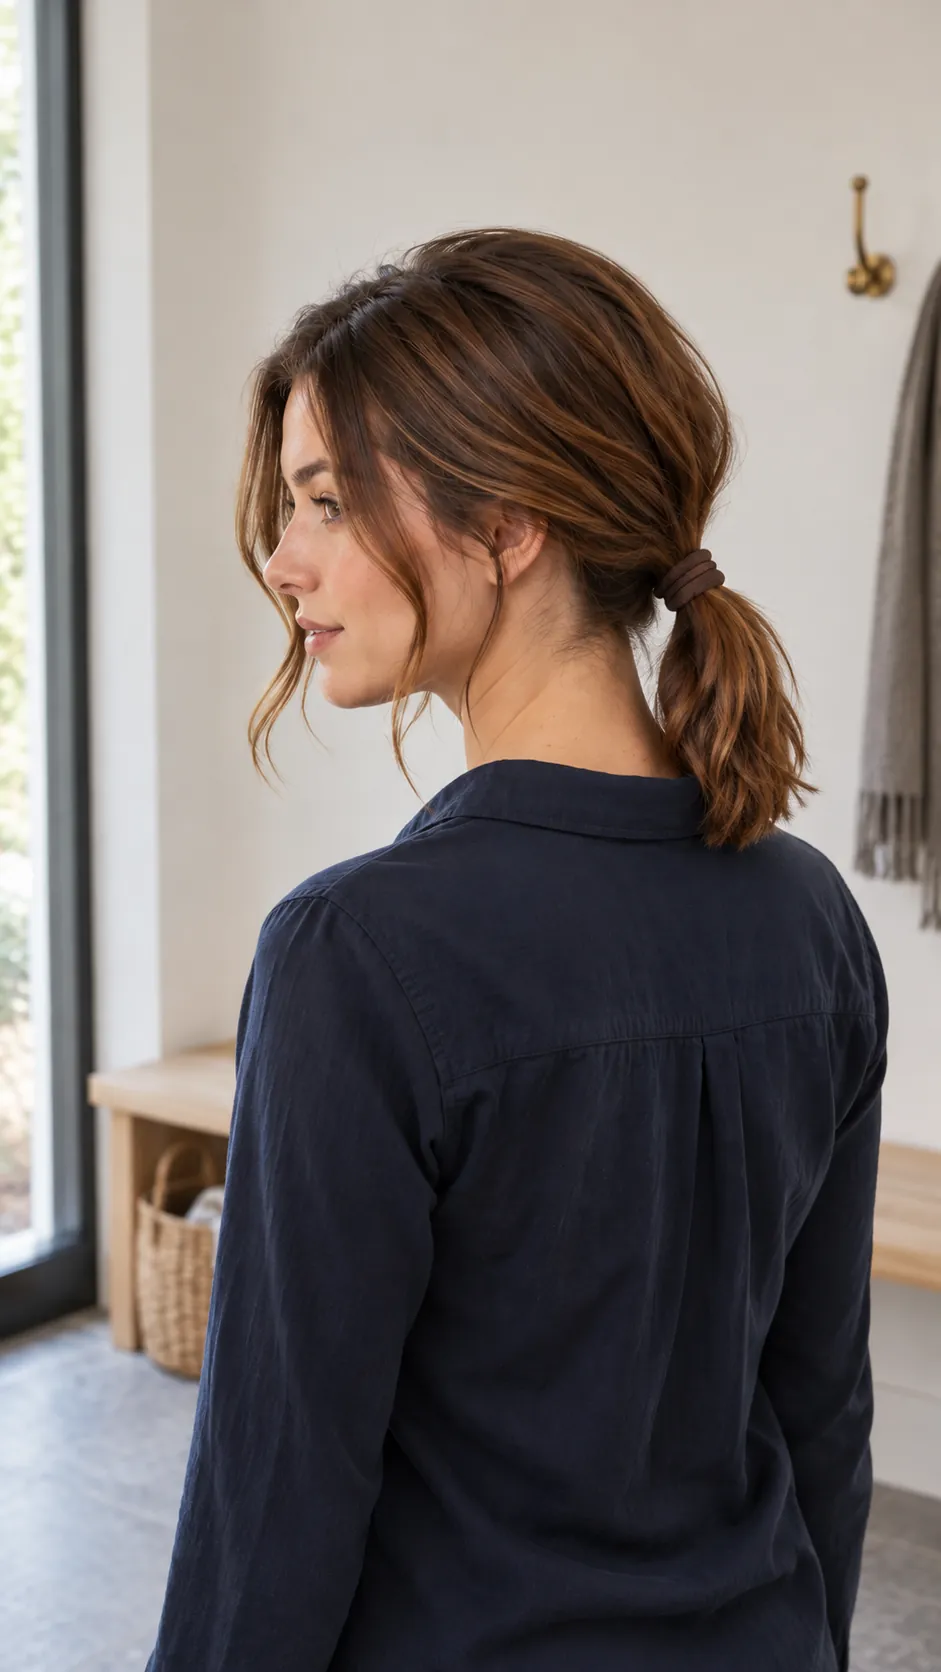

A shag can look light and lively, or it can leave the ends sparse and the crown difficult to control. The difference usually comes from where the shortest layer begins, how much weight stays at the shoulder, and whether the pattern respects the natural texture. A useful salon reference should show those choices clearly instead of treating every shag as the same cut.
Indexed hair discussions repeatedly raise the same worries: fine hair losing fullness, thick waves turning fuzzy after aggressive thinning, and curls springing far above the planned guide. Use the examples below to identify the silhouette you like, then discuss density, shrinkage, parting, and daily styling with your stylist. Each option changes the layer map while keeping a practical medium length.
Soft Crown Layers With Airy Ends
This soft version keeps the shortest pieces near the crown, then stretches each layer gradually toward the collarbone. It creates lift without exposing too much of the lower density, so it is a thoughtful choice for fine or medium hair. Ask your stylist to keep the perimeter substantial and to point cut only the tips.

Work a small amount of light mousse through damp roots, then lift the crown with a diffuser or a round brush. Use a touch of balm on the ends so the feathering looks deliberate rather than fuzzy. This pattern grows out gently because there is no severe jump between the crown and the baseline.
Curtain Bangs With Cheekbone Layers
Curtain bangs make the shag feel open and frame the eyes without covering the whole forehead. The cheekbone pieces should connect into the side layers, which prevents the fringe from looking detached. This arrangement works especially well when you want face framing but still need enough length to tuck behind the ears.

Bring a reference that shows the bang both freshly styled and relaxed. A stylist can adjust the center opening to suit your natural part and cowlick. Dry the fringe from side to side first, then direct it away from the face with a round brush for a soft bend.
Rounded Layers For Fullness
Rounded layering builds a gentle halo through the upper half while leaving a visible band of fullness at the shoulders. It suits fine strands with higher density because the shape creates movement without taking every section thin. The curve also helps straight hair look softer when it does not hold a strong wave.

Request internal elevation rather than heavy thinning shears through the ends. The goal is a rounded silhouette, not a mushroom shape, so the longest layers must stay connected. Blow dry with a medium round brush and alternate the direction of a few sections for natural body.
Choppy Razor Layers
Choppy razor layers give straight medium hair a broken, piecey surface that responds well to a small amount of texture product. A solid lower edge keeps the result from becoming stringy. This pattern is best when the hair is healthy enough to tolerate a razor and does not frizz easily.

Ask the stylist to show where the shortest pieces will land before cutting. If your hair expands in humidity, scissors may produce a cleaner result than a razor. Rub a pea sized amount of wax between your fingertips, then pinch only selected ends instead of coating the whole cut.
Long Shag Layers With Wispy Bangs
Long connected layers offer a cautious entry into the shag shape because they keep much of the original weight. Wispy bangs add movement around the eyes but can be swept aside during grow out. The finished silhouette feels relaxed rather than heavily retro.

This cut is useful if you want change without committing to a very short crown. Ask for the first major layer to begin below the cheekbone and for the fringe to remain light. Air dry with clips at the roots, or use a diffuser on low air to protect the soft separation.
Curly Shag With Graduated Top Layers
A curly shag depends on shrinkage control more than any single cutting method. Graduated top layers can lift the crown, but they must be long enough to settle into the overall curl pattern. Cutting the shortest section too high can leave a round top and a heavy shelf below.
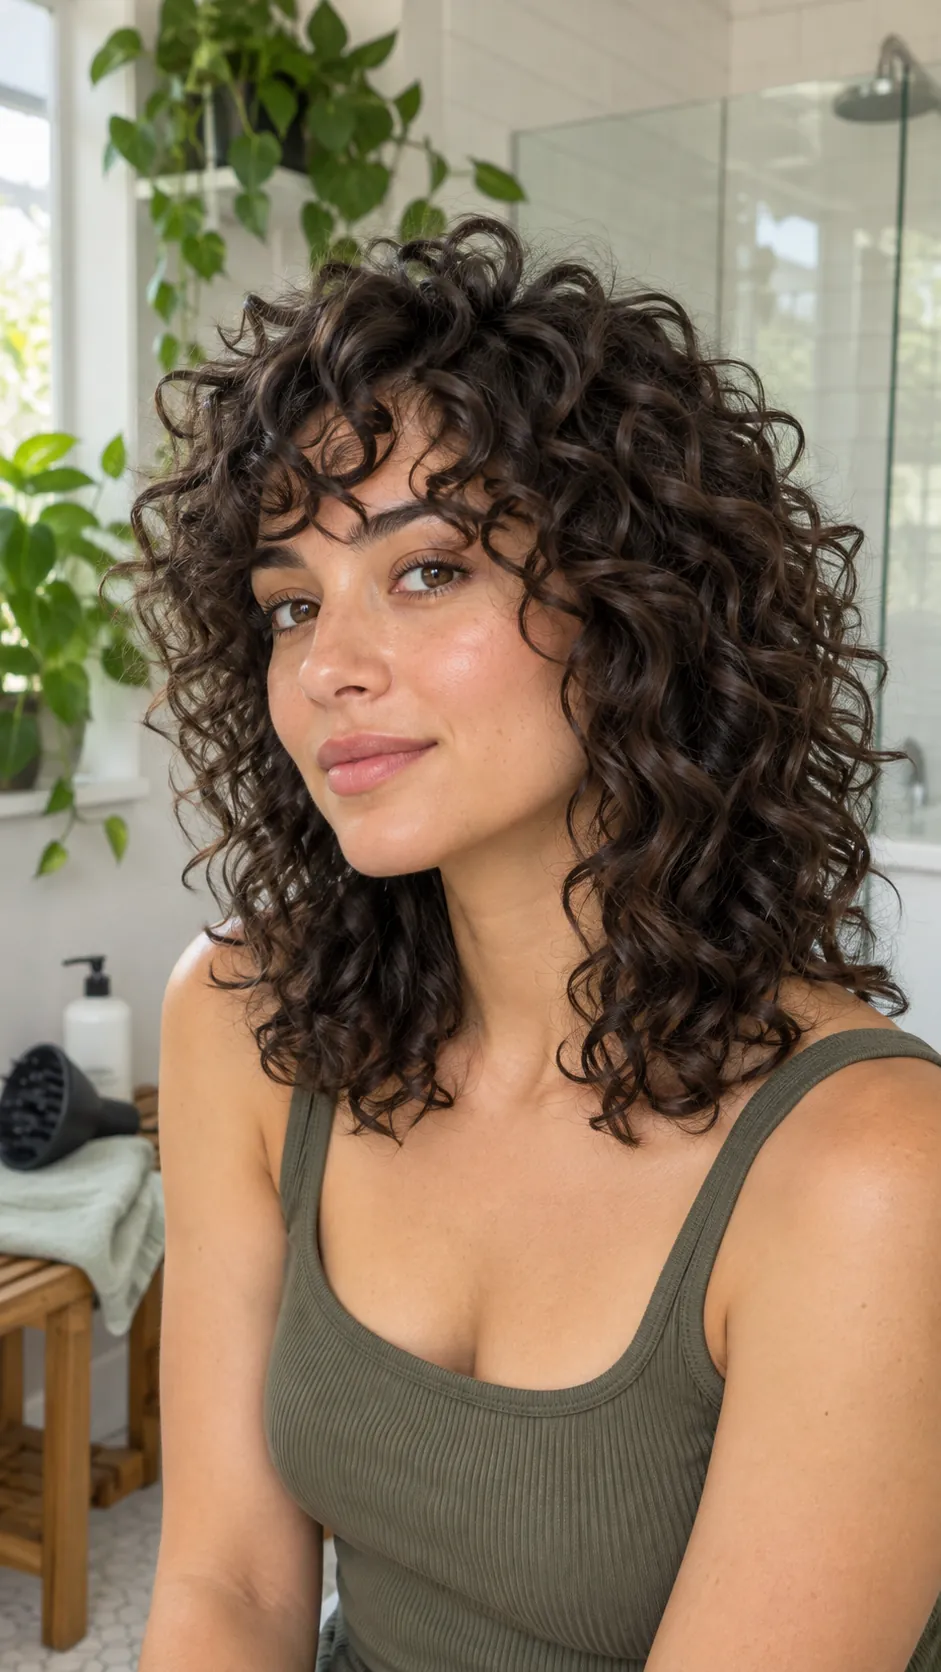
Discuss how your curls behave on wash day and several days later. A dry or curl aware consultation helps the stylist see spring and density before choosing the guide length. Apply curl cream in sections, then diffuse with minimal touching so the graduated shape remains clear.
Wavy Shag With Seamless Layers
Seamless layers encourage broad waves without creating obvious steps when the hair dries straighter. This is a versatile pattern for people whose texture changes with weather or styling routine. The transitions should remain soft from the crown through the shoulder line.

Ask for blended elevation and enough weight at the ends to prevent a triangular shape. Scrunch a light foam into very wet hair, then let the waves set before separating them. On flatter days, a few bends around the face can restore the intended rhythm without curling every section.
Butterfly Shag With Sweeping Front Layers
Sweeping front layers bring the openness of a butterfly cut into a more textured shag base. They move away from the cheeks while the crown stays loose and the back retains length. Thick hair benefits because the face gains motion without stripping all the weight behind it.

Show your stylist where you normally part your hair and how often you wear it up. The front pieces should be long enough to blend into a ponytail if that matters to you. Use a large round brush only around the face, then leave the remaining texture less polished for contrast.
Shaggy Lob With Hidden Layers
A shaggy lob keeps a blunt shoulder skimming outline while hidden layers remove stiffness inside the shape. It is an excellent option for work settings where an obvious short crown feels too dramatic. The movement appears when the hair turns or is tucked, but the first impression stays polished.

Ask for internal layers that do not cut through the strongest part of the baseline. Fine hair needs very conservative removal, while dense hair can support more hidden movement. Smooth the surface with a brush and use dry texture spray underneath rather than roughing up the top.
Piecey Layers With Micro Fringe
A micro fringe creates a bold graphic edge, so the surrounding layers should support it rather than compete for attention. Piecey crown and middle lengths keep the short bang connected to the full haircut. This choice works best for someone comfortable with regular fringe maintenance.

Check how the fringe behaves around cowlicks before committing to the final length. The stylist may leave a little extra room for bounce, especially on wavy hair. Style the fringe first with low heat and a small brush, then define a few longer pieces with dry paste.
Voluminous Shag With Short Crown Layers
Short crown layers can create dramatic height when the hair has enough density and natural support. The sides and shoulder lengths must remain balanced so the top does not look separate. This pattern gives thick straight or wavy hair an energetic outline with visible lift.
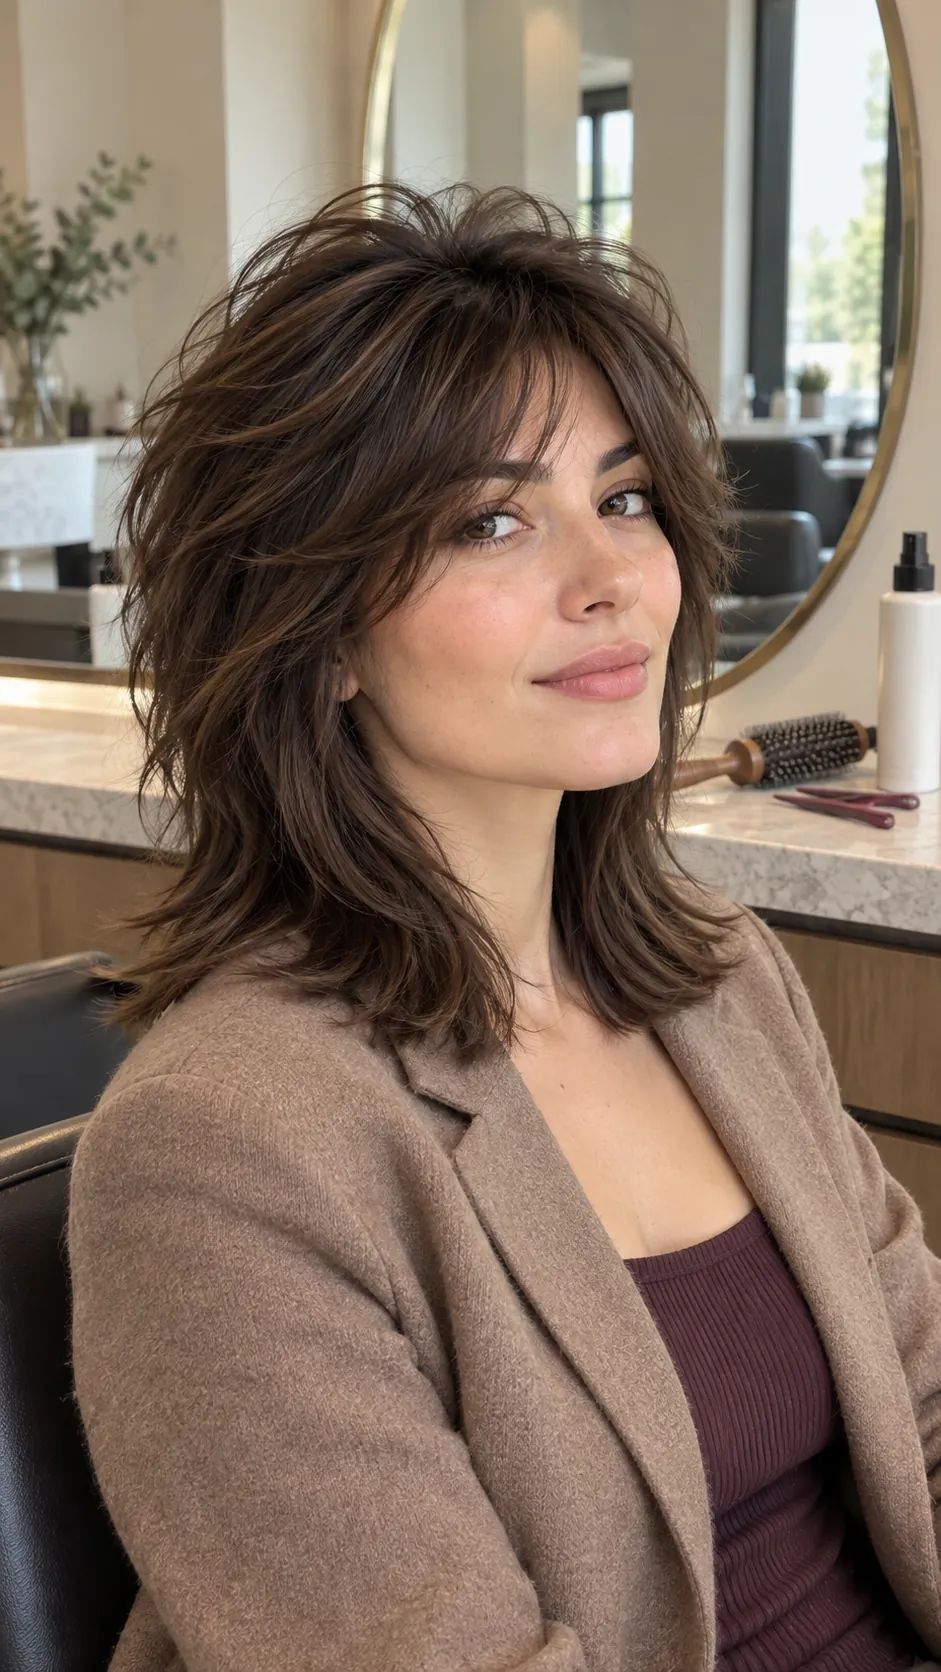
Ask for controlled elevation rather than indiscriminate thinning near the roots. If the hair is very heavy, internal removal can support the crown while preserving a smooth outer veil. Direct the roots upward with a round brush, cool them in place, and keep product away from the scalp.
Fine Hair Shag With Dense Ends
Fine hair can wear a shag when the design protects the lower edge. Light crown and face layers create movement, while a dense baseline makes the shoulder length look intentional and full. The key is choosing fewer strategic layers instead of removing weight everywhere.

Tell the stylist whether your individual strands are fine and whether your overall density is low or high. Those are different questions and they change how much layering the cut can support. Use a light volumizing spray at the roots and avoid heavy oils that collapse the shape.
Thick Hair Shag With Debulked Interior
Very thick hair often needs internal weight removal so a medium shag can move without expanding into a wide triangle. The outer surface should remain smooth enough to control frizz. This approach creates space beneath the top layers while keeping the perimeter substantial.
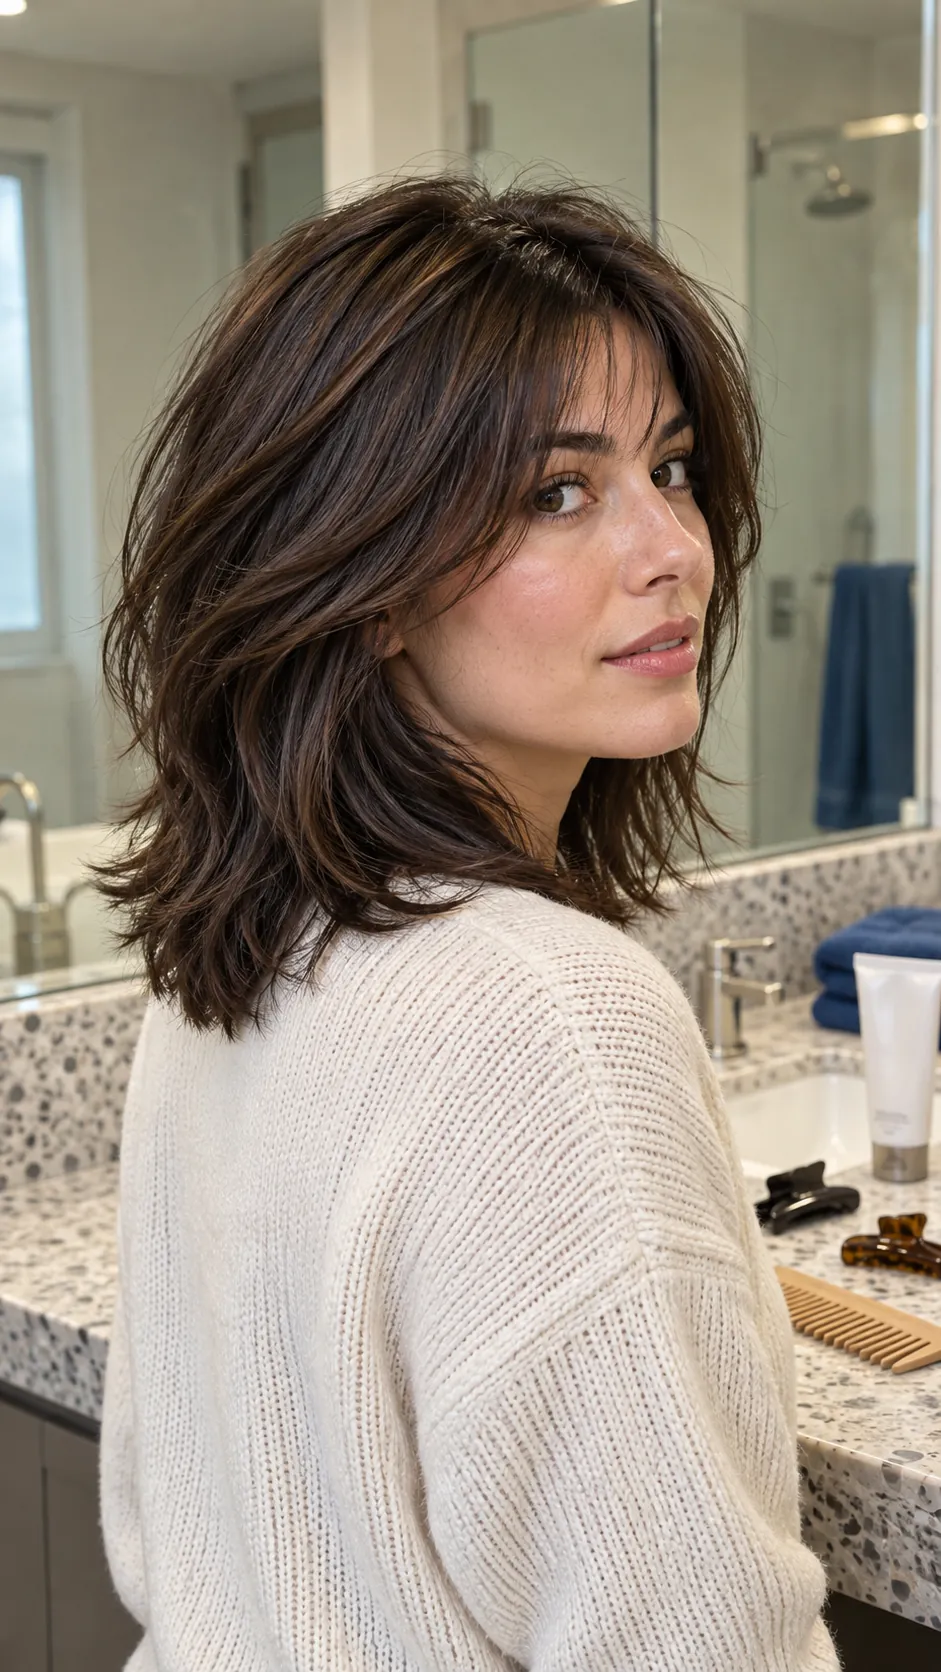
Ask how the stylist plans to remove bulk and where that removal will sit. Excessive thinning shears on wavy hair can create short fuzzy pieces, so targeted internal sections may be safer. Apply smoothing cream through the middle lengths and let the shorter layers provide the visible lift.
Shag With Bottleneck Bangs
Bottleneck bangs begin narrower near the brow and widen into longer pieces beside the cheeks. That shape offers more coverage than a curtain bang but still opens around the eyes. It connects naturally to a medium shag because the widening sides can flow into the jaw layers.

A precise consultation should consider forehead length, cowlick direction, and how the bang sits without heat styling. Keep the outer pieces long enough to tuck if flexibility matters. Dry the roots forward first, then split the bang gently and curve only the wider ends.
Shag With Disconnected Face Frame
Disconnected face framing makes the cheek and jaw pieces visibly separate from the longer shoulder layers. The contrast creates a sharper fashion focused result than seamless layering. It can highlight facial structure while leaving much of the back density untouched.

Agree on the exact landing point of the shortest front piece before the cut begins. Strong disconnection is harder to hide during grow out, so conservative placement is sensible for a first attempt. Style the front pieces toward the face and keep the back looser to show the deliberate contrast.
Center Part Shag With Balanced Wings
A center part can turn matching face layers into soft wings on both sides of the cheekbones. The effect feels balanced, but the cut should still respect small natural differences in growth. Perfect mirror symmetry often looks stiff and is difficult to maintain.

Have the stylist cut around your usual part rather than forcing a new one for the appointment. The wing length can be adjusted to open the eyes or soften the jaw. Use a round brush away from the face, then shake the sections apart so they do not form identical tubes.
Side Part Shag With Diagonal Layers
A deep side part sends the front layers across the forehead and creates diagonal lift. This pattern can help flat roots and makes the shag feel less symmetrical. The opposite side should still hold enough weight to keep the silhouette from collapsing.
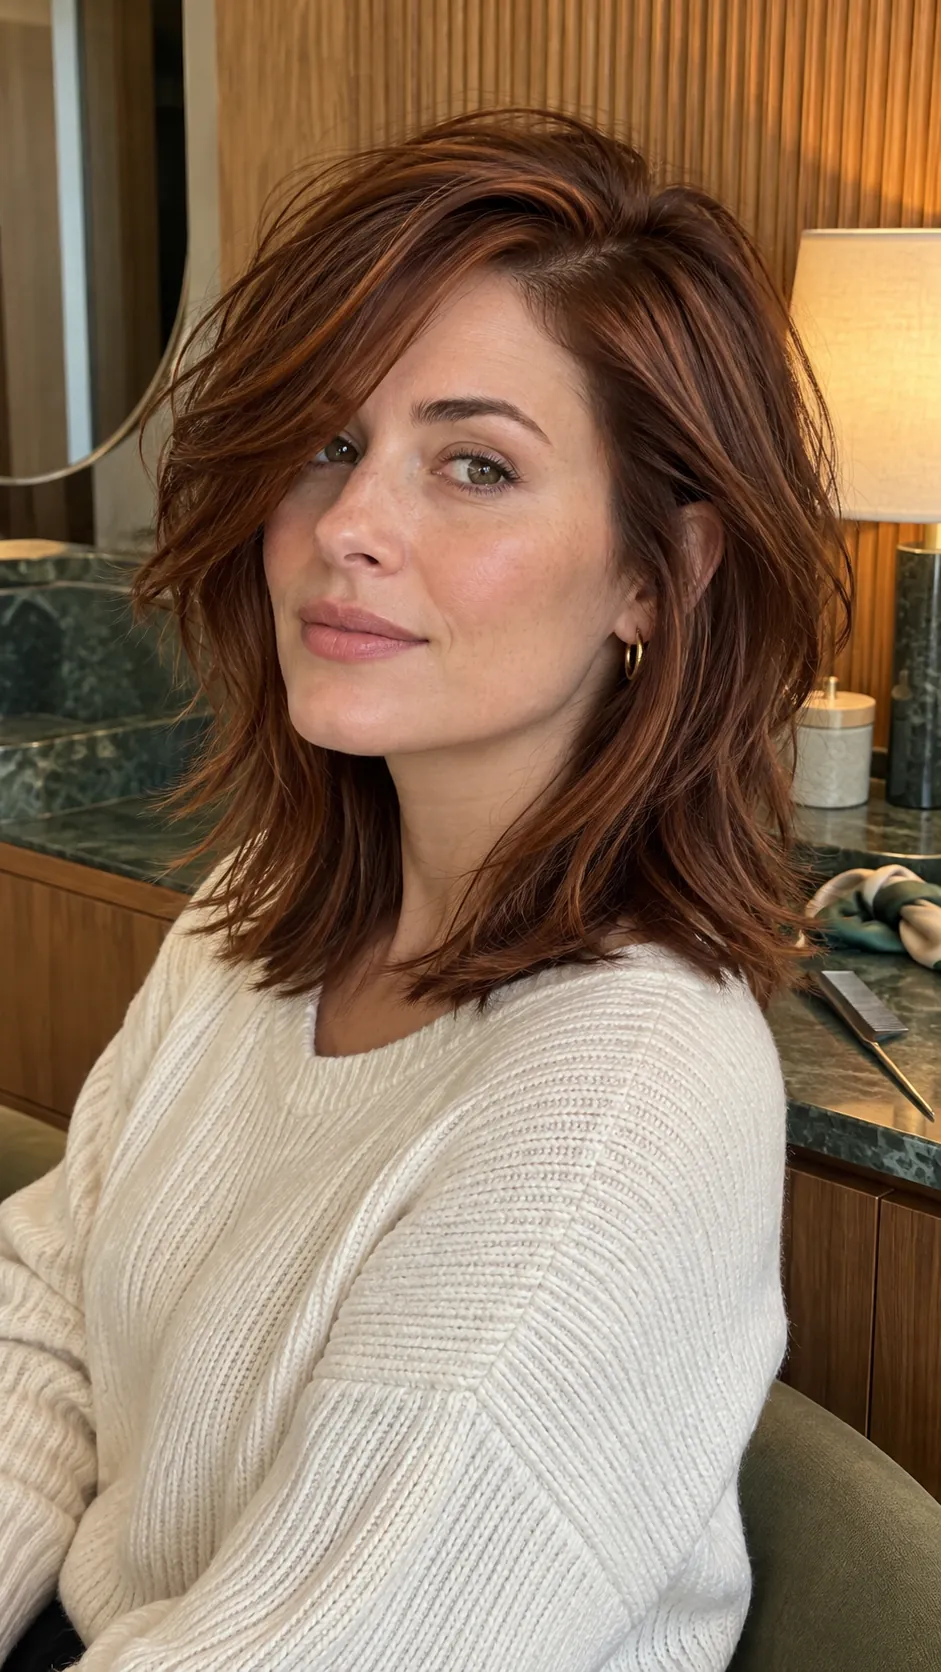
Show the stylist your natural part and any section that flips in the wrong direction. A diagonal guide can connect the sweeping front to the cheek and jaw layers. Dry the roots against their usual direction, let them cool, then return the hair to the preferred side.
Flipped Ends With Long Layers
Long layers can remain smooth through the middle and turn outward only at the shoulder ends. The result offers a polished way to wear a shag without relying on tousled texture. Straight hair that holds a bend is especially suited to this controlled pattern.

Ask for enough length between layers to support a continuous curve. Ends that are too thinned will not create a clean flip and may look frayed. Use a medium round brush at the last few inches, then set the curve with cool air and a light flexible spray.
Tousled Shag With Broken Layers
Broken layers create an irregular rhythm that looks best when the waves and bends are not identical. This is a forgiving choice for air dried texture and low effort routines. The cut should still have an intentional perimeter so tousled does not become shapeless.

Tell the stylist which areas dry flat and which sections expand. Uneven behavior can guide the placement of shorter pieces instead of being treated as a flaw. Scrunch in foam, allow the hair to dry fully, and separate only a few sections with dry fingertips.
Polished Shag With Curved Layers
Curved layers prove that a shag can look smooth and controlled for work or events. The layers arc around the face and shoulders instead of breaking into piecey ends. Movement remains visible because the lengths overlap, even though the surface is polished.

Request connected curves and a perimeter that can be styled with a round brush. The cut should also relax into a softer shape on days when you skip the blowout. Work in sections with moderate tension, finish with cool air, and use spray sparingly so the layers can still move.