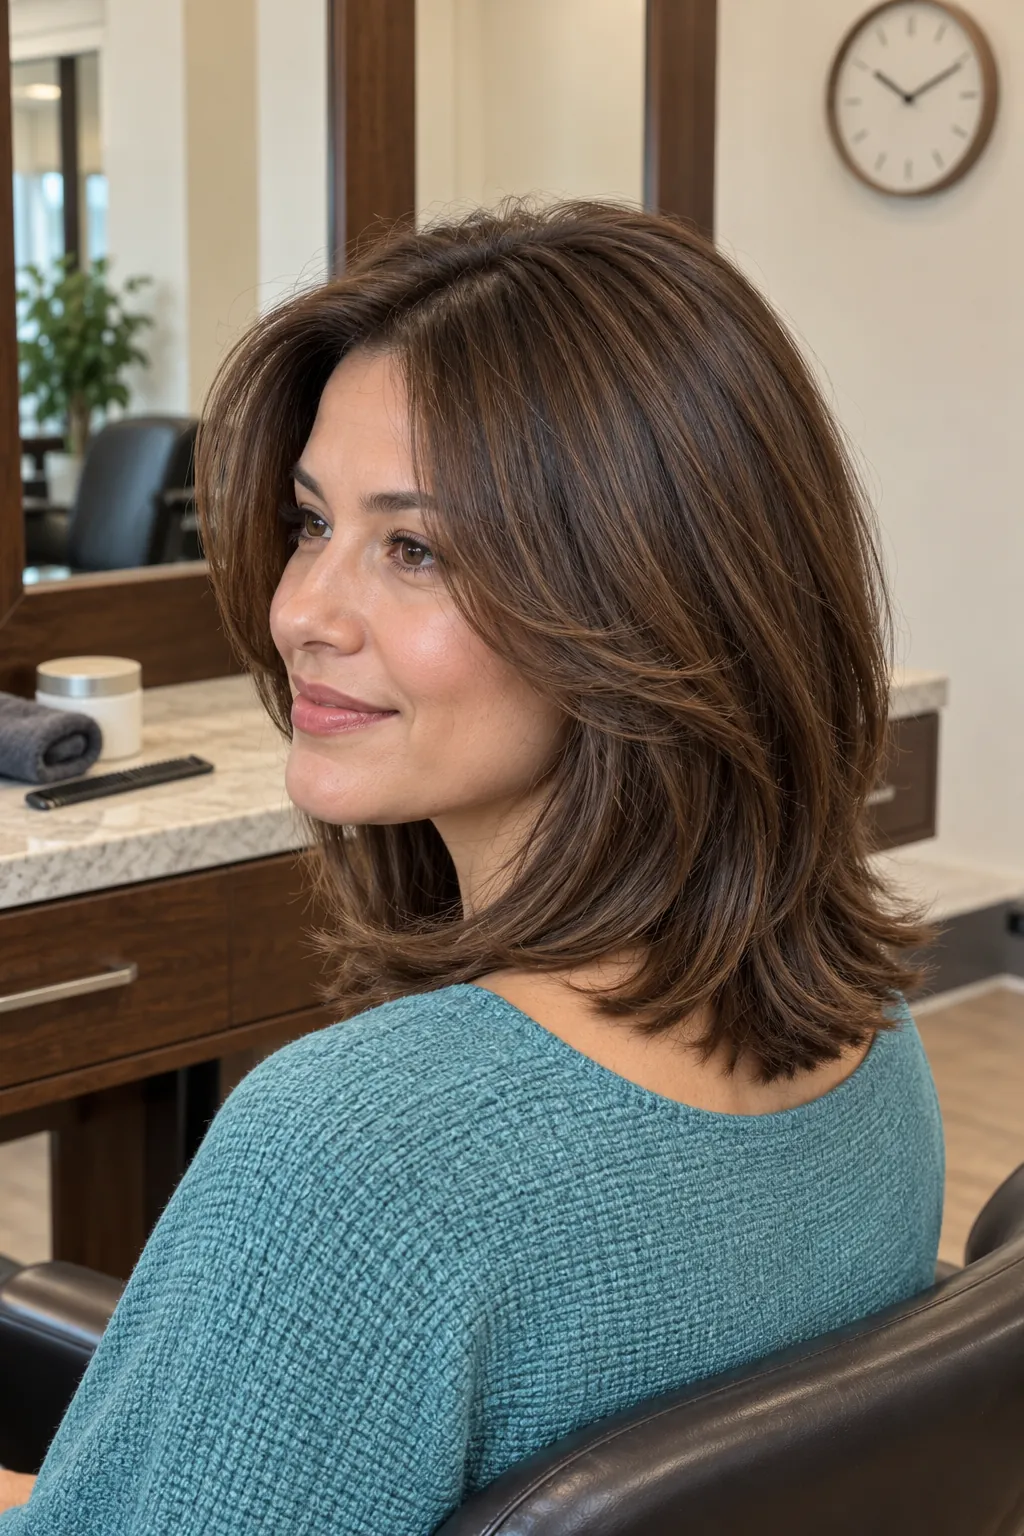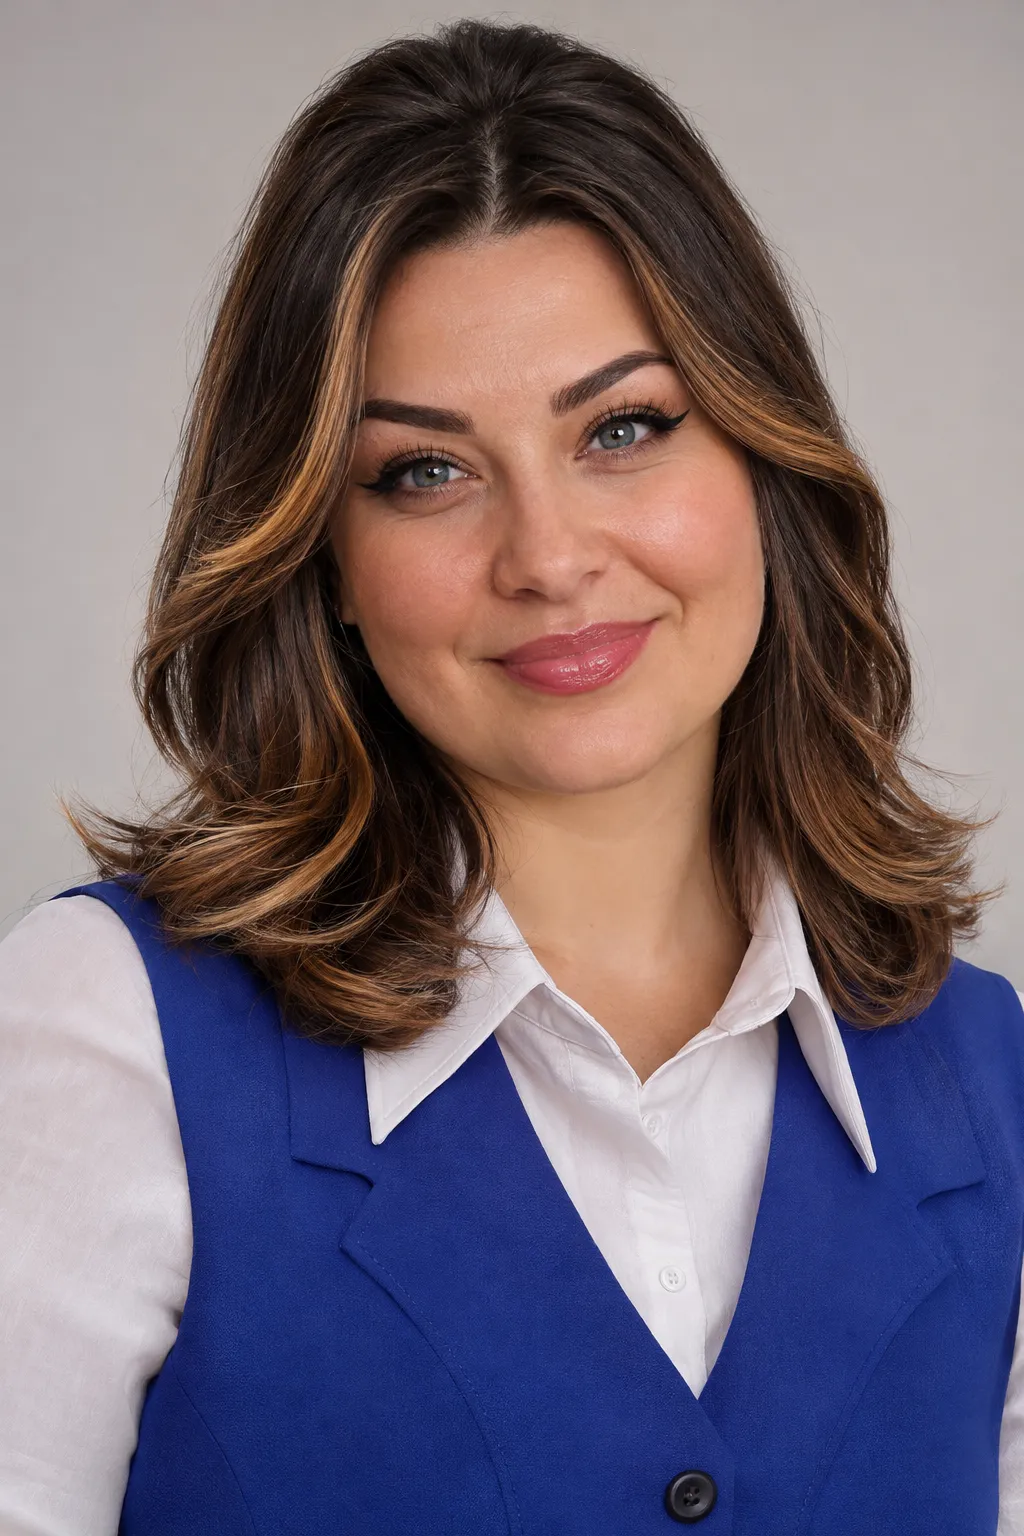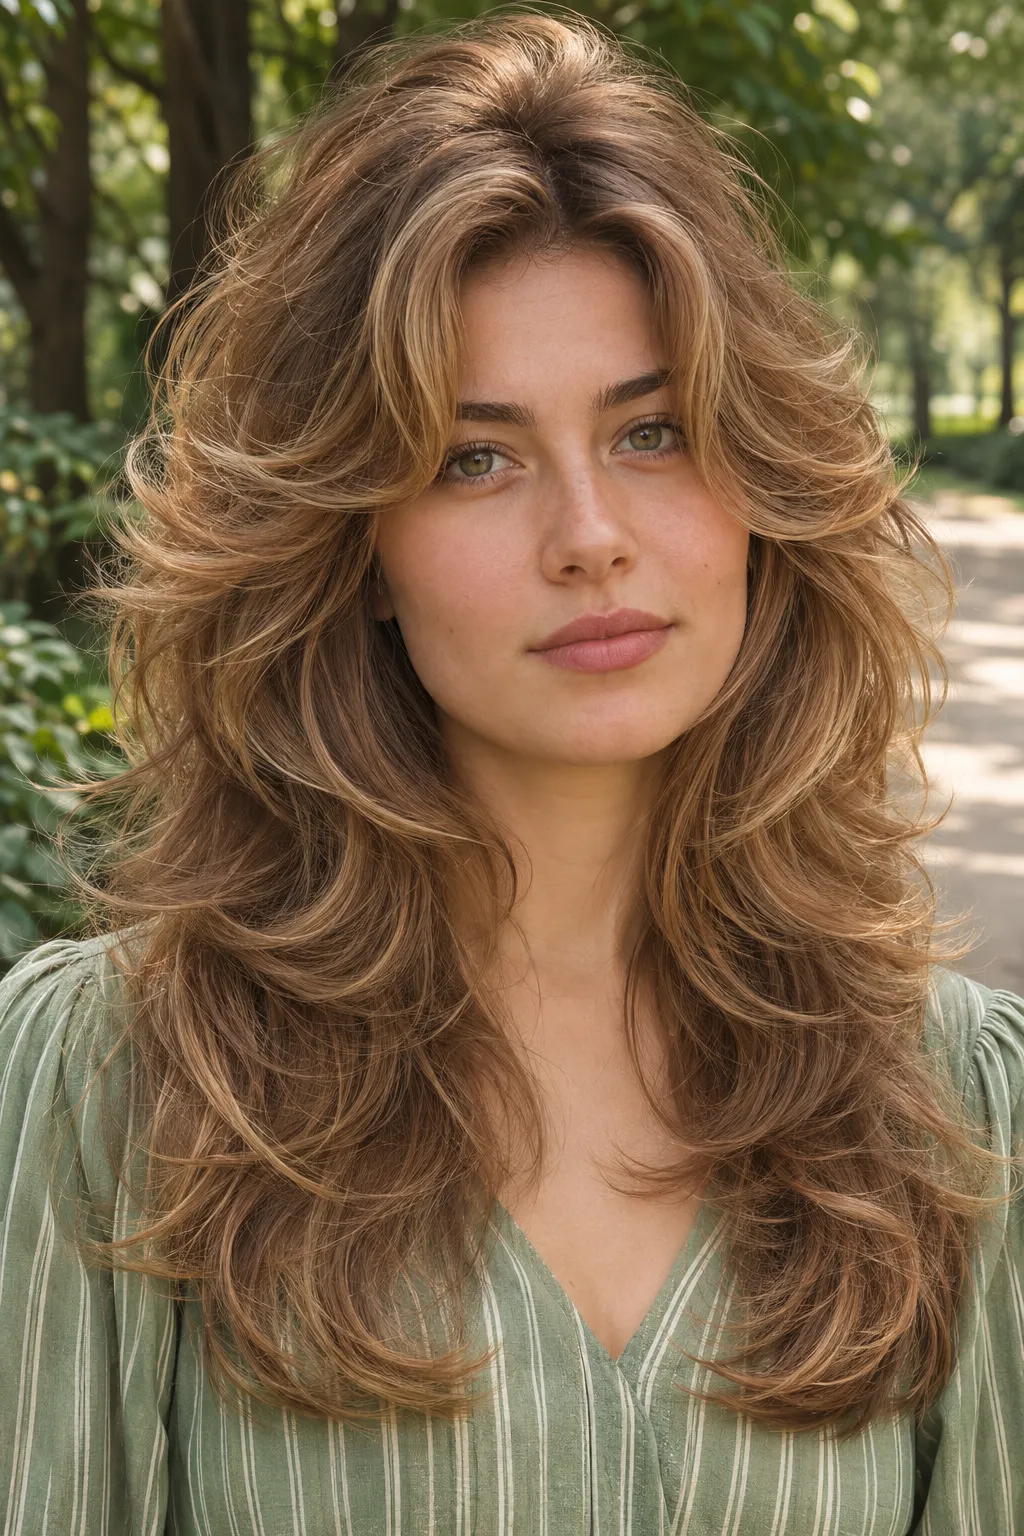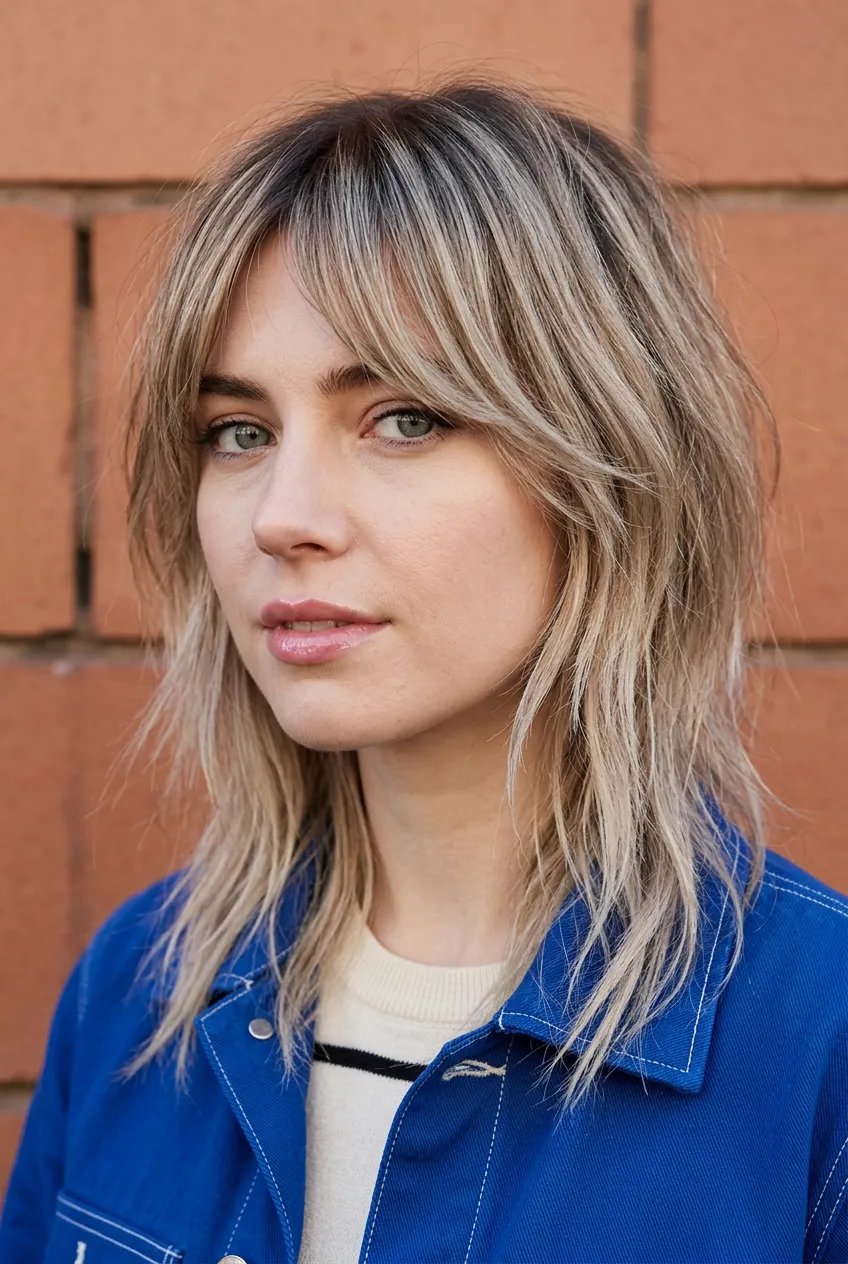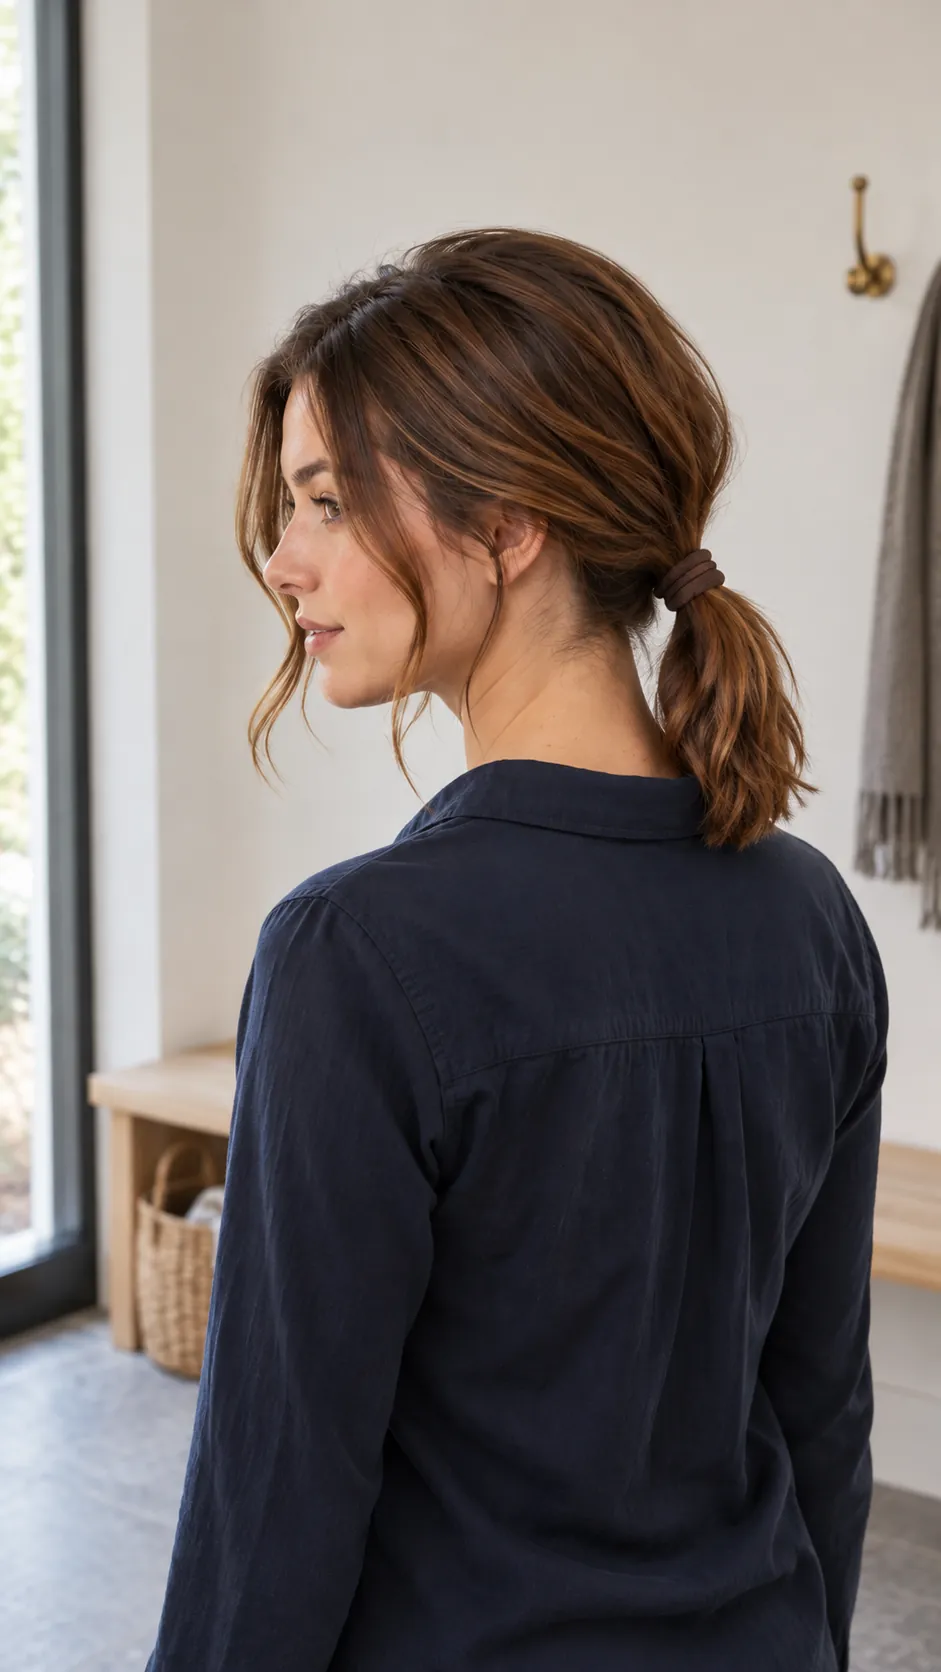
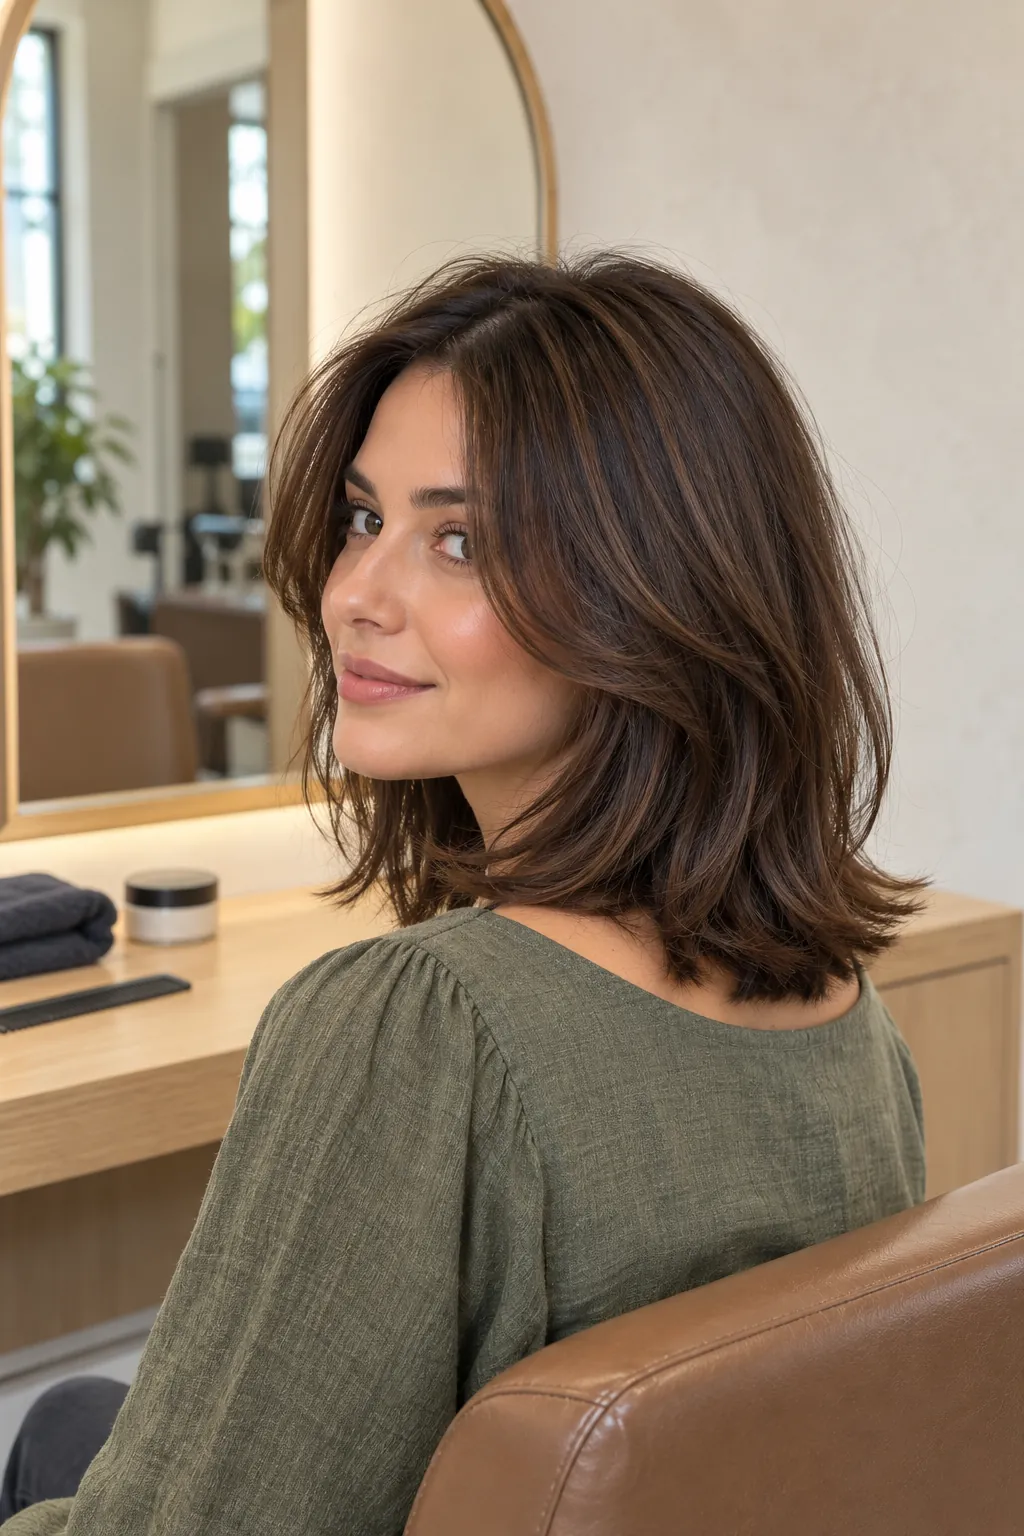
The most flattering layers are not defined by a trend name alone. Their height, connection, and perimeter weight decide whether the result feels full, airy, rounded, or narrow. Readers with fine and wavy hair often compare movement against visible density, while people who air dry need a shape that still works after the salon finish disappears. Use the comparisons below to identify both the outline you want and the daily routine you can maintain.
Soft Long Layers
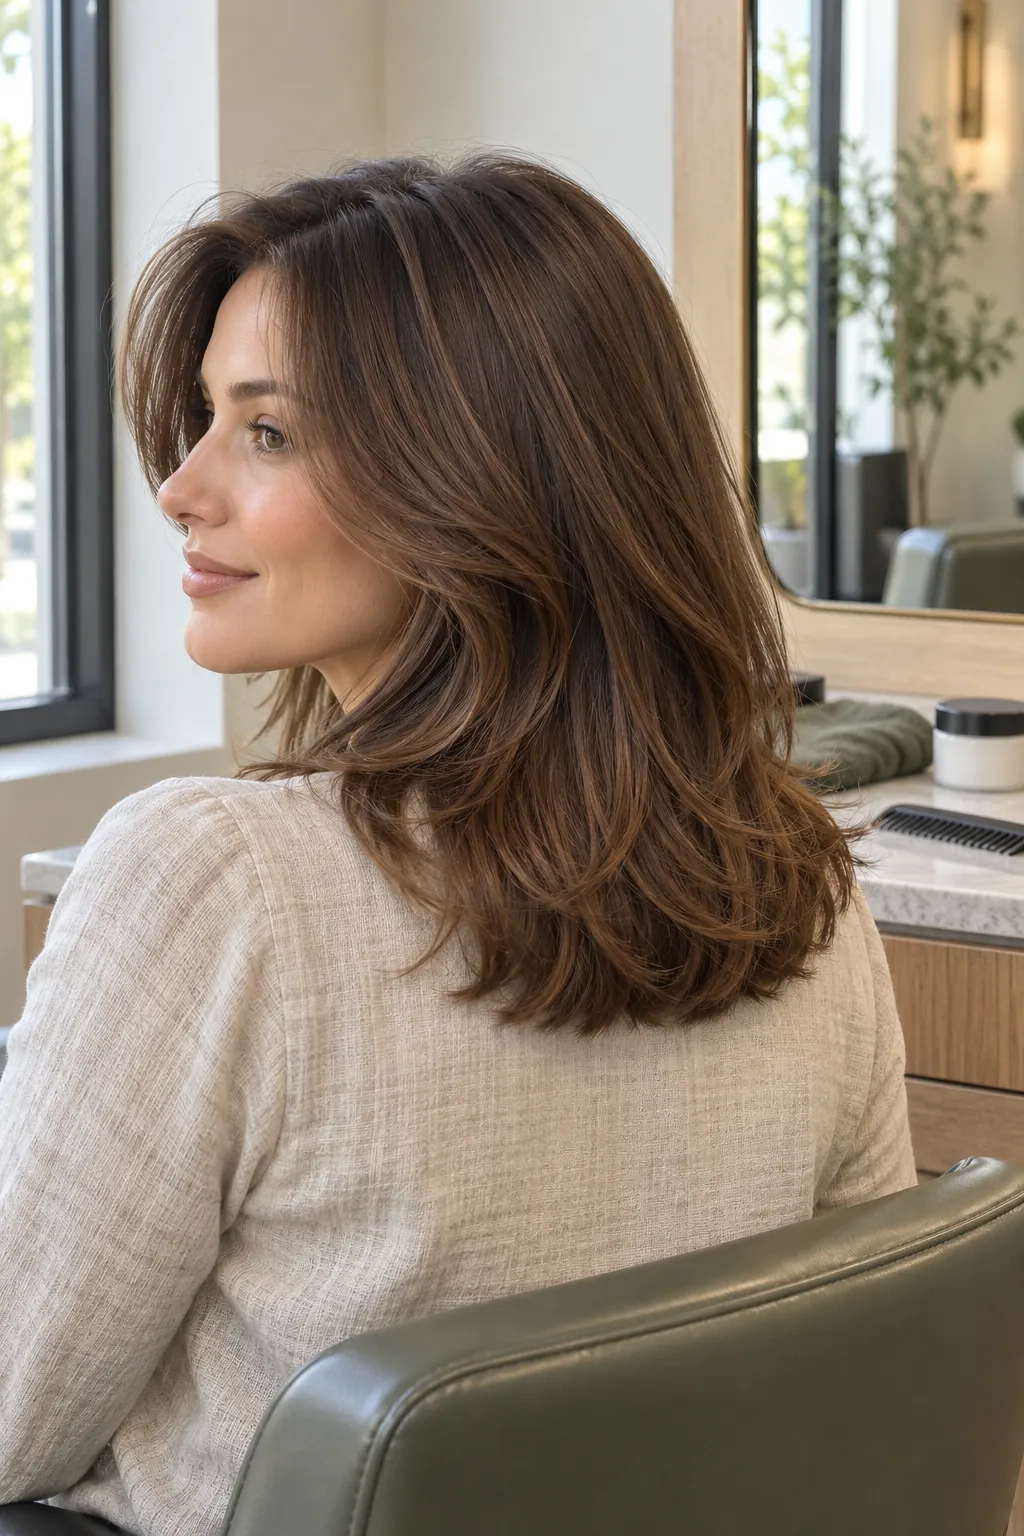
This version keeps the perimeter full while long layers release movement through the lower half. It suits medium density hair that needs shape without losing the option for a ponytail. Ask the stylist to begin the shortest interior layer below the jaw so the front does not spring too wide. A round brush adds polish, but the cut can also settle into a soft bend after air drying.
Blunt Base With Invisible Layers
A blunt base makes the ends look dense, while hidden interior layers remove weight that would otherwise form a solid triangle. The outside reads as one strong line because the shorter pieces stay beneath the surface. This is a useful comparison for fine hair with plenty of strands or straight hair that becomes heavy near the shoulders. Request internal weight removal instead of obvious graduation, then plan a trim when the base starts to look uneven.
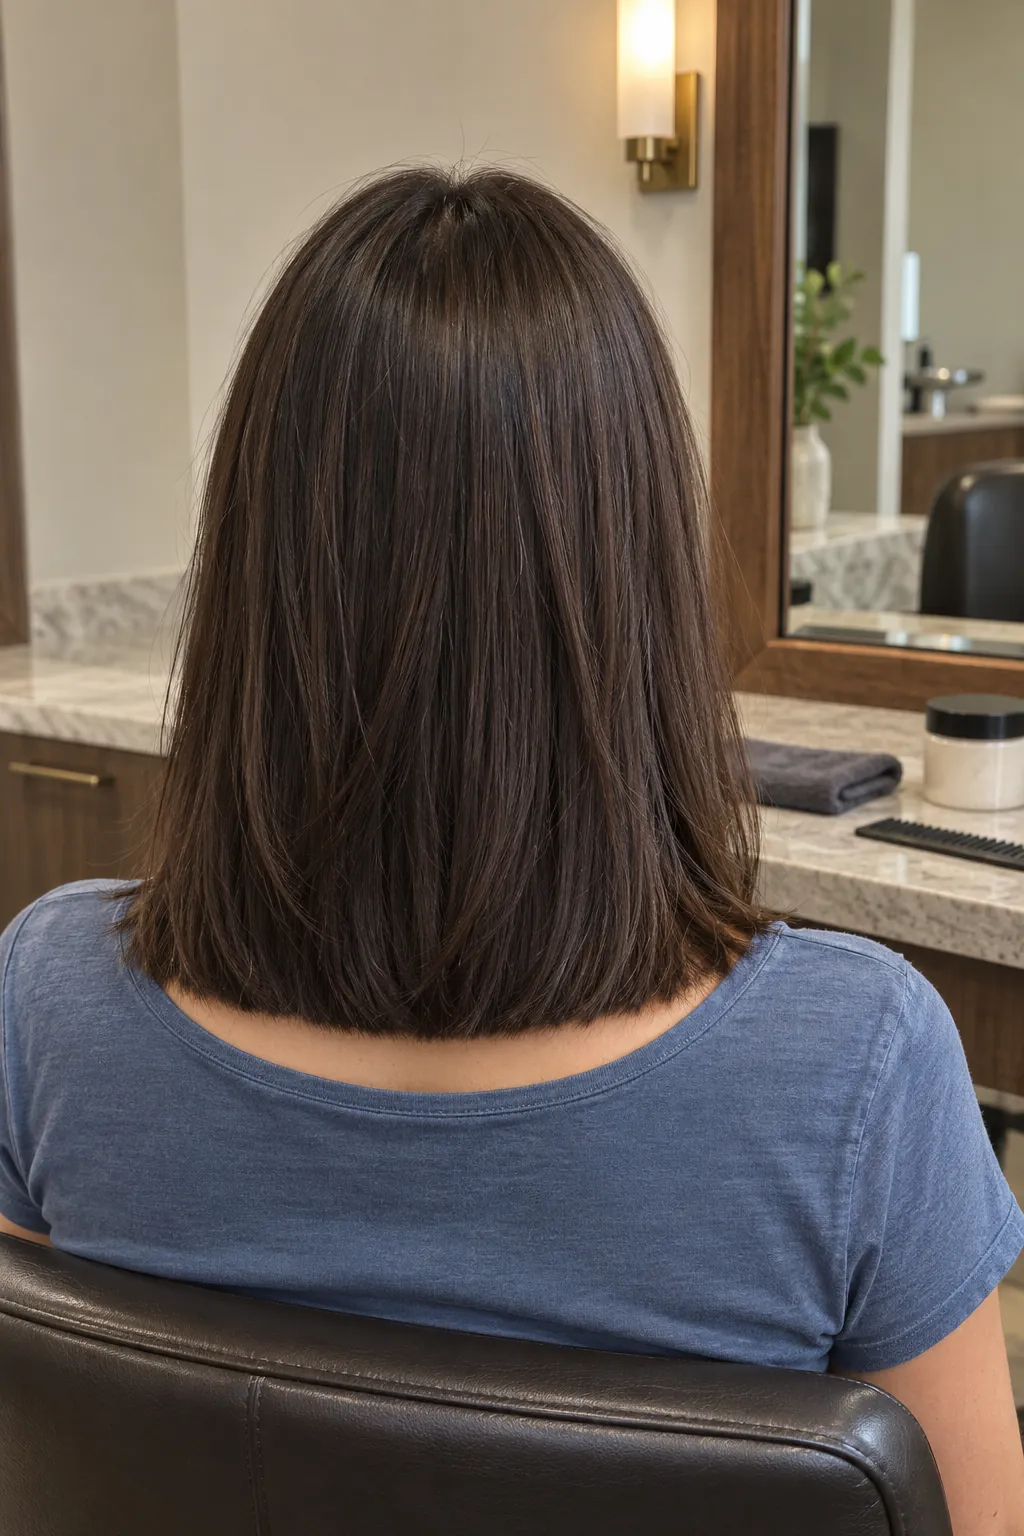
Face Framing Layers
Face framing begins near the cheekbones and travels gradually into the shoulder length perimeter. The front looks lighter than a long layered cut, but the back can remain calm and substantial. Bring a reference that shows where the first bend should land while your hair is dry, since shrinkage changes that point. Styling only the front with a round brush gives definition without requiring a complete blowout.
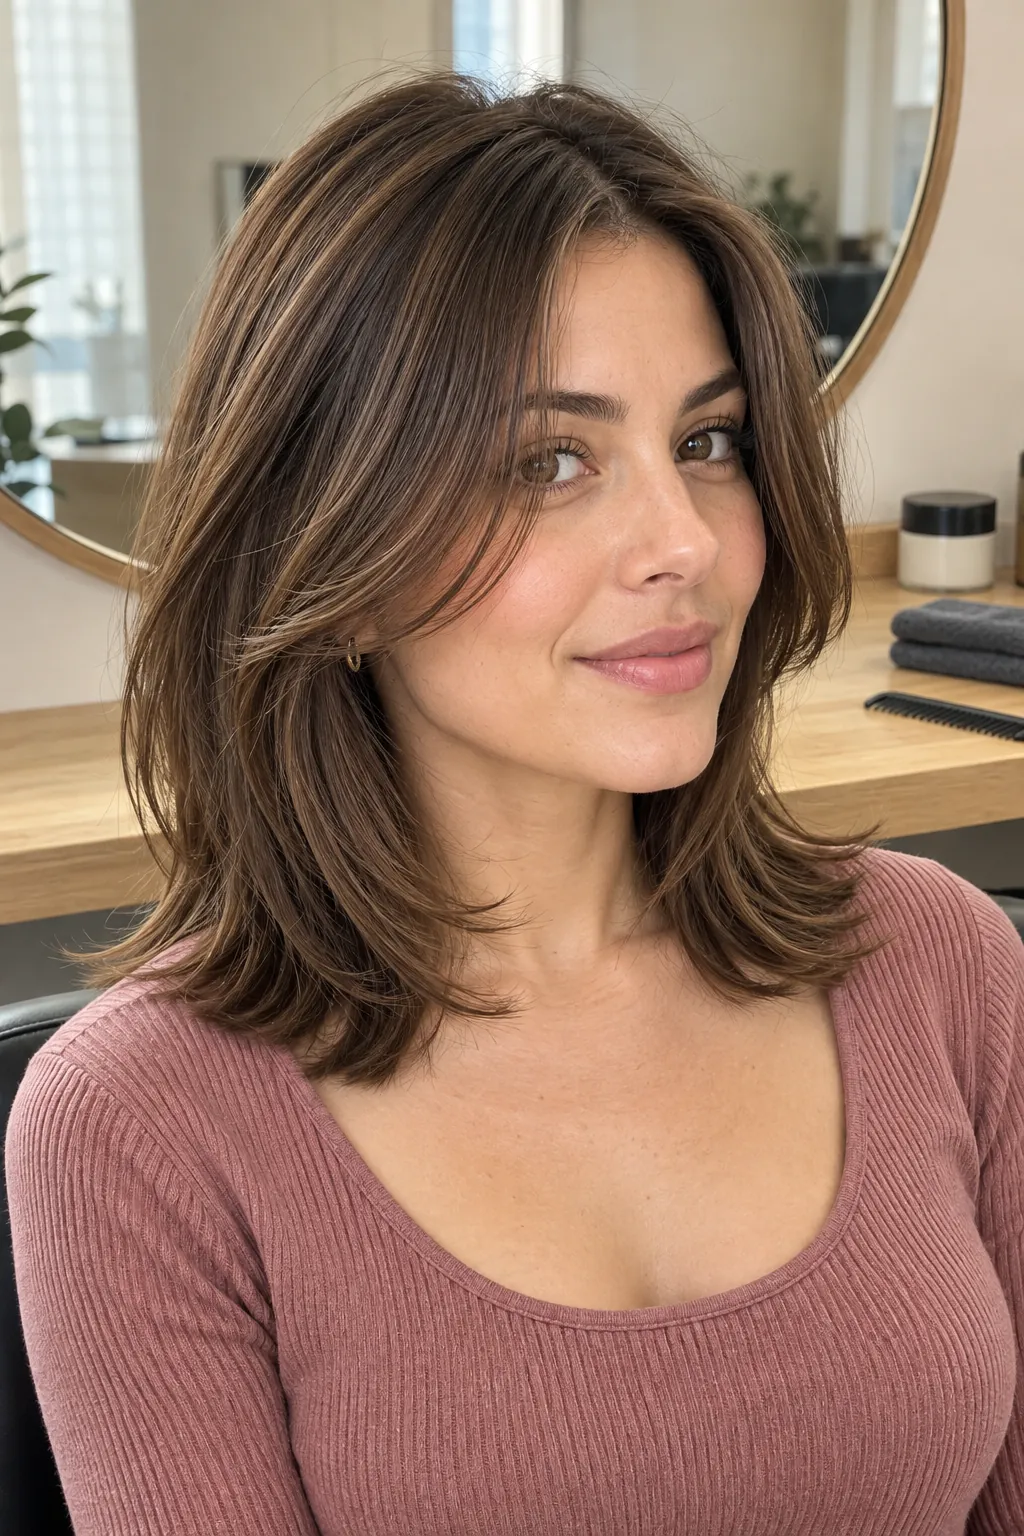
Butterfly Layers At The Shoulders
Butterfly layers create a short airy contour near the face and a longer wing that rests at the shoulders. At this length, the contrast is softer than it is on very long hair, so the outline stays wearable. The shape works best when there is enough density to support two visible levels without exposing sparse ends. Use a large round brush away from the face, and ask for the shortest pieces to remain long enough to tuck behind the ears.
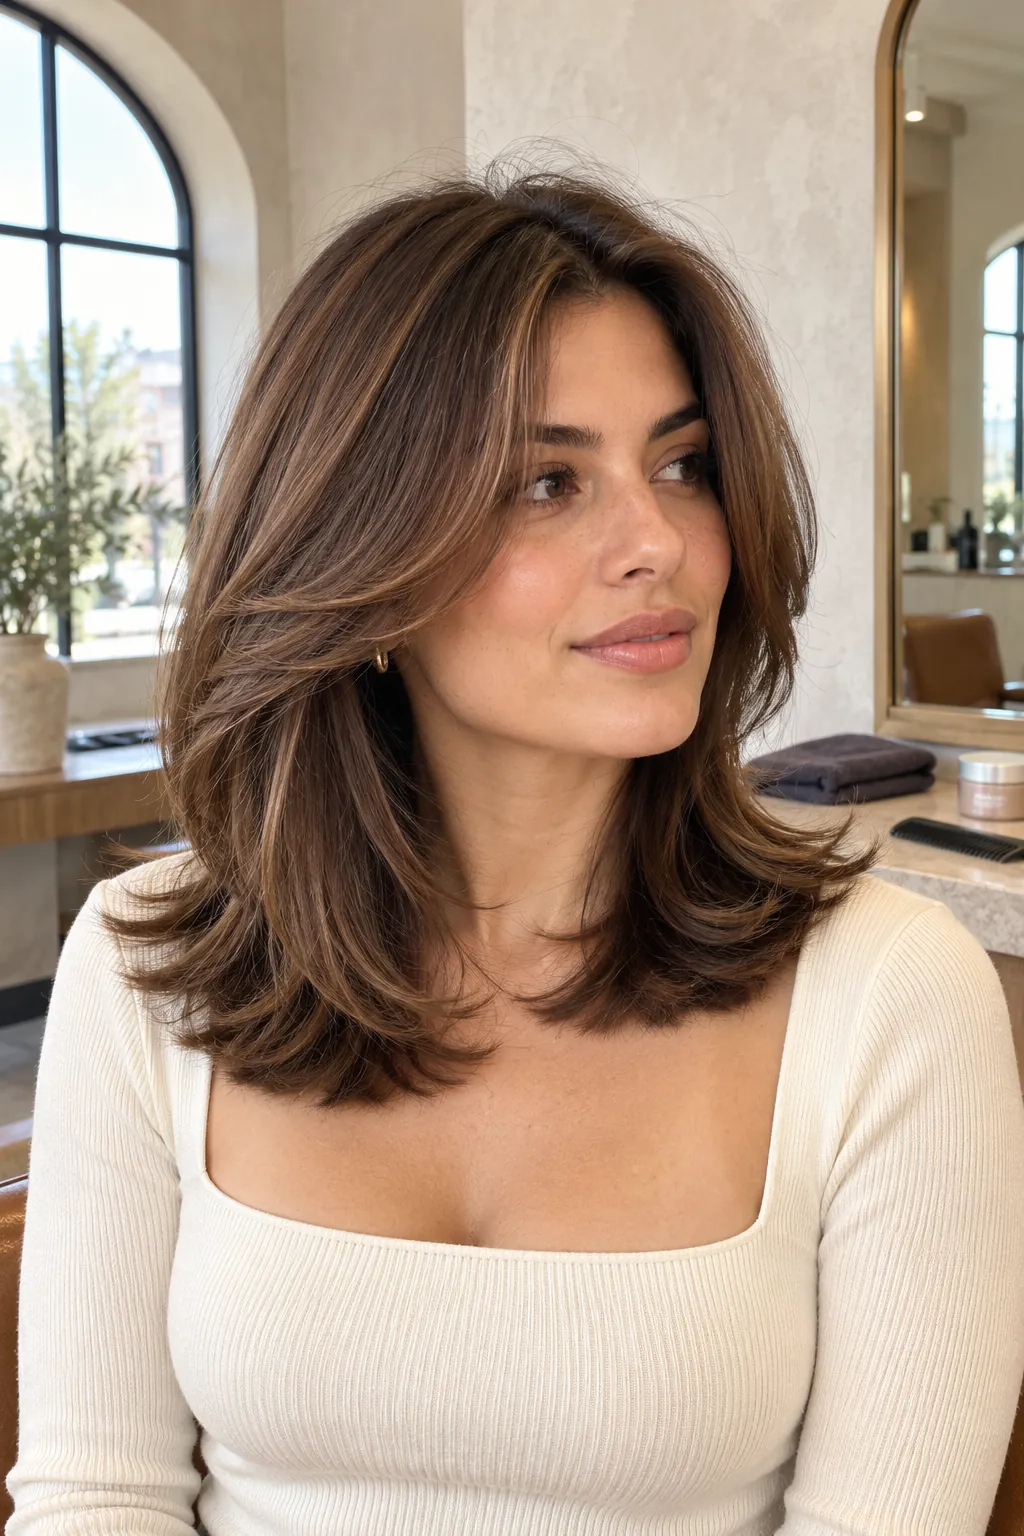
Rounded C Shape Layers
Rounded layers follow the head and curve inward toward the collarbones, which creates a compact C shaped silhouette. The result looks more controlled than a shag and softer than a blunt lob. It can flatter straight or lightly wavy hair when the ends naturally accept a bend. Ask for connected graduation rather than disconnected chunks, then smooth the ends inward with a paddle brush or large roller.
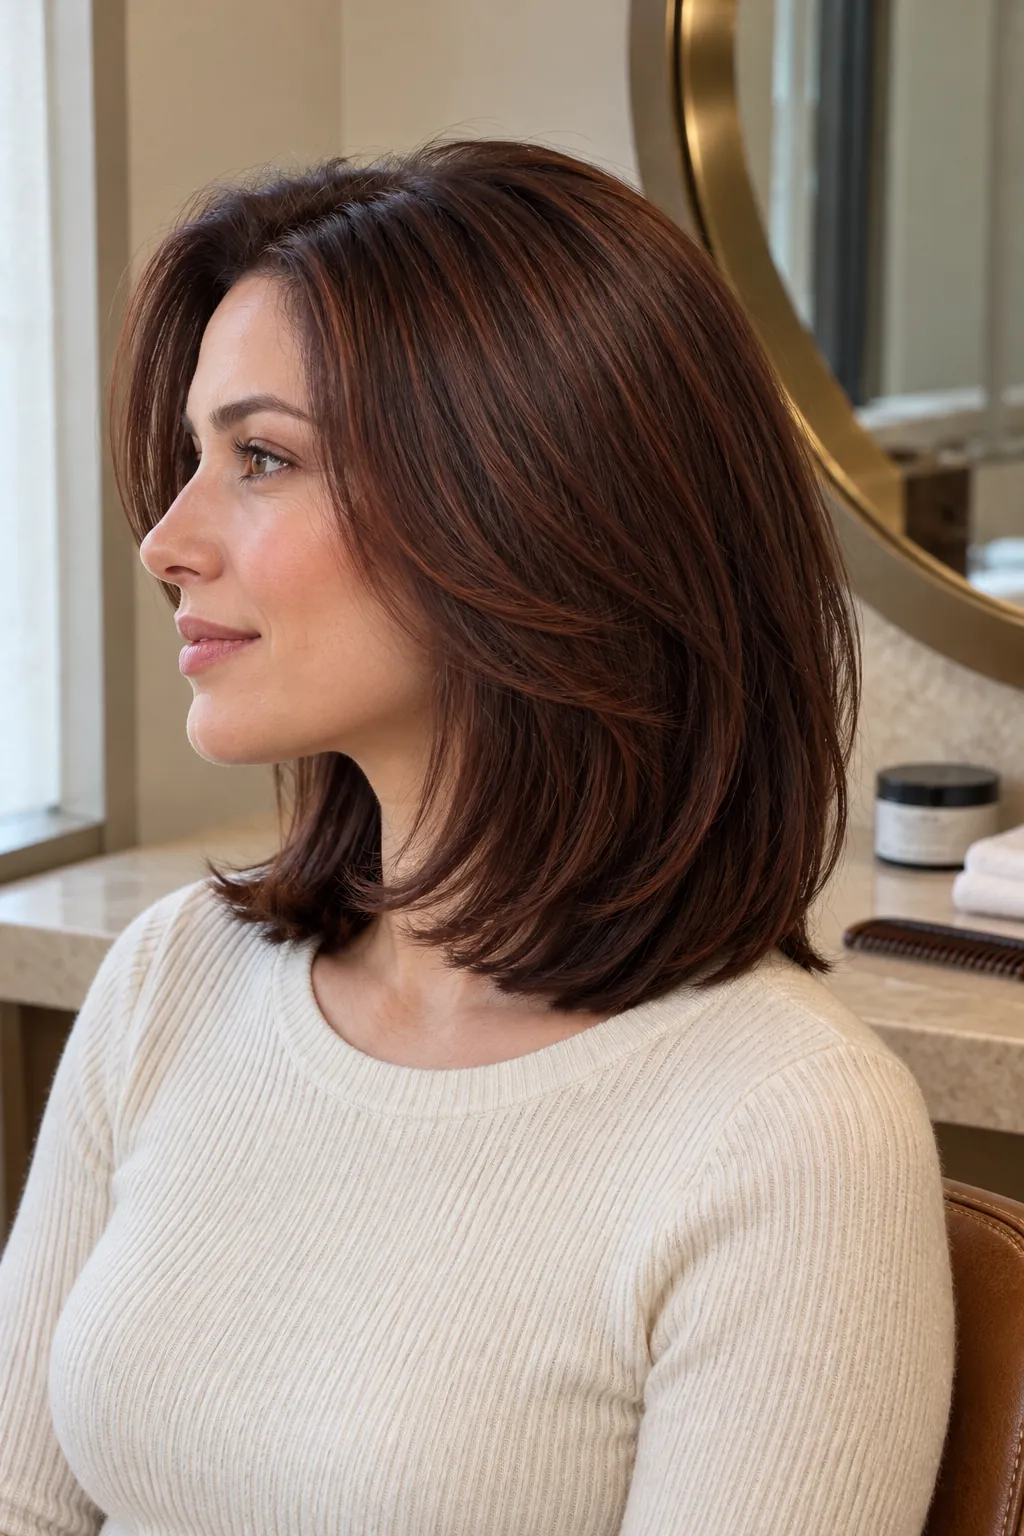
U Shape Perimeter
A U shaped perimeter keeps more length through the center back and rises subtly toward the sides. Long layers echo that curve, so the hair moves without creating a sharp corner at either shoulder. This outline can make a dense cut feel graceful while preserving a generous base. Ask to see the dry back view before leaving, because the curve should appear balanced when the hair falls naturally.
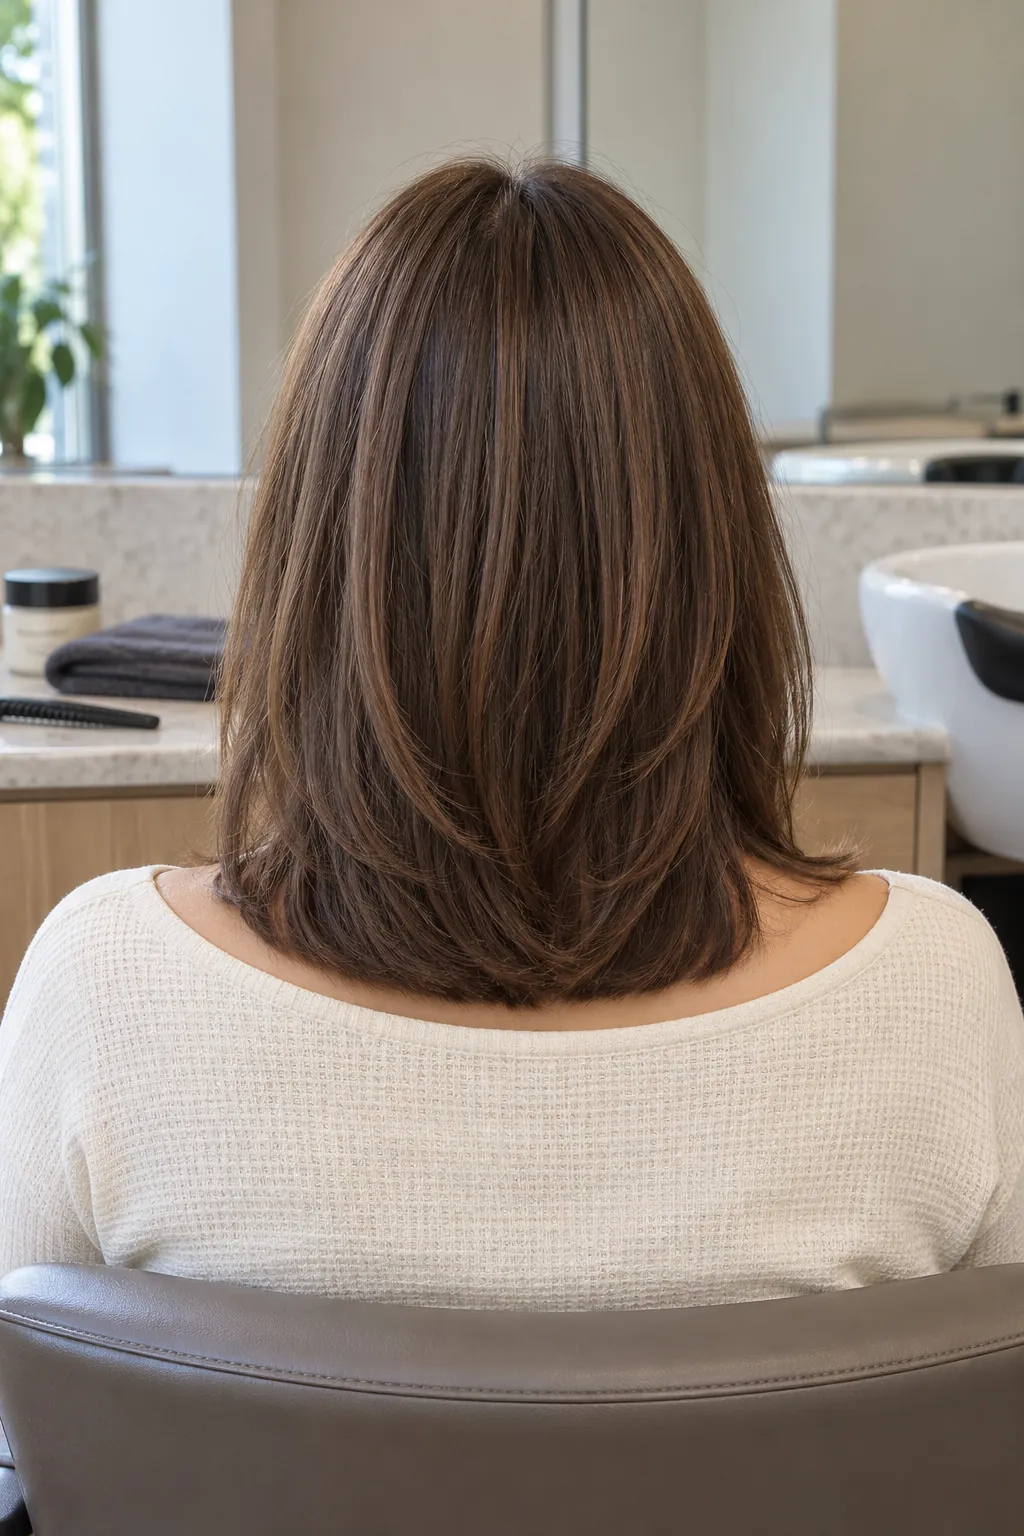
Modern Shoulder Shag
A modern shag places shorter layers around the crown and lets the lower pieces taper toward the shoulders. It creates more separation and lift than classic long layers, so the outline feels lively rather than polished. Natural waves help the sections form without constant heat styling, although very fine ends need restraint. Tell the stylist how much crown volume you enjoy and how often you air dry before agreeing on the shortest layer.
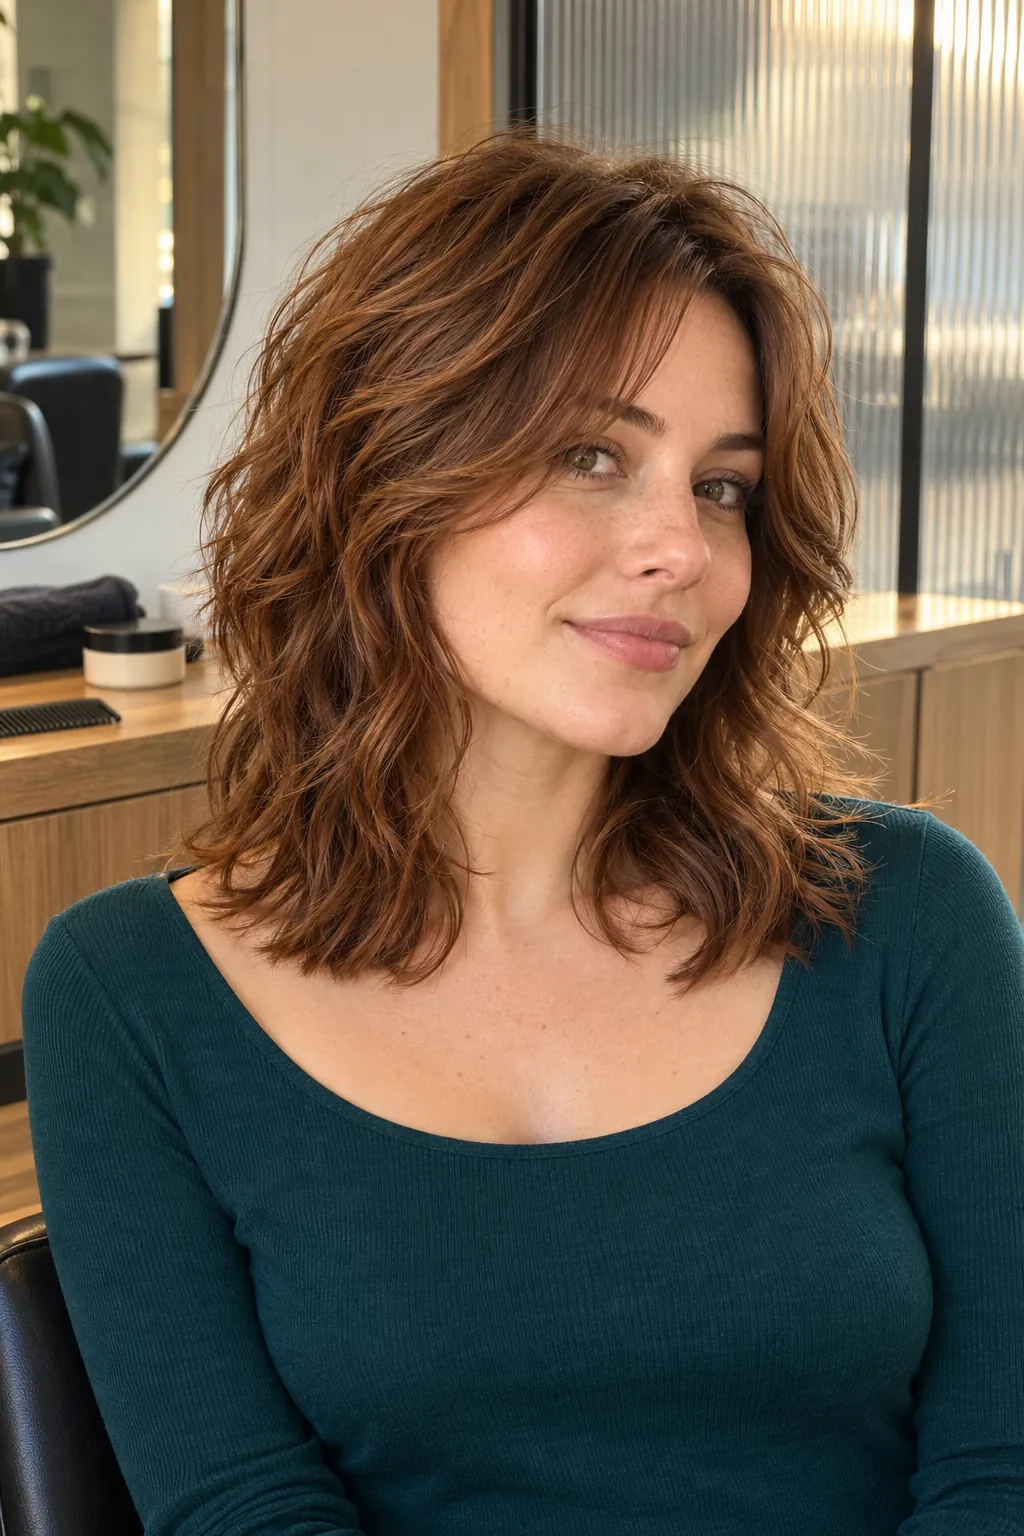
Soft Wolf Shape
The soft wolf shape uses crown lift and a narrower lower outline, but it avoids the extreme disconnection of a dramatic wolf cut. It gives wavy or thick hair room to expand without leaving a heavy shelf at the shoulders. The front can start near the cheek or jaw depending on how much daily styling feels realistic. Request soft transitions and keep enough weight behind the ears if you frequently clip your hair back.
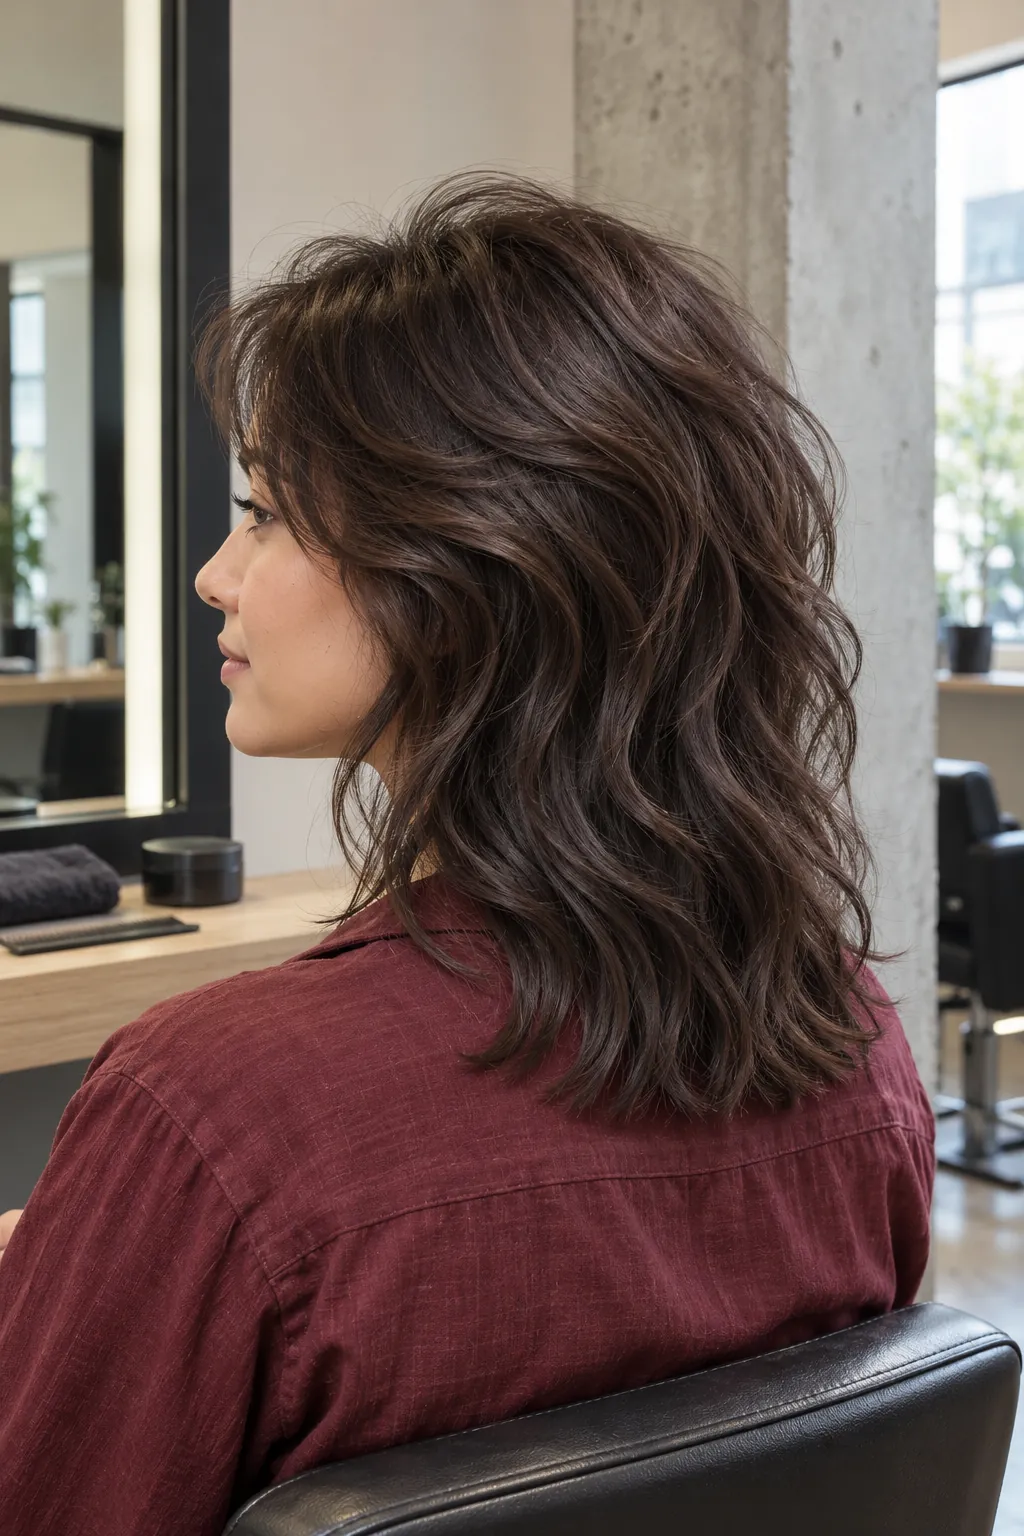
Curtain Bangs With Layers
Curtain bangs open at the center and merge into cheek and jaw length layers. They bring attention to the eyes while preventing the front from looking separate from the rest of the haircut. The tradeoff is more frequent fringe maintenance even when the shoulder perimeter can grow for longer. Ask for a length that works with your natural part, then style the fringe first while it is still damp.
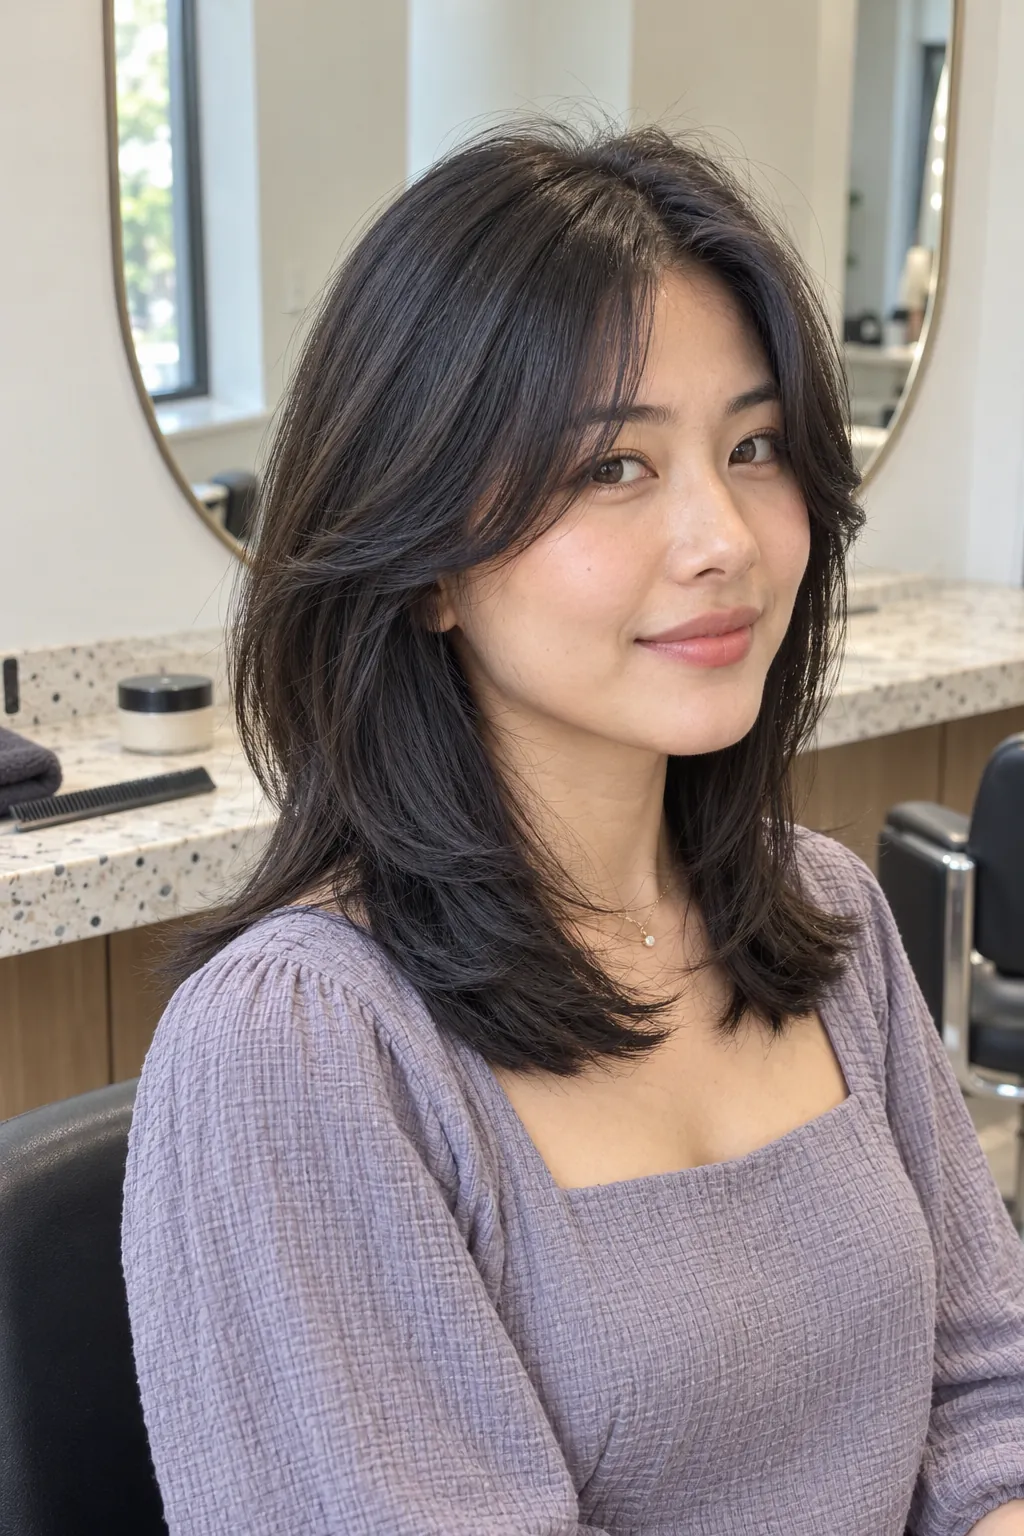
Side Swept Face Frame
A deep side part sends one longer face framing section across the forehead and into the cheek. The asymmetry adds height on one side and softness on the other without changing the back perimeter. It is a strong option when a center part feels flat or when a growing fringe needs direction. Have the stylist cut around the part you actually wear, since shifting it later will change the balance.
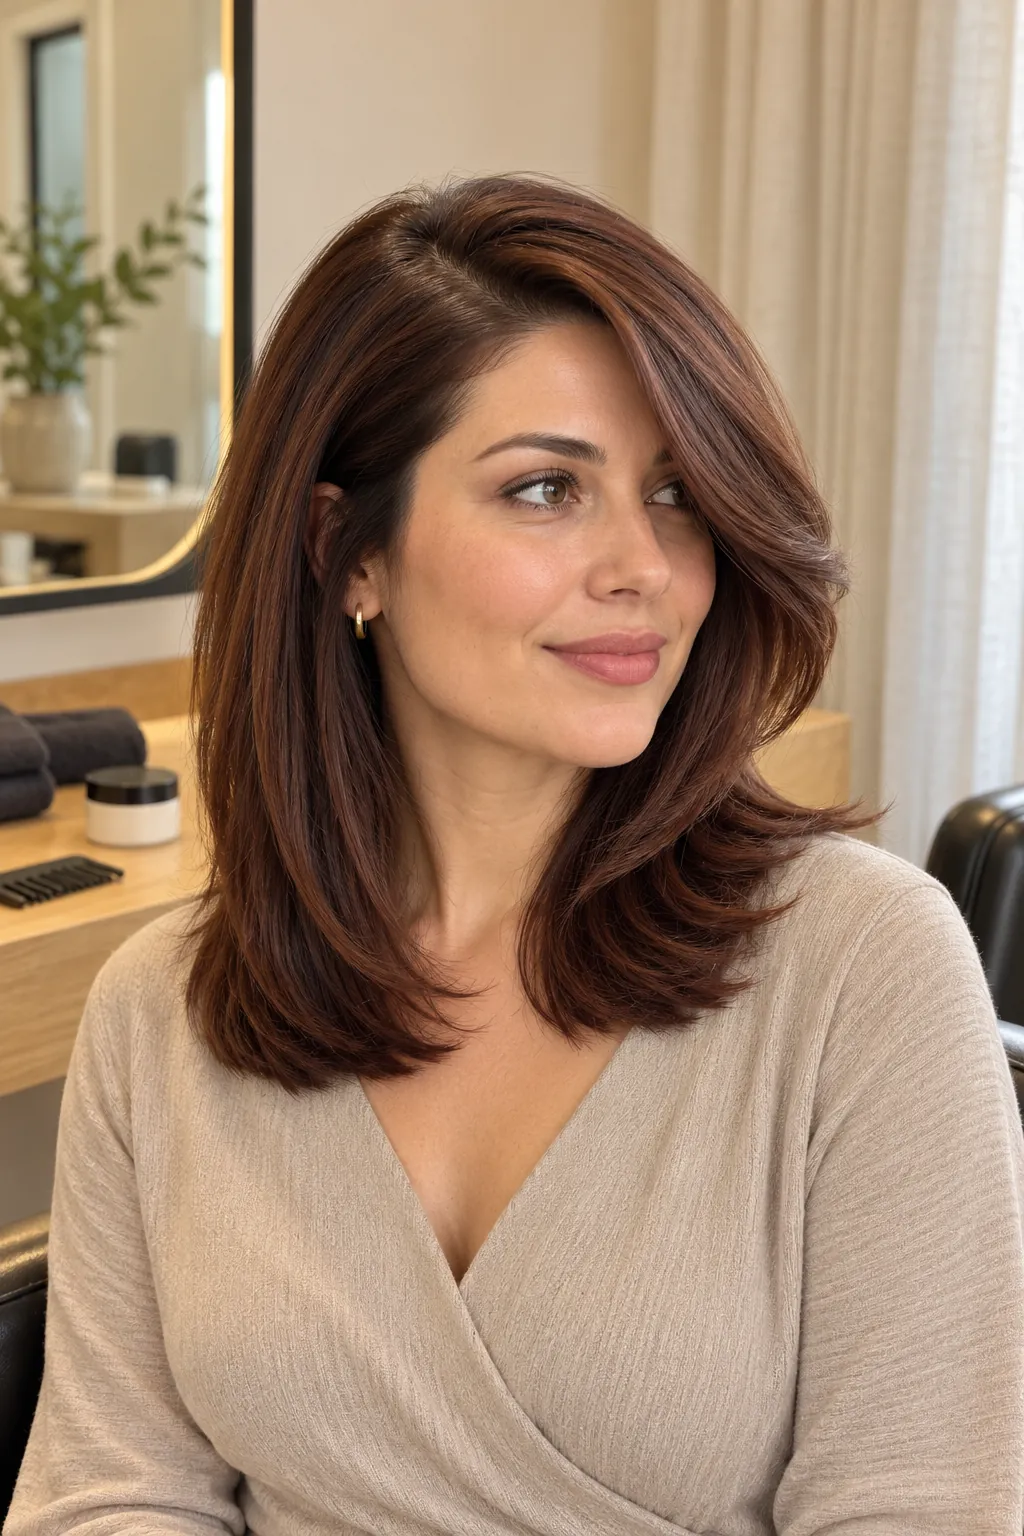
Feathered Seventies Layers
Feathered layers turn away from the face and build an open silhouette around the cheekbones and shoulders. Compared with butterfly layers, the pieces are finer and the finish has more directional texture. Medium to thick straight hair usually holds the visible sweep most easily with heat or rollers. Ask for enough connection through the back so the cut still looks intentional on days when the ends are not flipped.
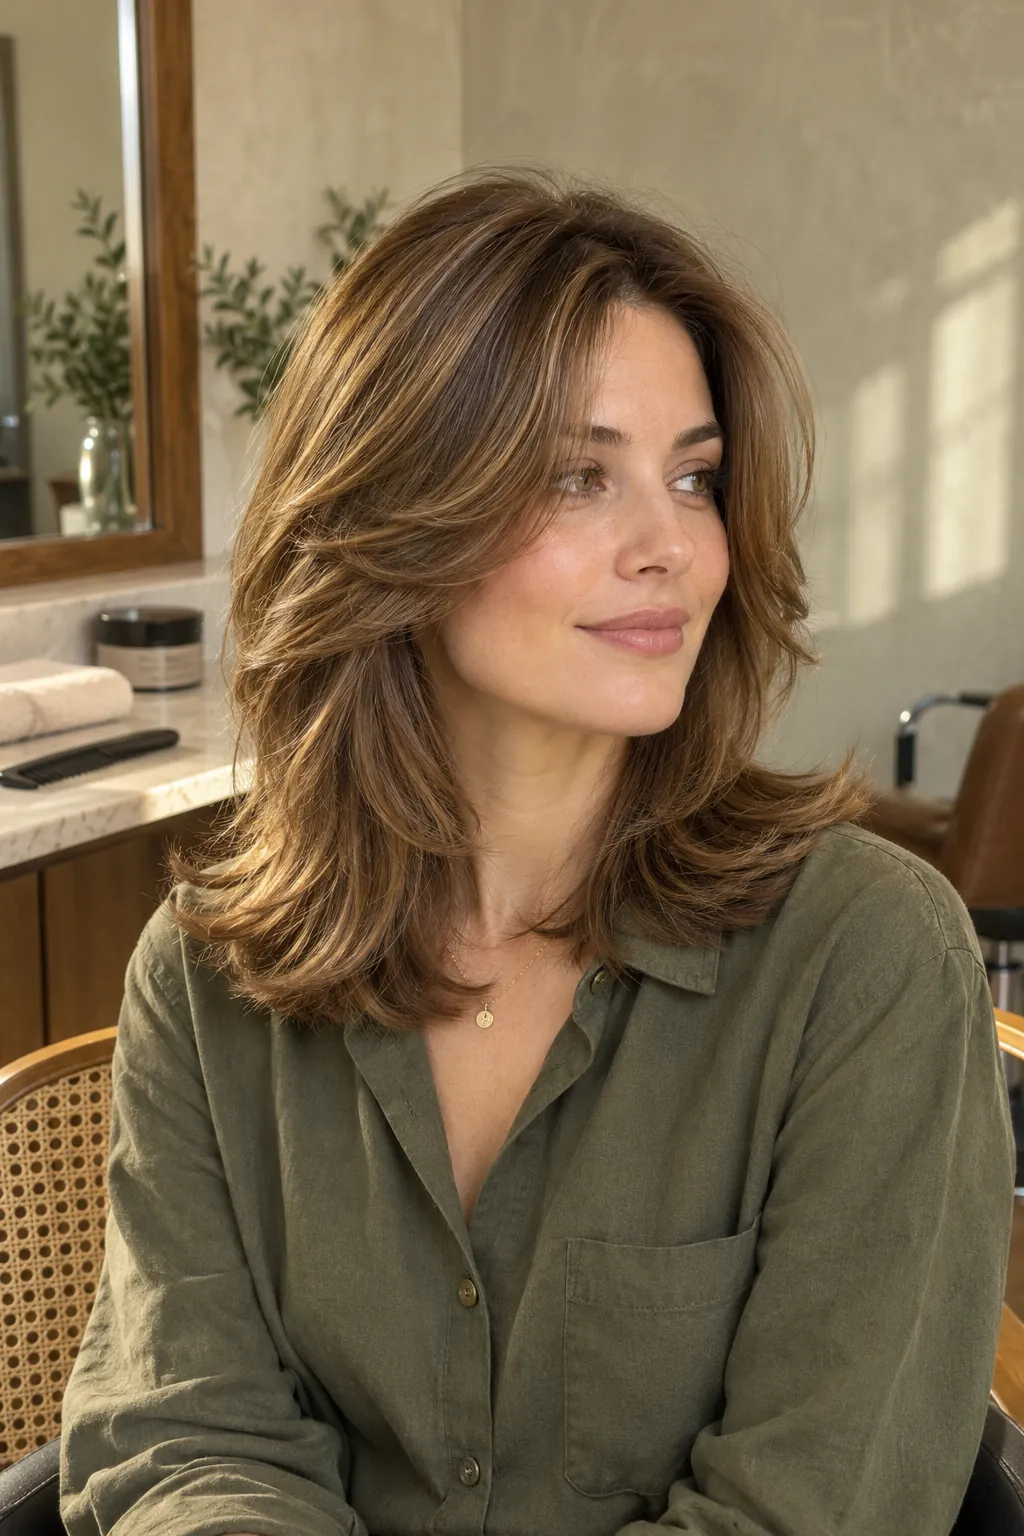
Air Dried Wavy Layers
Air dried wavy layers should release natural bends without turning the lower edge thin. Longer interior pieces let wave groups form, while a solid enough base keeps day three hair from looking sparse. Arrive with your usual texture visible and explain whether you diffuse, plop, or simply leave it alone. The best comparison is the unstretched dry length, because wet hair can disguise how high each wave will rise.
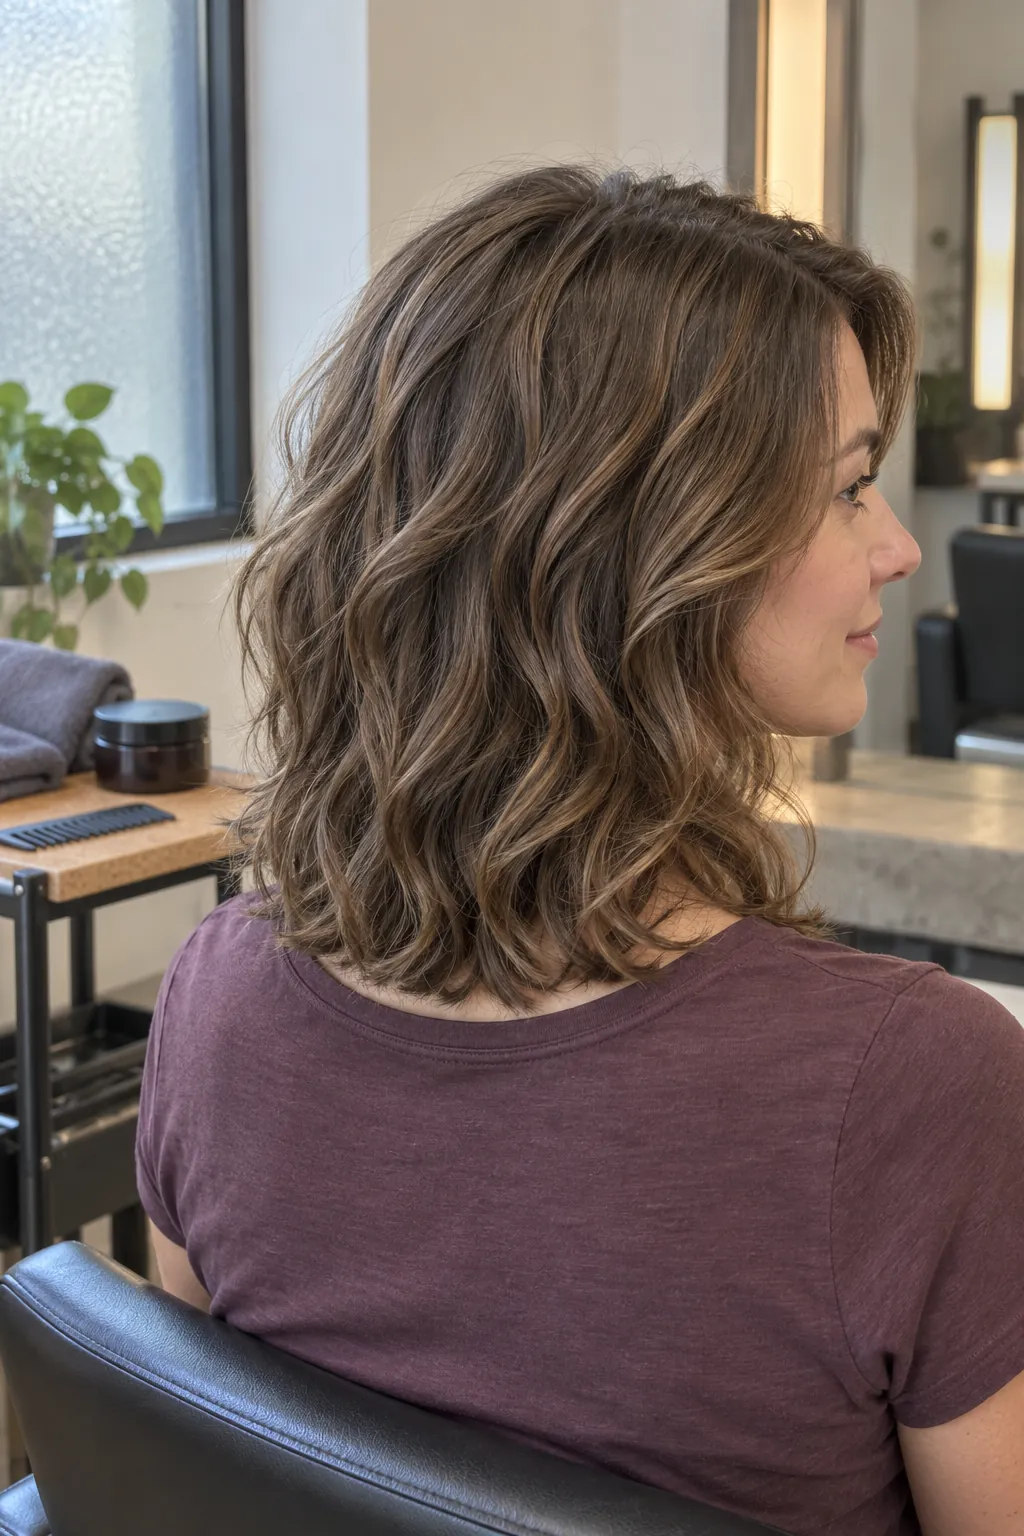
Curly Shoulder Layers
Curly shoulder layers distribute volume from crown to perimeter instead of letting it collect in a triangular base. The stylist should assess curl shrinkage and the way individual sections spring before choosing the shortest point. A rounded outline gives balanced width, while selective internal layering prevents the sides from becoming hollow. Discuss whether you wear a wash and go, twists, or stretched styles so the cut supports more than one routine.
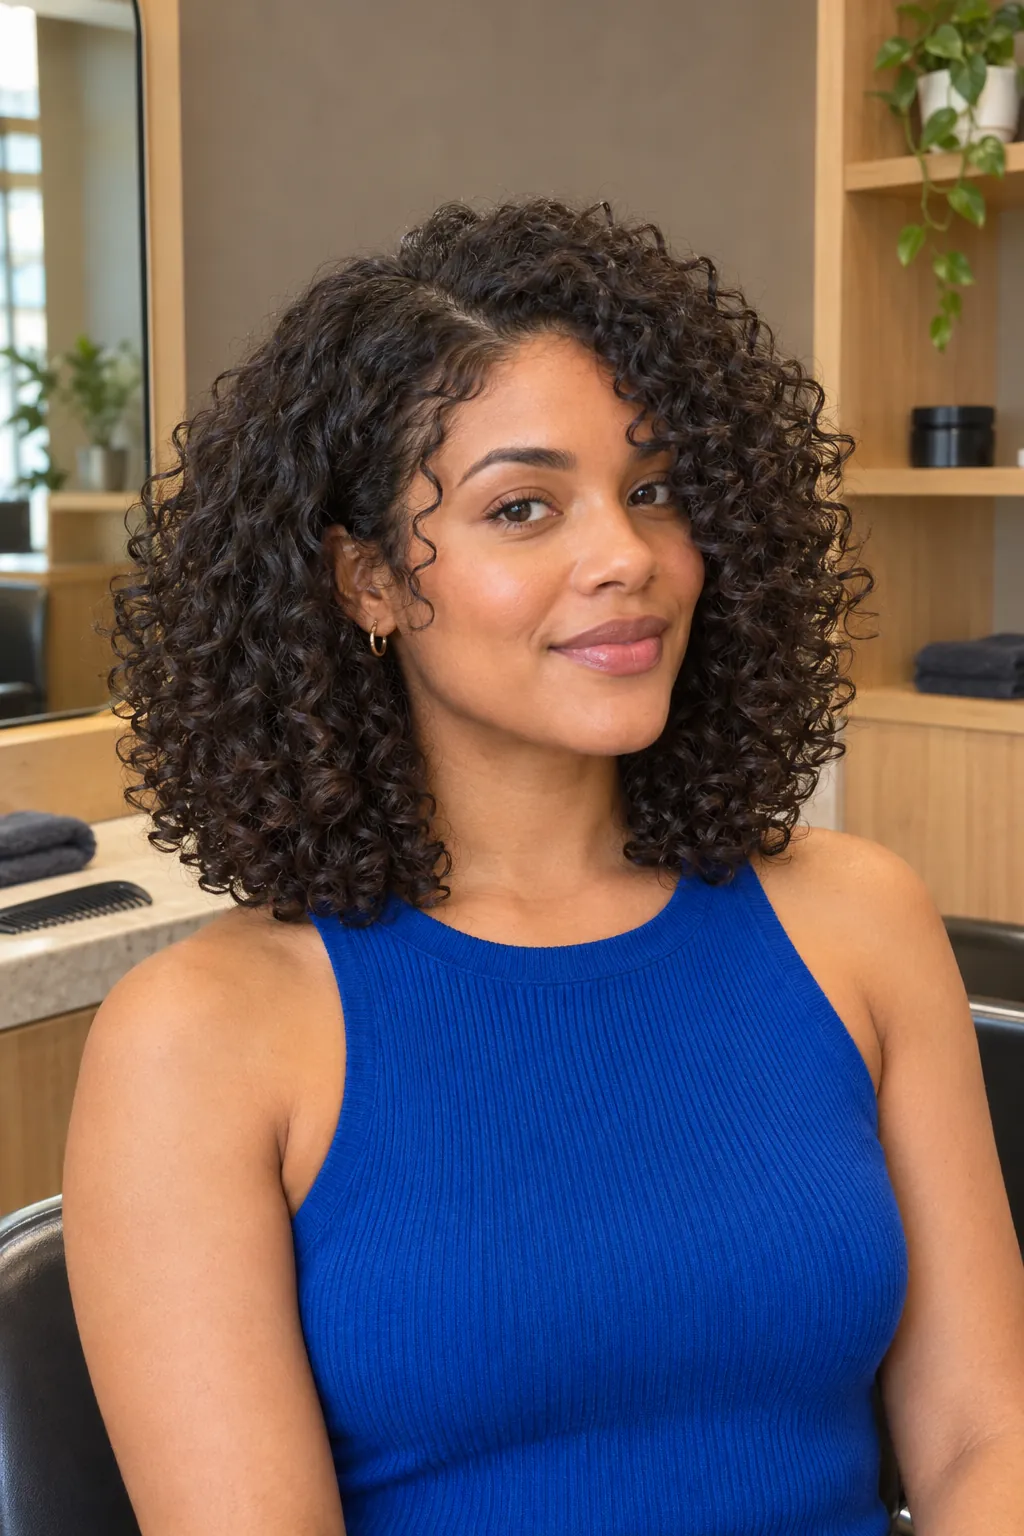
Minimal Layers For Fine Hair
Fine hair often looks fullest when most of the weight remains at the perimeter. A few long surface or face framing pieces can create motion without making the ends transparent. Compare the thickness of the base with the amount of lift you want before asking for more layers. A light mousse and rough dry can add body, but the haircut should not depend on a complicated blowout.
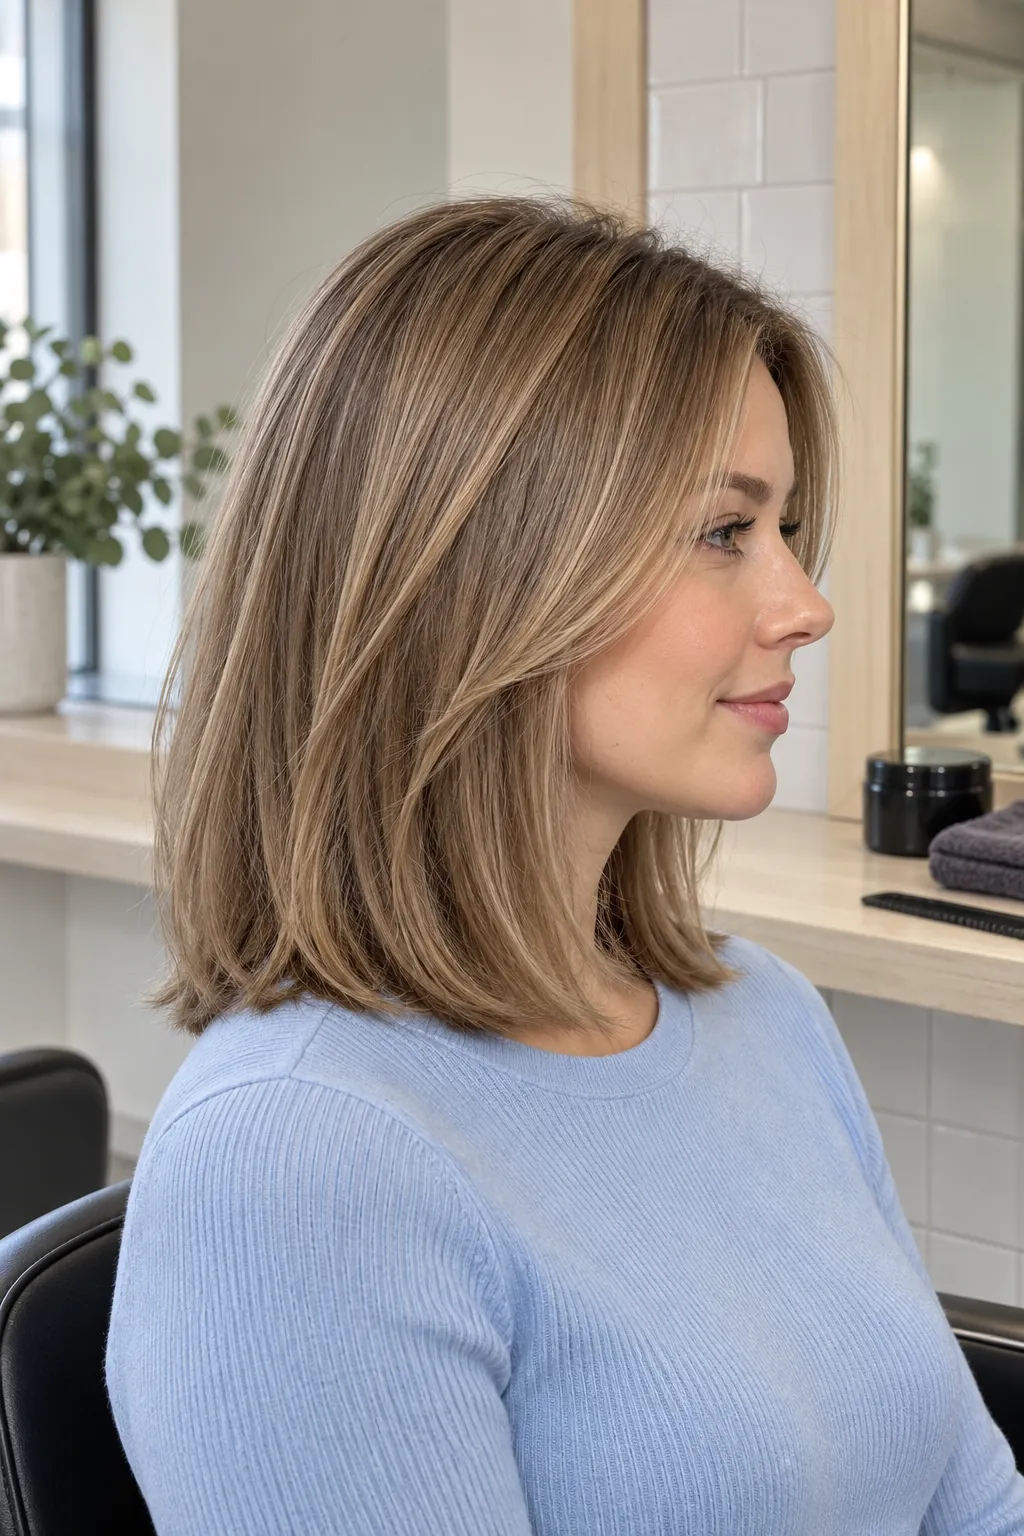
Internal Layers For Thick Hair
Internal layers remove bulk from beneath the surface while preserving a calm outer shape. Thick hair gains movement and dries faster, yet the visible perimeter can remain strong. The technique differs from aggressive thinning because the weight is removed in planned zones rather than randomly shredded. Ask where the stylist intends to release density, especially around the occipital area and behind the ears.
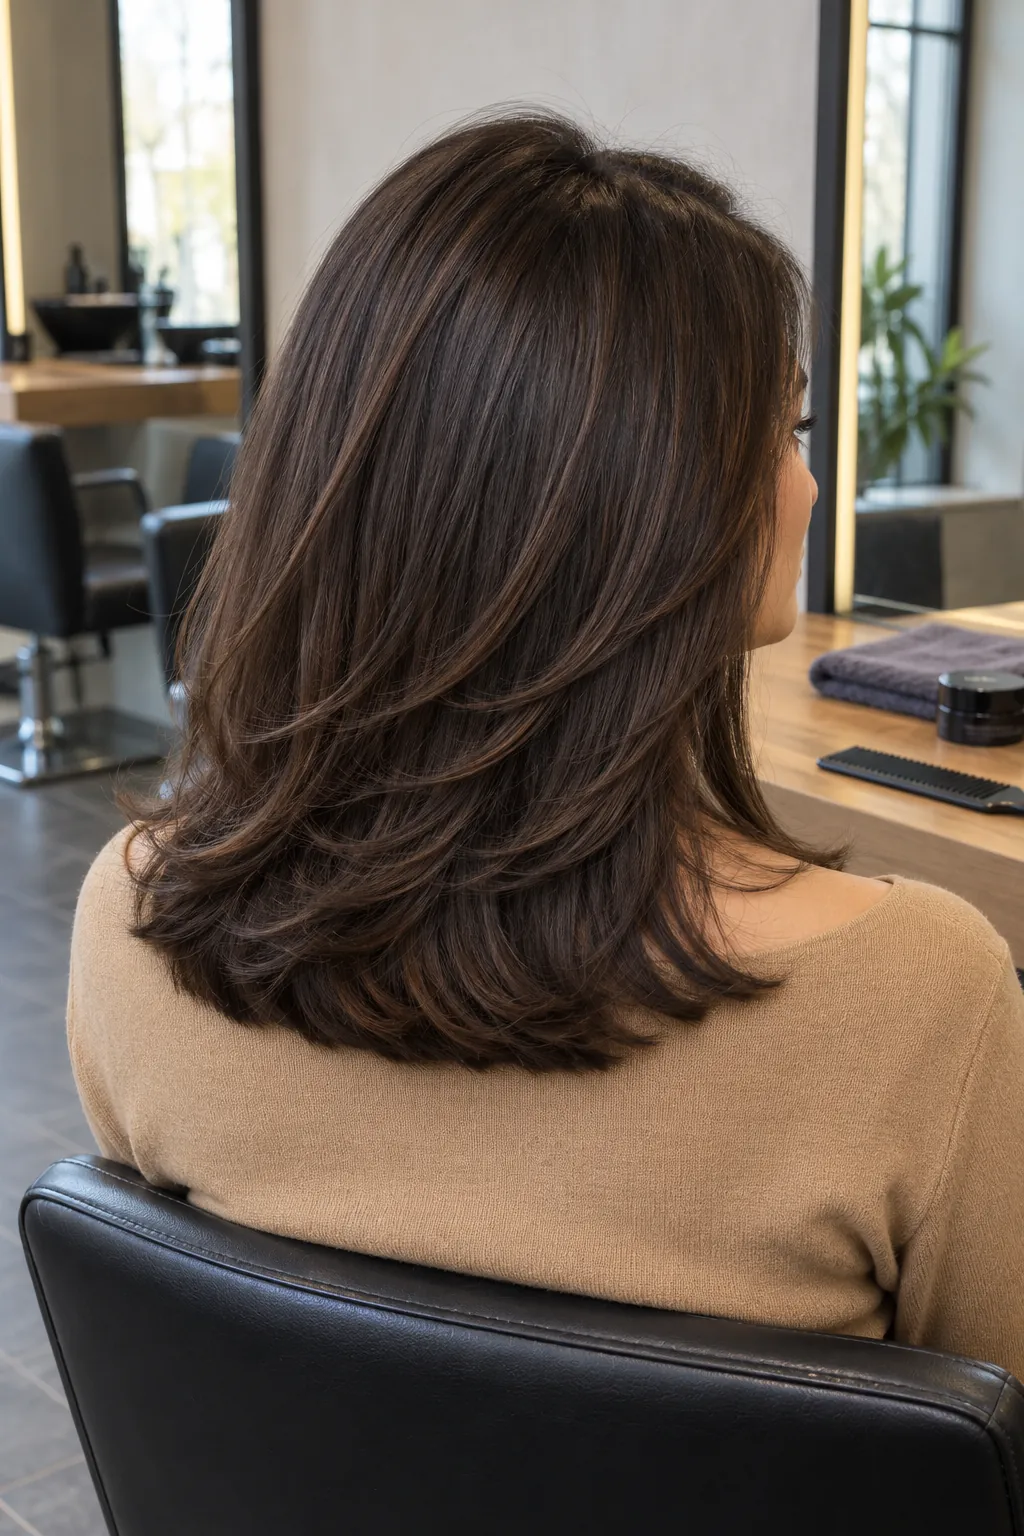
Polished Layers For Straight Hair
Straight hair makes every change in elevation visible, so connected layers create the cleanest flow. The shortest pieces can begin below the chin and move into a softly beveled perimeter. This approach adds shape without the choppy gaps that straight strands tend to expose. Use a heat protectant and one smooth pass with a brush, then let the cut line provide most of the polish.
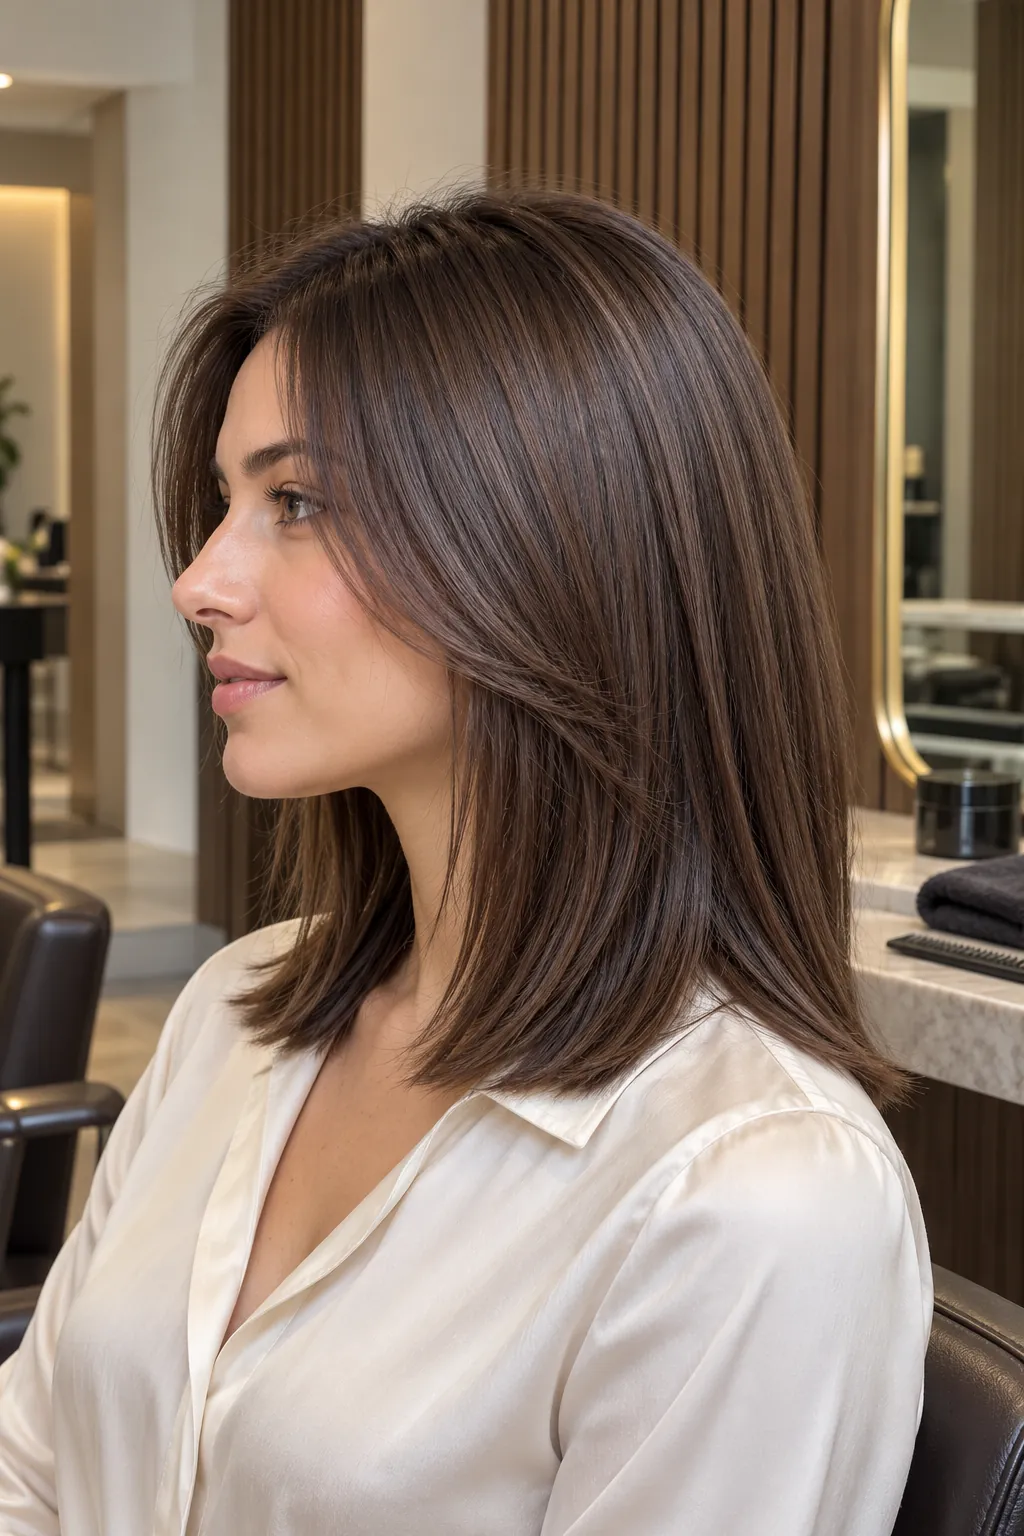
Flipped End Layers
Flipped ends direct the lower layers outward, which makes a shoulder length cut feel buoyant and playful. The effect is most visible when the perimeter lands just above the point where the shoulders force an accidental bend. Long connected layers prevent the flip from becoming a single rigid shelf. Ask the stylist to account for your neck and shoulder line, then use a round brush only through the last few inches.
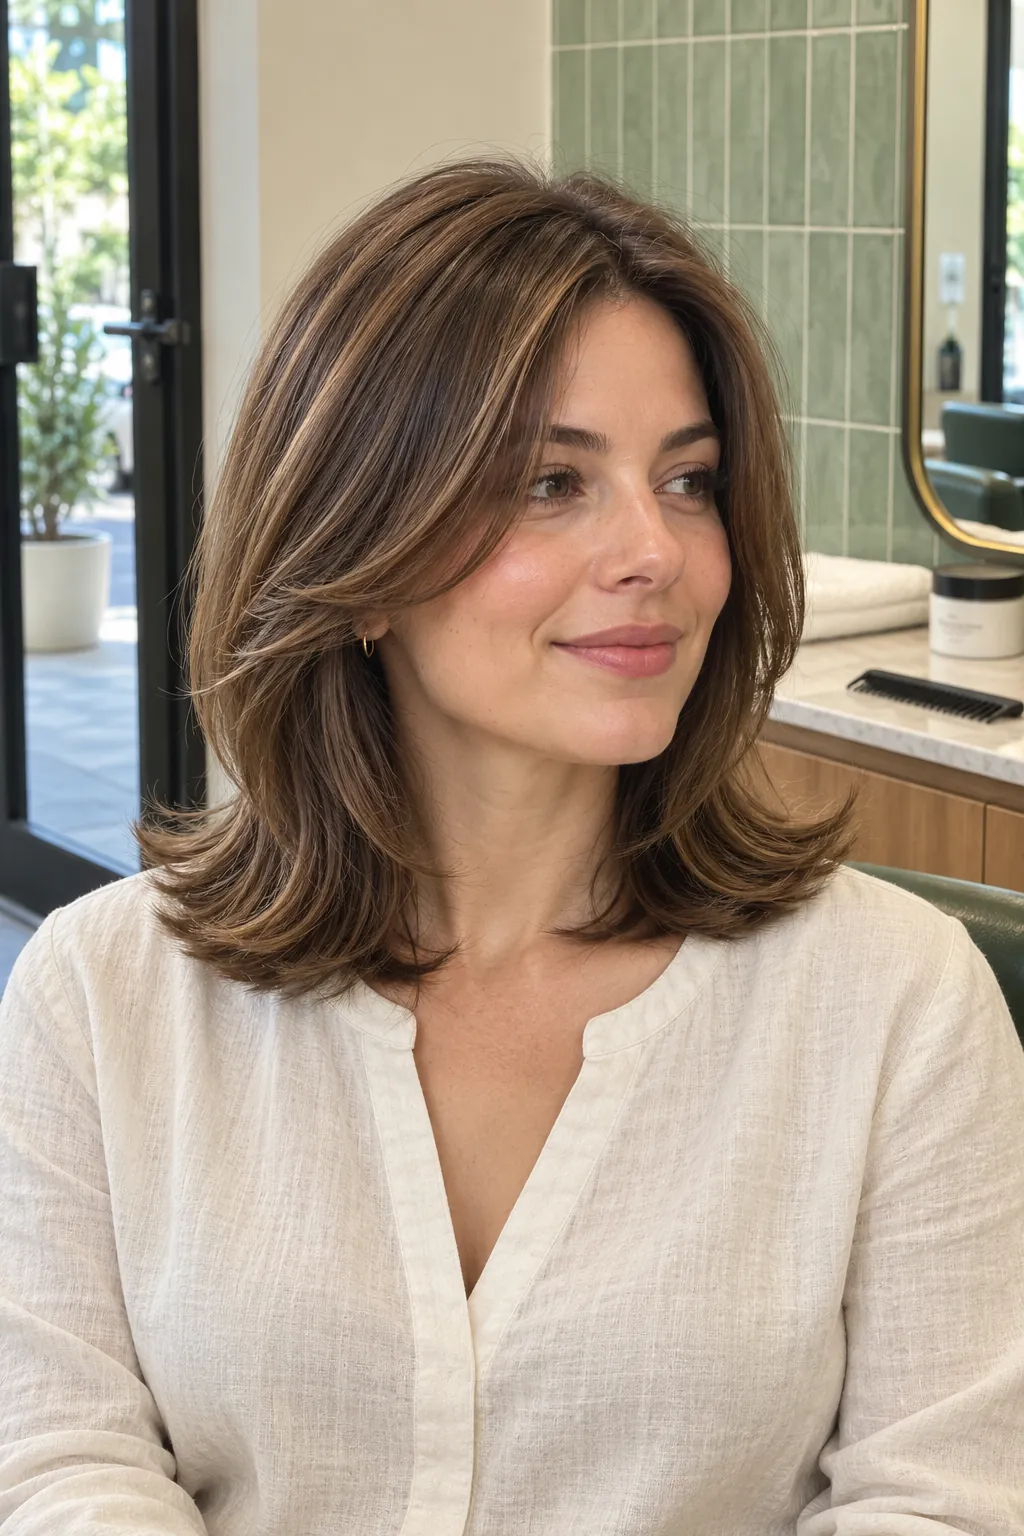
Layered Collarbone Lob
A layered collarbone lob sits slightly below the shoulder length category when straight and rises closer to the shoulders when waved. It combines the clean authority of a lob with enough layering to prevent a heavy block. The shape is versatile for people who alternate between smooth and textured finishes. Request a perimeter that stays substantial and layers that remain long enough to support both versions.
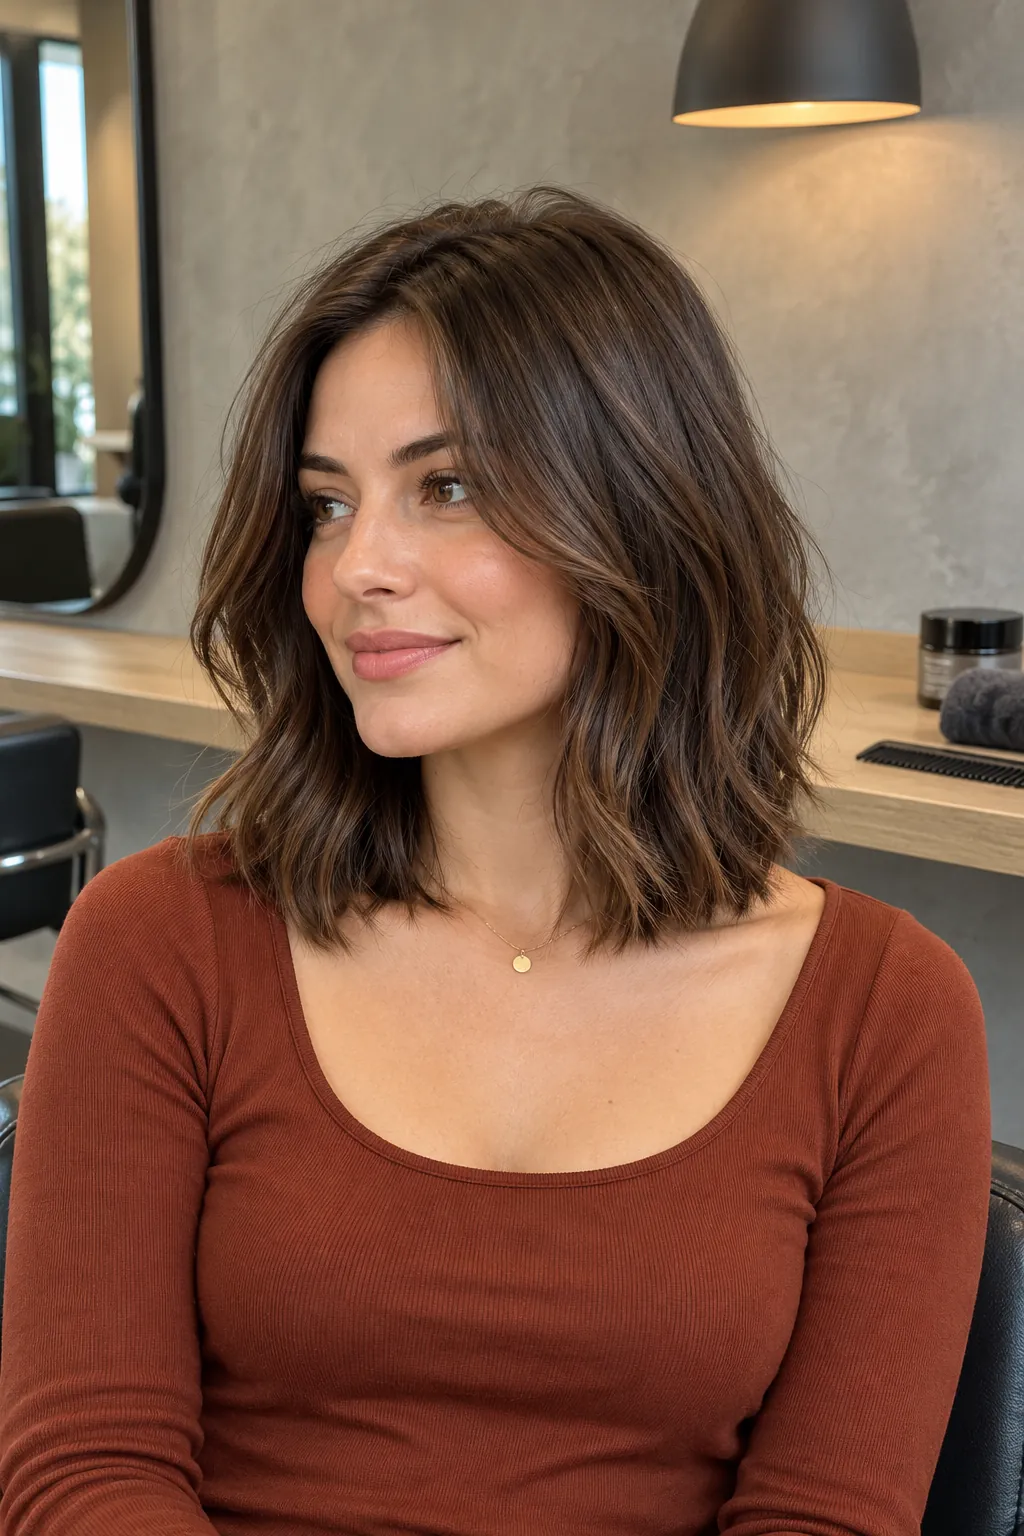
Razor Cut Texture
A razor can carve soft separation and reduce the blunt feeling of dense straight or wavy hair. The ends look airy and lived in, but the tool must suit the hair condition and the intended finish. Fragile or highly frizz prone strands may respond better to precise scissor work. Ask the stylist why a razor fits your texture and request enough perimeter weight to avoid a fuzzy edge.
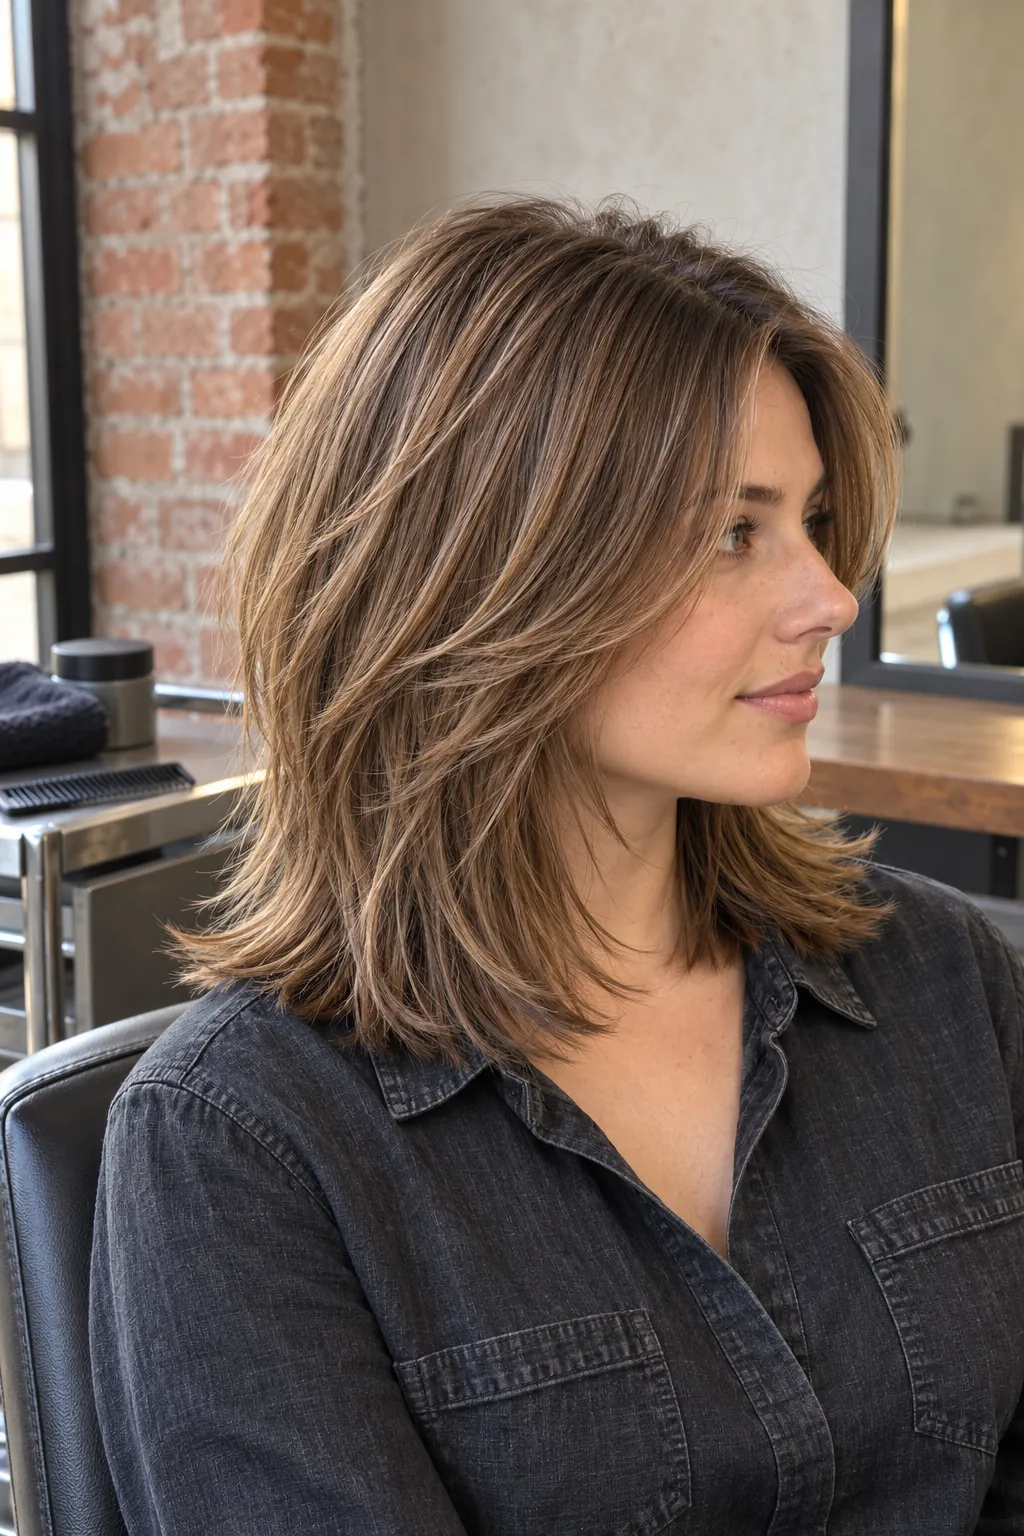
Soft Point Cut Layers
Point cutting softens a line by creating tiny variations at the ends rather than obvious feathering. Used lightly, it makes shoulder length layers blend while the overall edge still appears healthy. This is useful for straight to softly wavy hair that can look severe with a perfectly blunt finish. Ask for subtle end movement, and avoid vague requests for thinning if you want to preserve density.
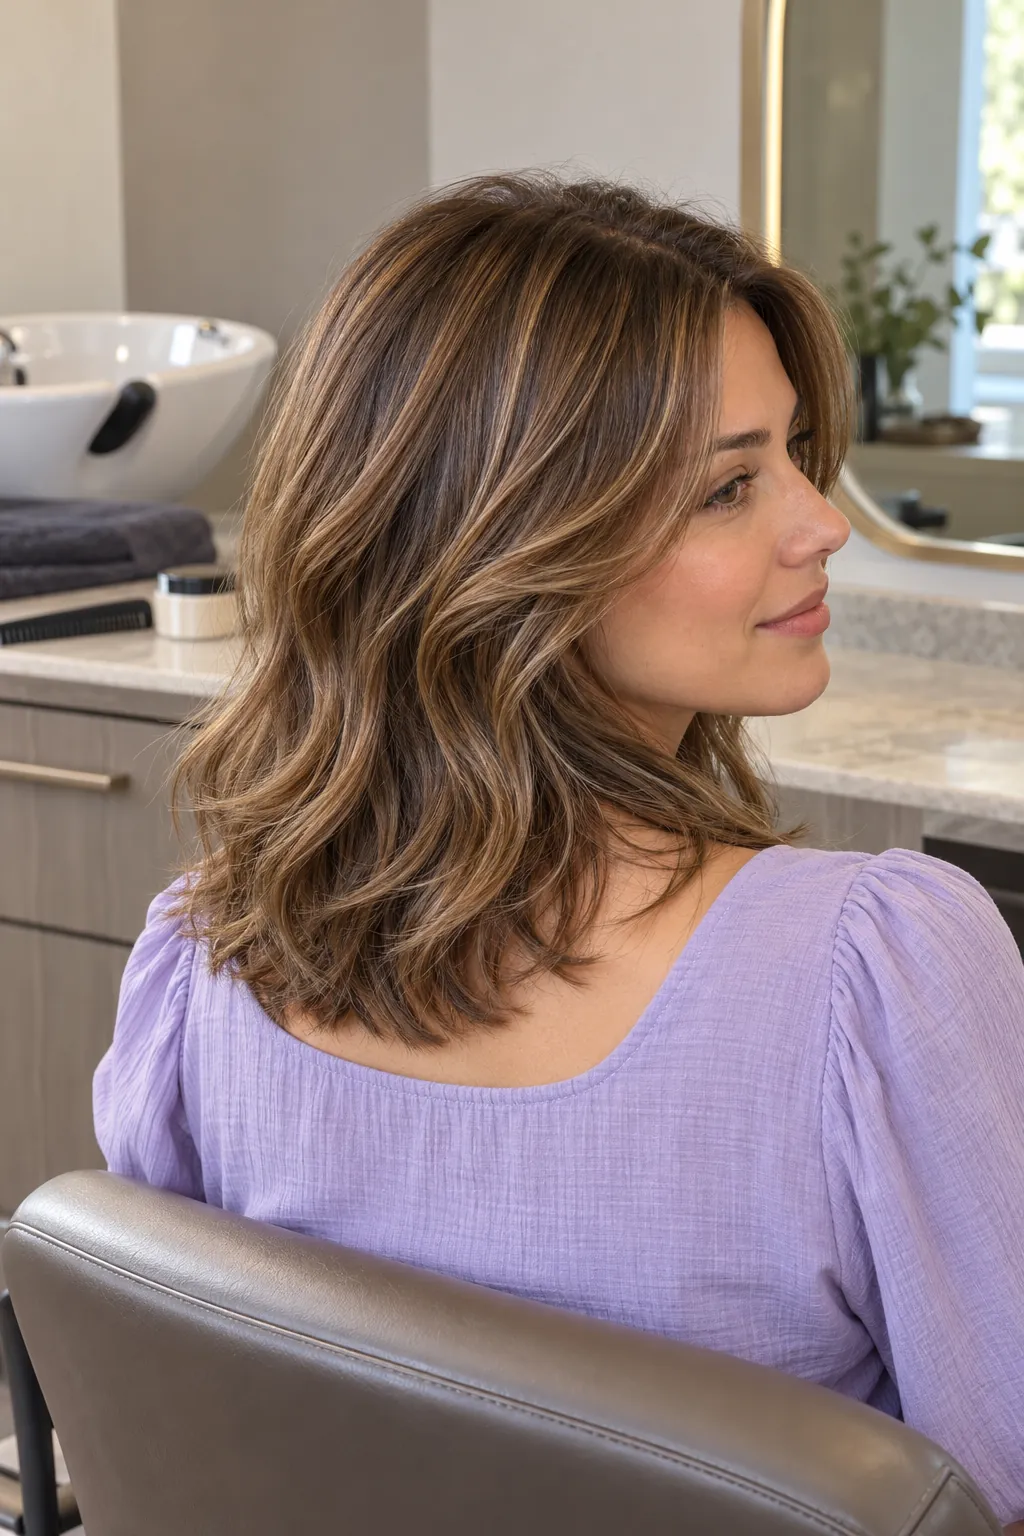
Cheekbone Framing Layers
Cheekbone framing creates a clear focal point higher than jaw length contouring. It can open the face and add lift, especially when the remaining layers stay long and quiet. The shortest section needs enough density to form a visible sweep instead of a few weak strands. Ask the stylist to cut it for your normal part and show how it behaves both tucked and untucked.
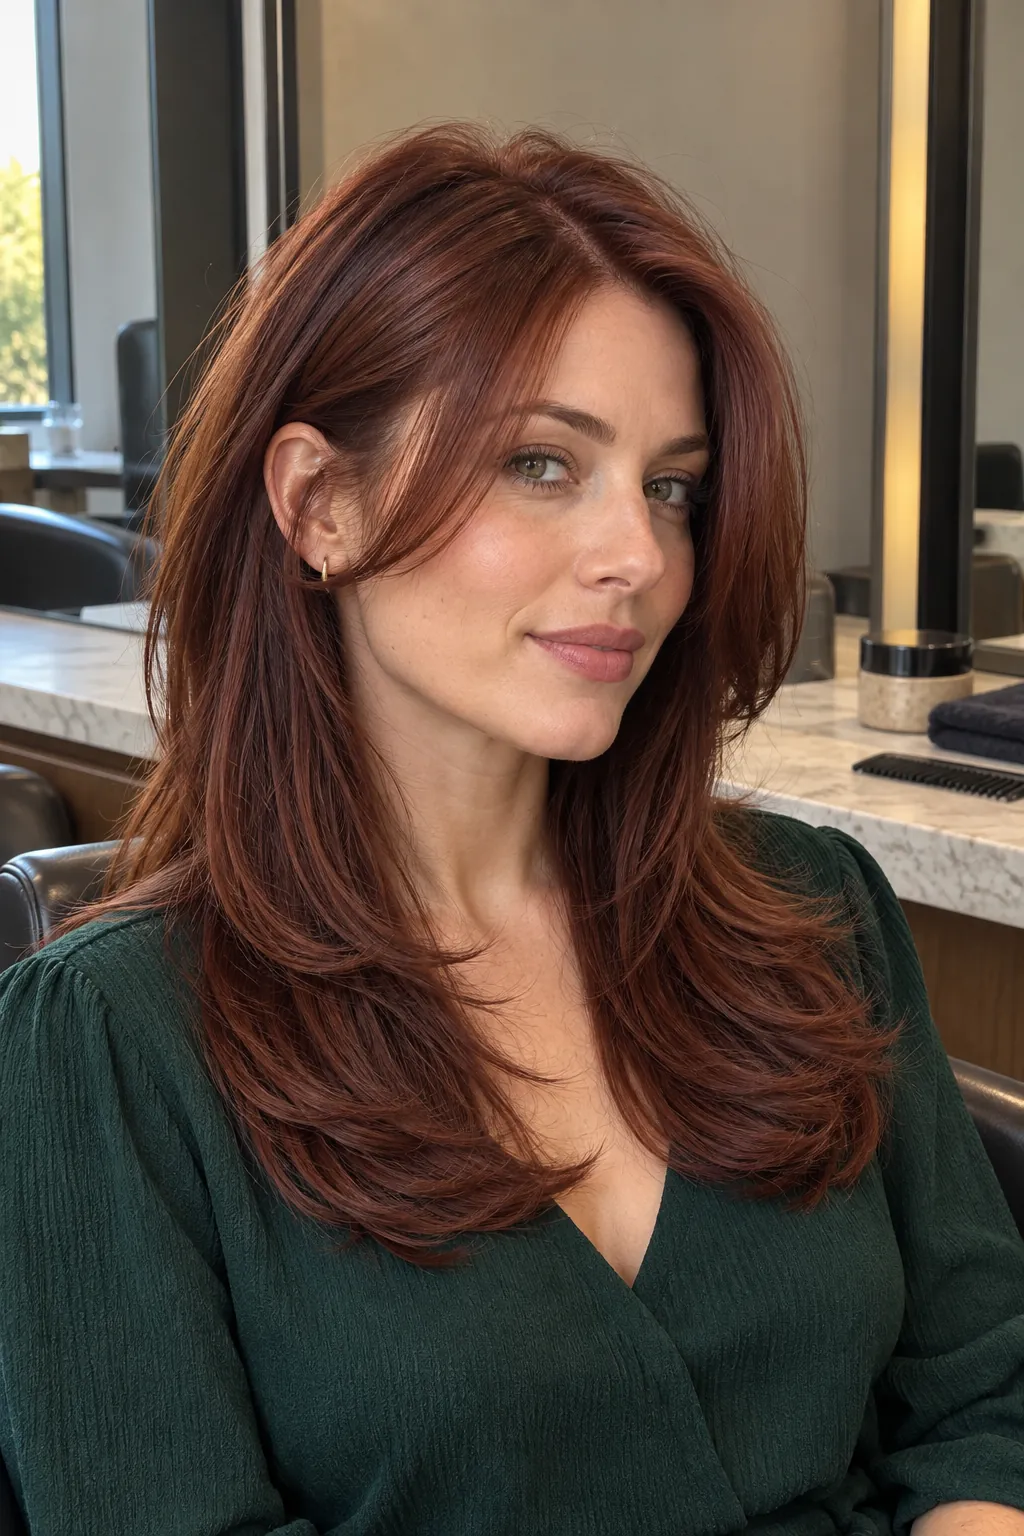
Chin To Shoulder Cascade
This cascade begins near the chin and descends in visible steps toward the shoulders. It creates more obvious contour than invisible layers and more order than a shag. Medium density hair can show the progression without the bottom becoming too light when the steps remain broad. Bring a side view reference and ask for blended transitions that still remain readable after a simple rough dry.
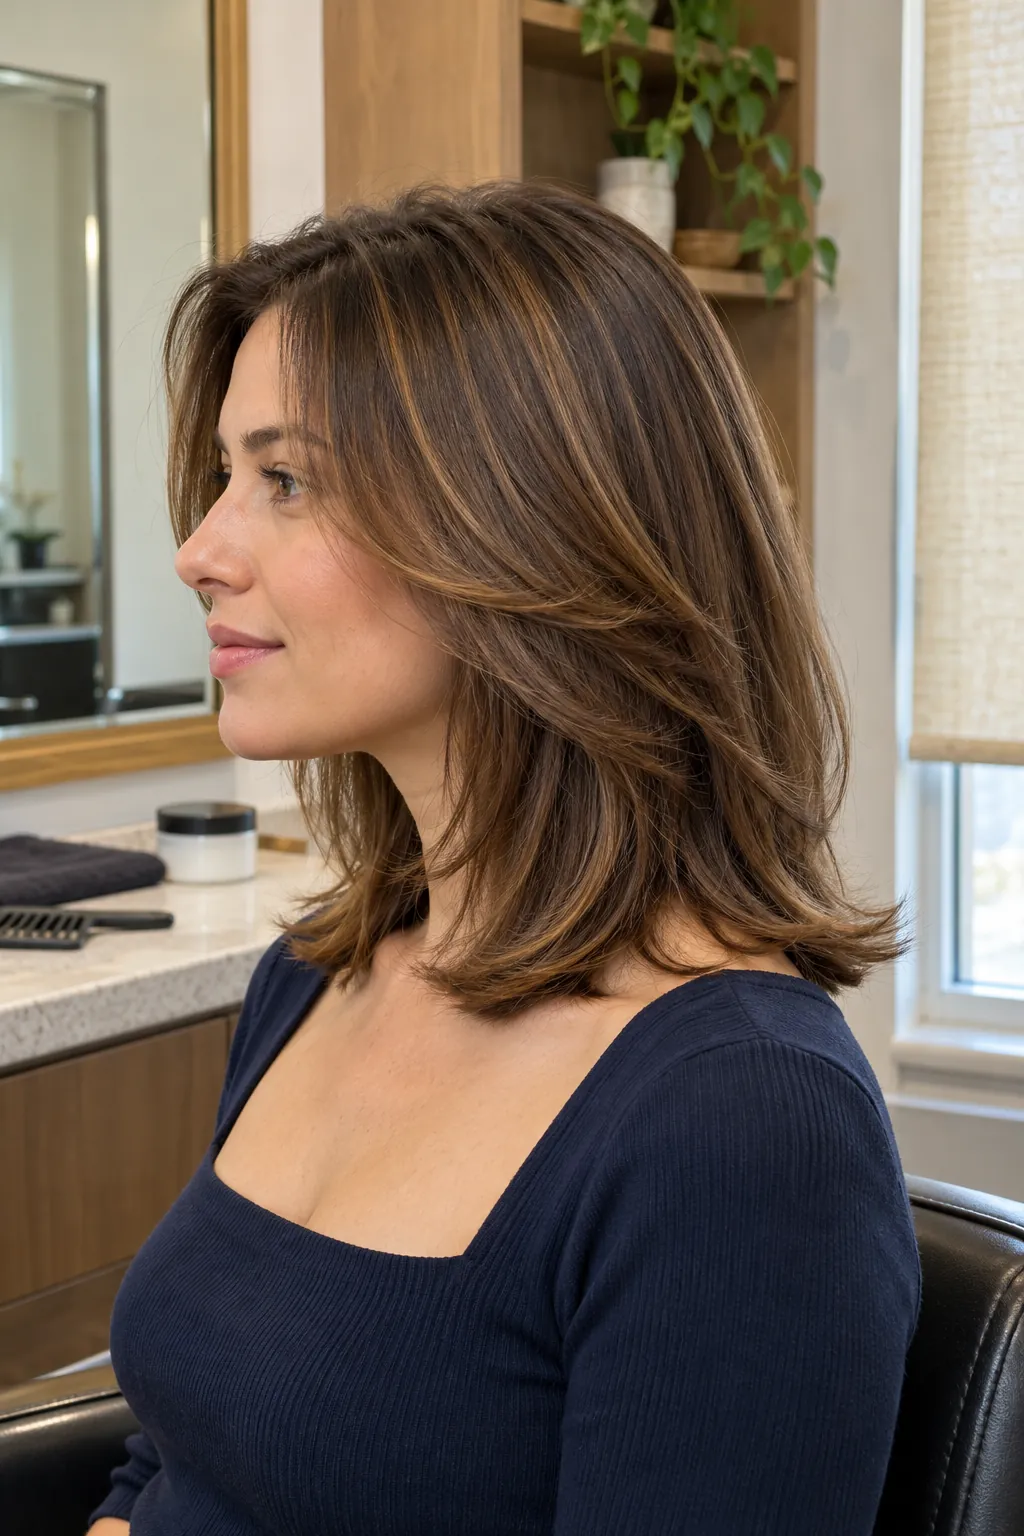
Deep Side Part Layers
A deep side part shifts volume and makes identical layers appear more dramatic on the fuller side. The cut needs enough balance that the lighter side does not collapse or reveal a sparse perimeter. This option can revive straight or wavy hair without adding shorter crown pieces. Have the stylist assess the part while dry, then confirm that the front still sits comfortably behind the ear.
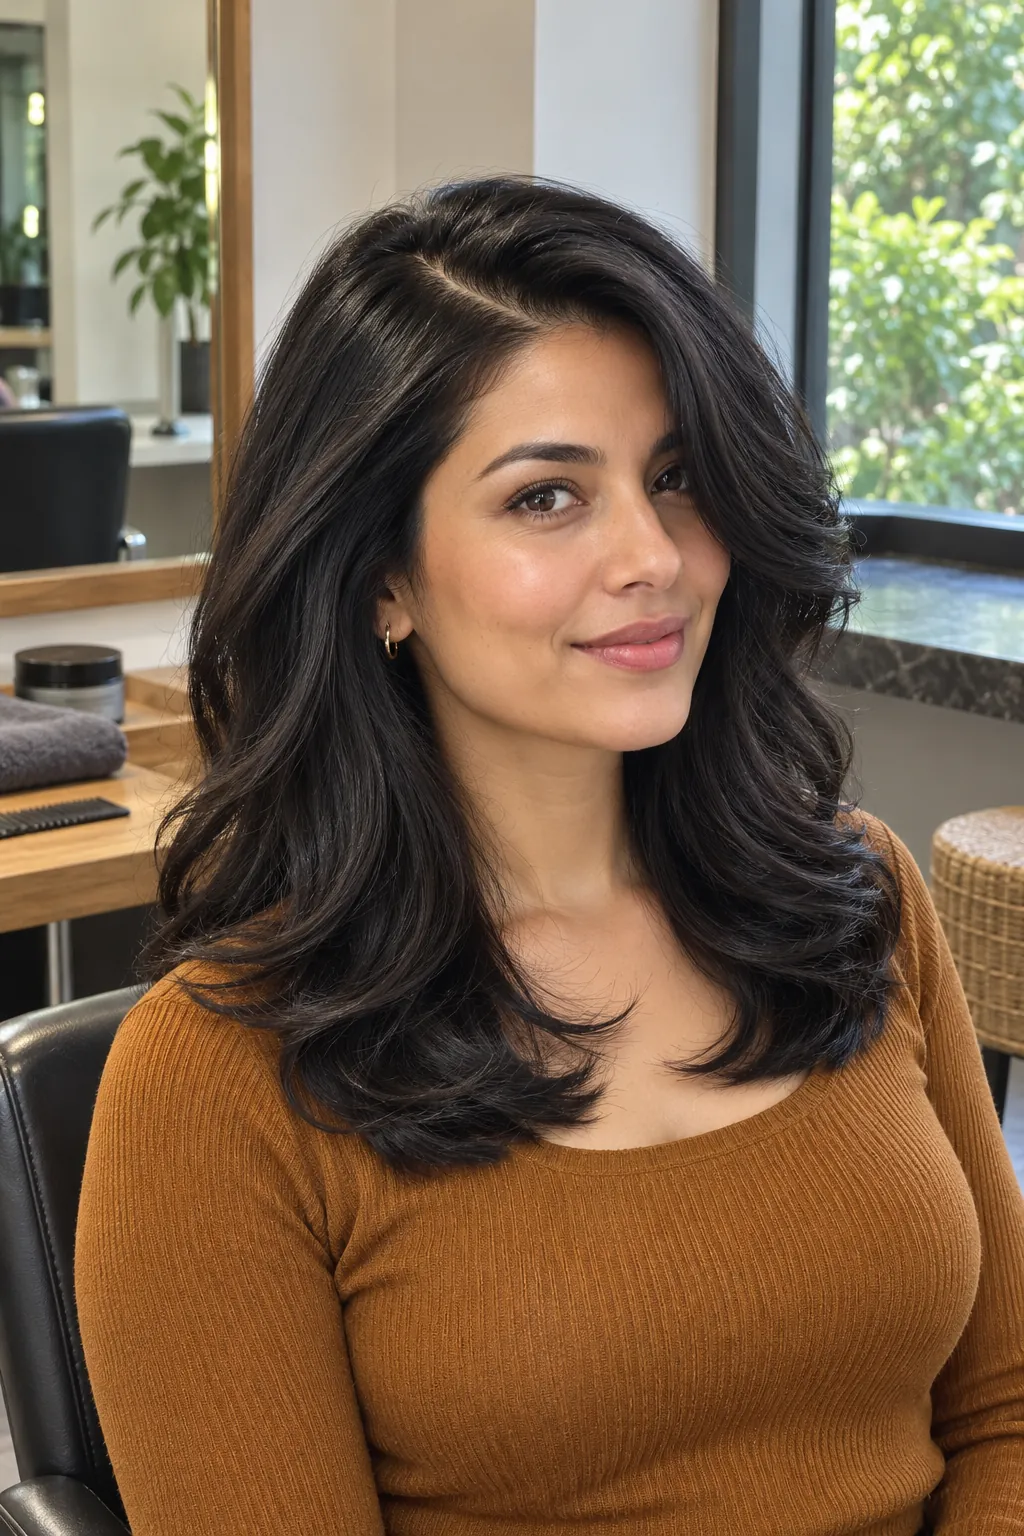
Center Part Contour Layers
Center part contour layers create mirrored movement around the face while the back remains simple. The symmetry makes uneven growth or mismatched front pieces easier to notice, so careful dry checking matters. This shape works well when you prefer a balanced frame and routinely wear the same center part. Ask for both sides to be compared in a relaxed position rather than pulled forward with tension.
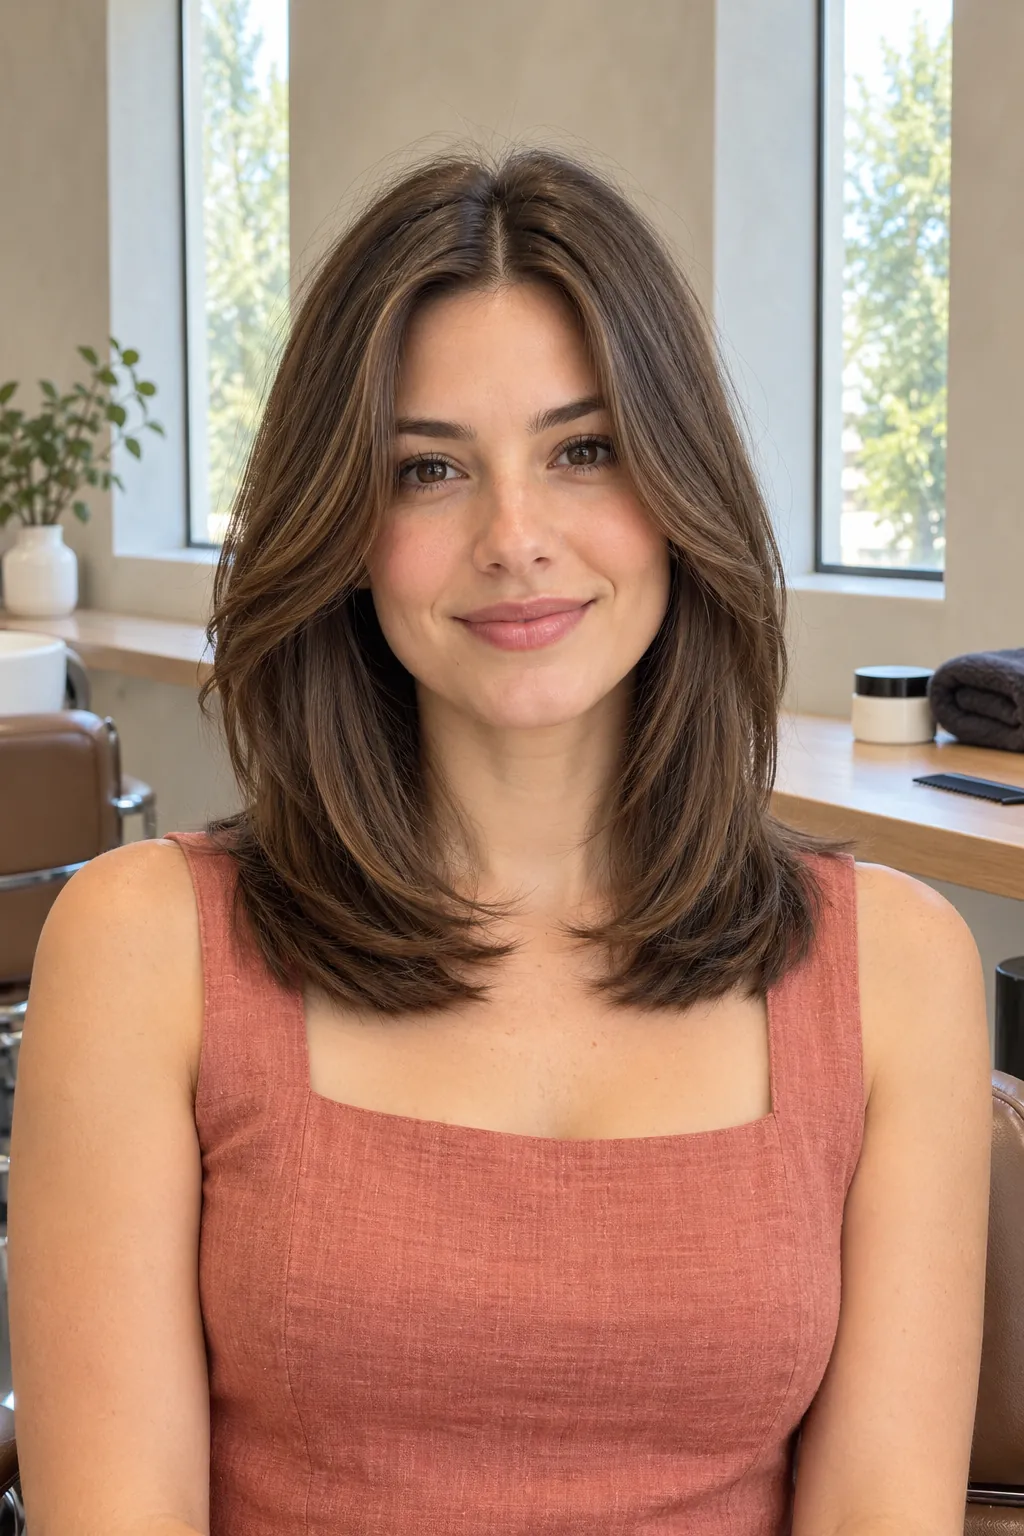
Classic Balanced Layers
Classic balanced layers distribute movement through the sides and back without making any single feature dominant. The perimeter remains easy to read, the crown has moderate lift, and the front blends at about jaw level. It is a dependable choice when you want noticeable shape but do not want a trend specific silhouette. Ask for the finished cut to be checked in your natural texture, and schedule reshaping when the layers stop stacking cleanly.